[phpBB Debug] PHP Warning: in file [ROOT]/includes/bbcode.php on line 483: preg_replace(): The /e modifier is no longer supported, use preg_replace_callback instead
[phpBB Debug] PHP Warning: in file [ROOT]/includes/bbcode.php on line 483: preg_replace(): The /e modifier is no longer supported, use preg_replace_callback instead
[phpBB Debug] PHP Warning: in file [ROOT]/includes/bbcode.php on line 483: preg_replace(): The /e modifier is no longer supported, use preg_replace_callback instead
[phpBB Debug] PHP Warning: in file [ROOT]/includes/bbcode.php on line 483: preg_replace(): The /e modifier is no longer supported, use preg_replace_callback instead
[phpBB Debug] PHP Warning: in file [ROOT]/includes/bbcode.php on line 483: preg_replace(): The /e modifier is no longer supported, use preg_replace_callback instead
[phpBB Debug] PHP Warning: in file [ROOT]/includes/bbcode.php on line 483: preg_replace(): The /e modifier is no longer supported, use preg_replace_callback instead
[phpBB Debug] PHP Warning: in file [ROOT]/includes/bbcode.php on line 483: preg_replace(): The /e modifier is no longer supported, use preg_replace_callback instead
[phpBB Debug] PHP Warning: in file [ROOT]/includes/bbcode.php on line 483: preg_replace(): The /e modifier is no longer supported, use preg_replace_callback instead
[phpBB Debug] PHP Warning: in file [ROOT]/includes/bbcode.php on line 483: preg_replace(): The /e modifier is no longer supported, use preg_replace_callback instead
[phpBB Debug] PHP Warning: in file [ROOT]/includes/bbcode.php on line 483: preg_replace(): The /e modifier is no longer supported, use preg_replace_callback instead
[phpBB Debug] PHP Warning: in file [ROOT]/includes/bbcode.php on line 483: preg_replace(): The /e modifier is no longer supported, use preg_replace_callback instead
[phpBB Debug] PHP Warning: in file [ROOT]/includes/bbcode.php on line 483: preg_replace(): The /e modifier is no longer supported, use preg_replace_callback instead
[phpBB Debug] PHP Warning: in file [ROOT]/includes/bbcode.php on line 483: preg_replace(): The /e modifier is no longer supported, use preg_replace_callback instead
[phpBB Debug] PHP Warning: in file [ROOT]/includes/bbcode.php on line 483: preg_replace(): The /e modifier is no longer supported, use preg_replace_callback instead
[phpBB Debug] PHP Warning: in file [ROOT]/includes/bbcode.php on line 483: preg_replace(): The /e modifier is no longer supported, use preg_replace_callback instead
[phpBB Debug] PHP Warning: in file [ROOT]/includes/bbcode.php on line 483: preg_replace(): The /e modifier is no longer supported, use preg_replace_callback instead
[phpBB Debug] PHP Warning: in file [ROOT]/includes/bbcode.php on line 483: preg_replace(): The /e modifier is no longer supported, use preg_replace_callback instead
[phpBB Debug] PHP Warning: in file [ROOT]/includes/bbcode.php on line 483: preg_replace(): The /e modifier is no longer supported, use preg_replace_callback instead
[phpBB Debug] PHP Warning: in file [ROOT]/includes/bbcode.php on line 483: preg_replace(): The /e modifier is no longer supported, use preg_replace_callback instead
[phpBB Debug] PHP Warning: in file [ROOT]/includes/bbcode.php on line 483: preg_replace(): The /e modifier is no longer supported, use preg_replace_callback instead
[phpBB Debug] PHP Warning: in file [ROOT]/includes/bbcode.php on line 483: preg_replace(): The /e modifier is no longer supported, use preg_replace_callback instead
[phpBB Debug] PHP Warning: in file [ROOT]/includes/bbcode.php on line 483: preg_replace(): The /e modifier is no longer supported, use preg_replace_callback instead
[phpBB Debug] PHP Warning: in file [ROOT]/includes/bbcode.php on line 483: preg_replace(): The /e modifier is no longer supported, use preg_replace_callback instead
[phpBB Debug] PHP Warning: in file [ROOT]/includes/bbcode.php on line 483: preg_replace(): The /e modifier is no longer supported, use preg_replace_callback instead
[phpBB Debug] PHP Warning: in file [ROOT]/includes/bbcode.php on line 483: preg_replace(): The /e modifier is no longer supported, use preg_replace_callback instead
[phpBB Debug] PHP Warning: in file [ROOT]/includes/bbcode.php on line 483: preg_replace(): The /e modifier is no longer supported, use preg_replace_callback instead
[phpBB Debug] PHP Warning: in file [ROOT]/includes/bbcode.php on line 112: preg_replace(): The /e modifier is no longer supported, use preg_replace_callback instead
[phpBB Debug] PHP Warning: in file [ROOT]/includes/bbcode.php on line 112: preg_replace(): The /e modifier is no longer supported, use preg_replace_callback instead
[phpBB Debug] PHP Warning: in file [ROOT]/includes/bbcode.php on line 112: preg_replace(): The /e modifier is no longer supported, use preg_replace_callback instead
[phpBB Debug] PHP Warning: in file [ROOT]/includes/functions.php on line 4688: Cannot modify header information - headers already sent by (output started at [ROOT]/includes/functions.php:3823)
[phpBB Debug] PHP Warning: in file [ROOT]/includes/functions.php on line 4690: Cannot modify header information - headers already sent by (output started at [ROOT]/includes/functions.php:3823)
[phpBB Debug] PHP Warning: in file [ROOT]/includes/functions.php on line 4691: Cannot modify header information - headers already sent by (output started at [ROOT]/includes/functions.php:3823)
[phpBB Debug] PHP Warning: in file [ROOT]/includes/functions.php on line 4692: Cannot modify header information - headers already sent by (output started at [ROOT]/includes/functions.php:3823)

West of Scotland RSOC • View topic - scottrs1 budget s1 rebluid

scottrs1 budget s1 rebluid

For all your resto & rebuild Pics.

scottrs1 budget s1 rebluid

Postby scottrs1 » Wed Jan 02, 2008 10:00 am

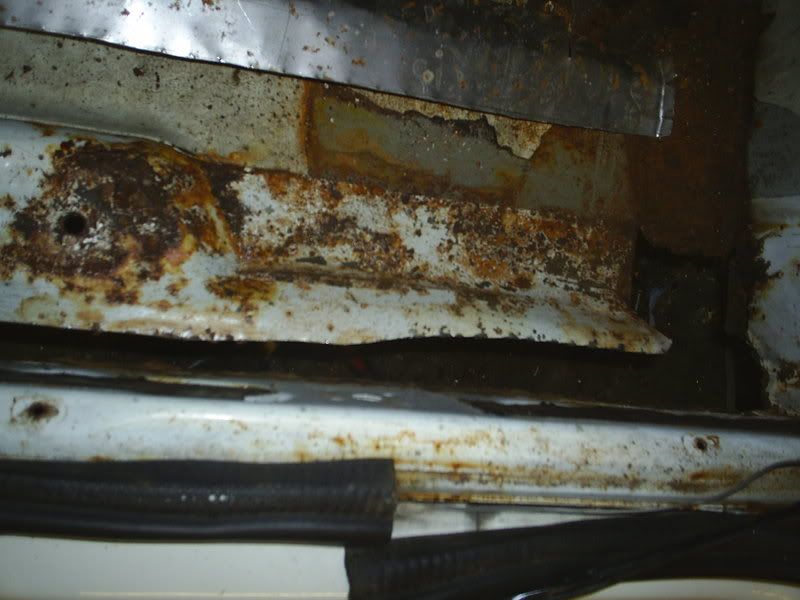
[img]it begins, had the s1 6 months now and its now time for it to get a tidy up (well a complete rebuild)so over the winter i will be knee deep in s1 rust and old panels to transform it into a whiter than white s1 turbo, on top it looks really good but as you will see its got its problems
Image

Image
bodge job this is surposed to be a new scuttle panel fitted for a cost of £300 by the last owner
Image
in need of a new rear panel +rear corners
Image
2x new wings needed
Image
more rot under the fuse box
Image
engine out and engine bay stripped
Image

Image
this is prop the worst bit, same on both sides
Image


so thats how far i hav got ,still tryin to source panels and parts etc ,and then theres the engine thats gona be a bit special but more of that in the future[/img][/b]
[img]heres a wee update ..

the panels started to arrive
Image

replaced the battery tray after cutting the original tray and a naw one that had been welded on top
Image

then i started on the inner and outer sills
Image
Image
Image
Image
Image
Image
and thats it for this now cant do any more till my front floor pan arrives ,oh and more welding wire for the mig[/img]
[img]/cut old one out........looks scary eh
Image

Image
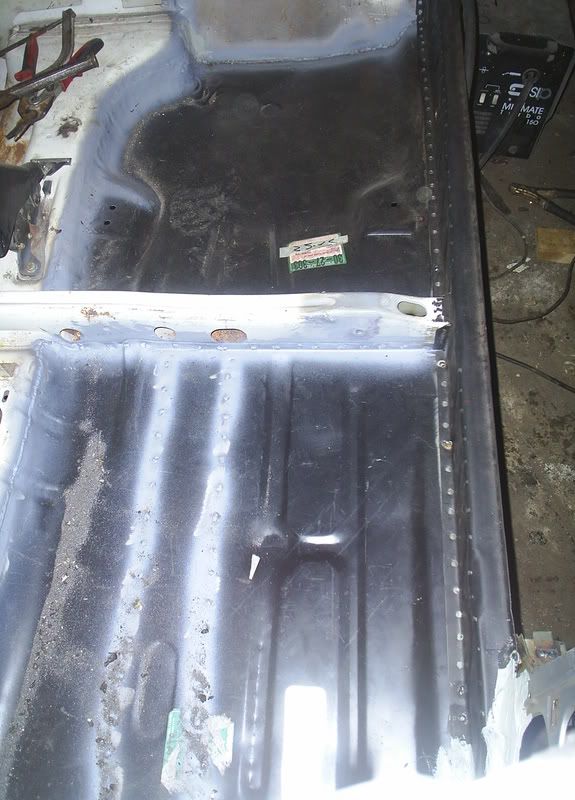
new floor pan ready to get welded in
Image

Image
front and rear pans welded in
Image

Image
inner sill welded on
Image

starting to take shape now but it takes time ,outer sill is next job and then its onto the inner wings ,front panel,front cross member wings, bah bah bah[/img]
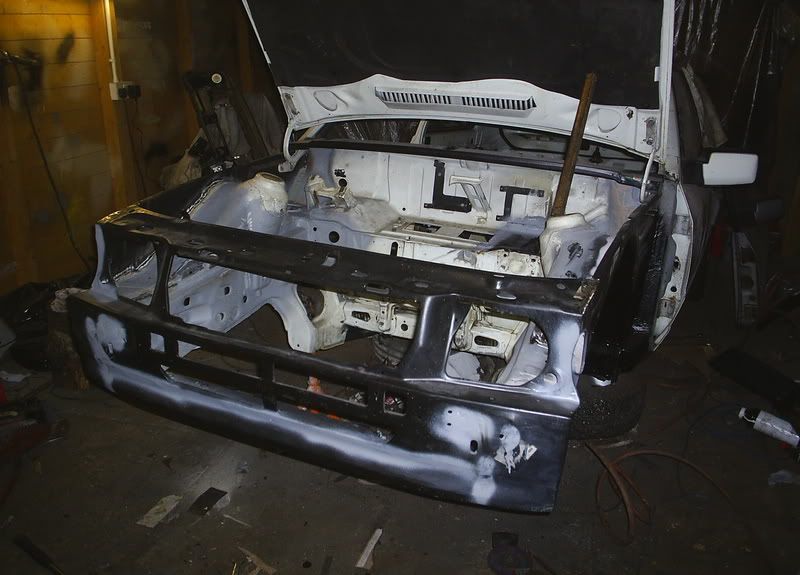
[img]after%20near%20a%20week%20of%20solid%20welding%20and%20grinding%20the%20front%20end%20is%20finished%20,only%20the%20wings%20to%20be%20welded%20back%20on%20,[img]http://images19.fotki.com/v32/photos/3/357362/3950018/picsofaviemore041-vi.jpg[/img]

Image

Image

Image

Image

Image

Image

the new driver side floor pans and door jab come tomorrow so hopefully i can totaly finish the front end of in the next week or so ,then its onto the rear ,new chassic legs ,boot floor and rear valance[/img]
[img]ok done the drivers floor pan and the rear one also fitted inner and outer sills .....twat of a job ...
had to do a bit of work on the door post too ,its got 3 layers on it for strengh and the outer one was totaly rotton ,luckly they still make a panel for it ,but it was a nightmare drilling all the spot welds out that hold the outer skin on ,but under that it was sound so it was'nt all bad Image

Image

Image[/img]
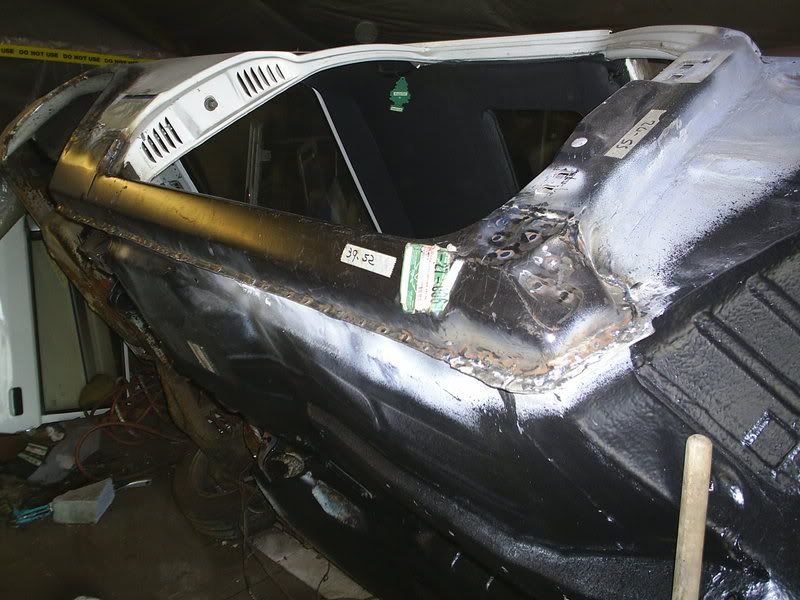
its been a while since my last update been workin alot ,but heres what i have been busy at ,with the help of a few mates we tipped the car on its side so i could start the underside ,then i started to seem weld all the new floor pans in ,also welded them onto the chassis rails for extra strengh ,the rails where in really good condition which was a surprise as the rest had been so rotton ,the worst was scrapin all the old under seal off what a pig of a job and there's loads more to scarp of yet
Image

Image
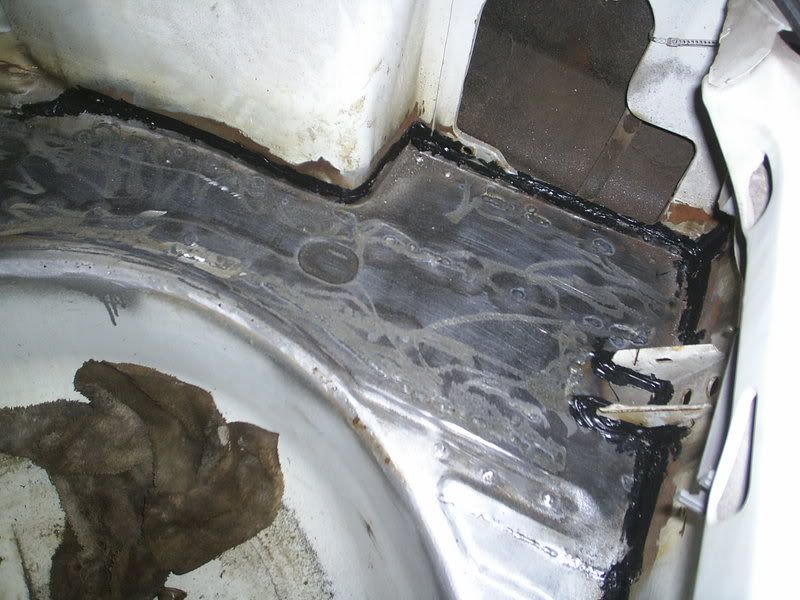
cleaned up the driver side wheel arch and inner wing and then resealed the the joints withbrush on seam sealer
Image
new skuttle panel fitted and the inner wing ,battery tray smoothed in and seam sealed
Image
loads of work to do yet before it see's underseal
Image

Image
f@@kin w@@@@r looks like that s 2x new chassis legs
Image
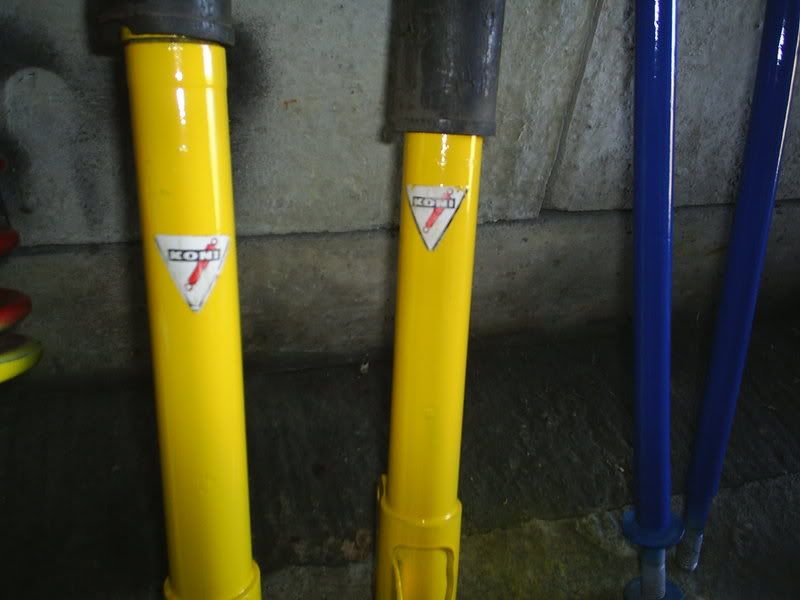
finally got back to my s1 this week ,was gonna carry on welding it up put the welder s on the blink this now so thought i better get crackin on all the other jobs that need done ,,thought i would make a start on all the cleanin and paintin of the underneath stuff ,3 days later and no skin left on ma fingers i have made a good dent on all the bits and bobs ......but still hav loads to do:D

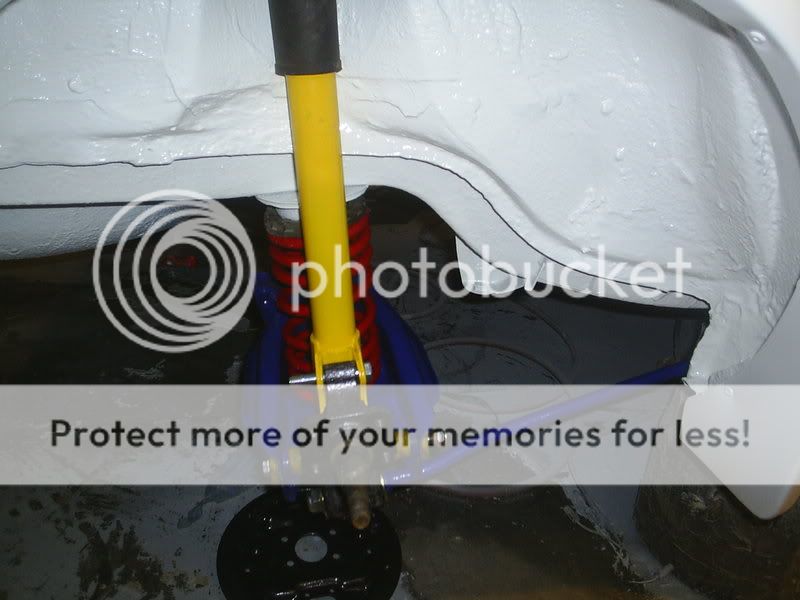
also bought alot of bits and peace,s that i hav been needin rear arms ,suspension kit ,chrome ,and front anti roll bar set up
Image

Image
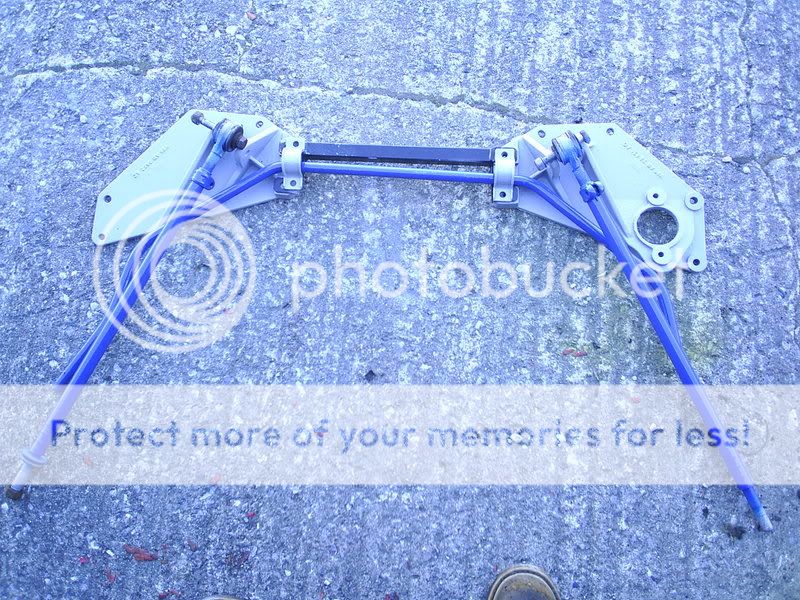
finally managed to get hold of a s1 front anti roll bar set up ,been lookin for age,s after i found out my one was broken and it was of a rs1600i:confused: but they always went for big money ,got this for £30 :D wished i had taken a photo of it before i cleaned it up ,looked like it had been sitting on the bottom of the sea with the amount of rust on it
Image


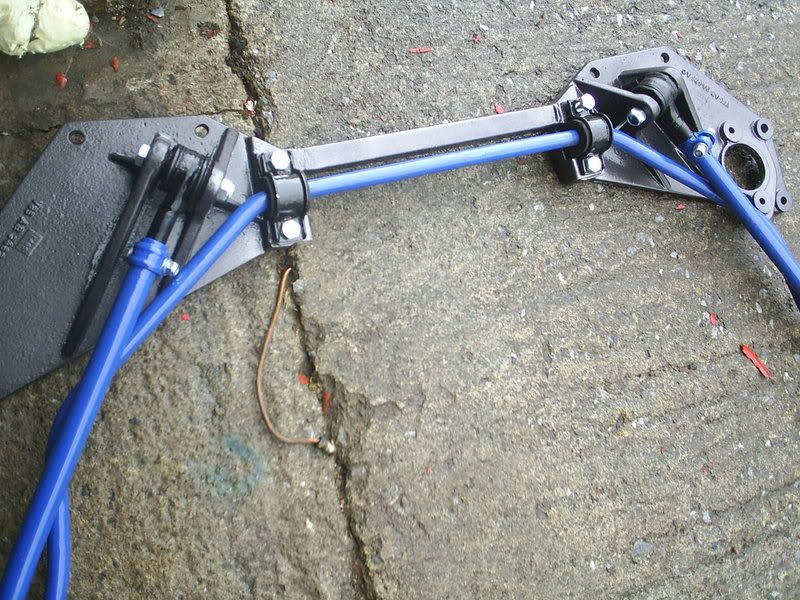
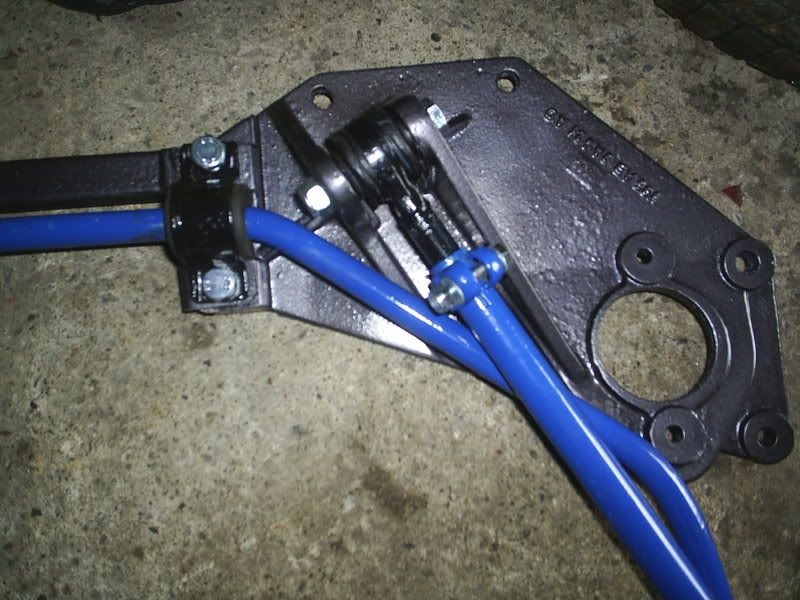
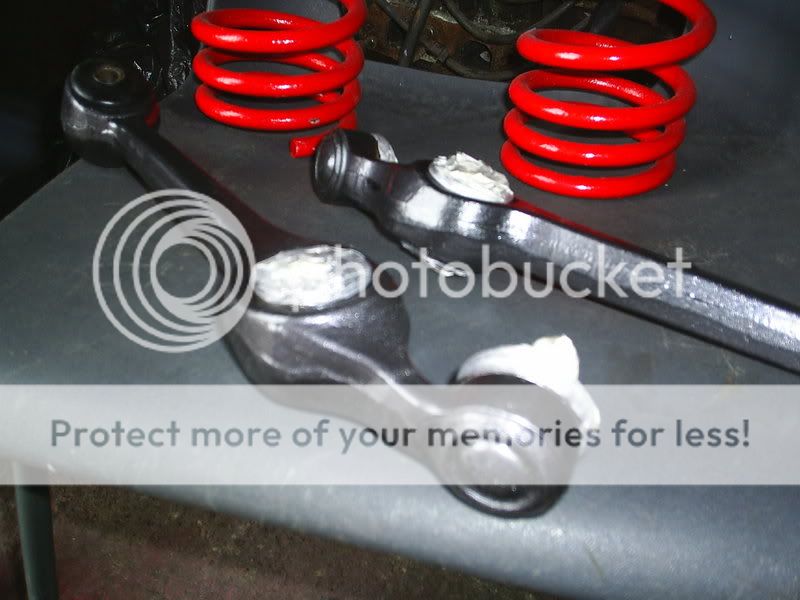
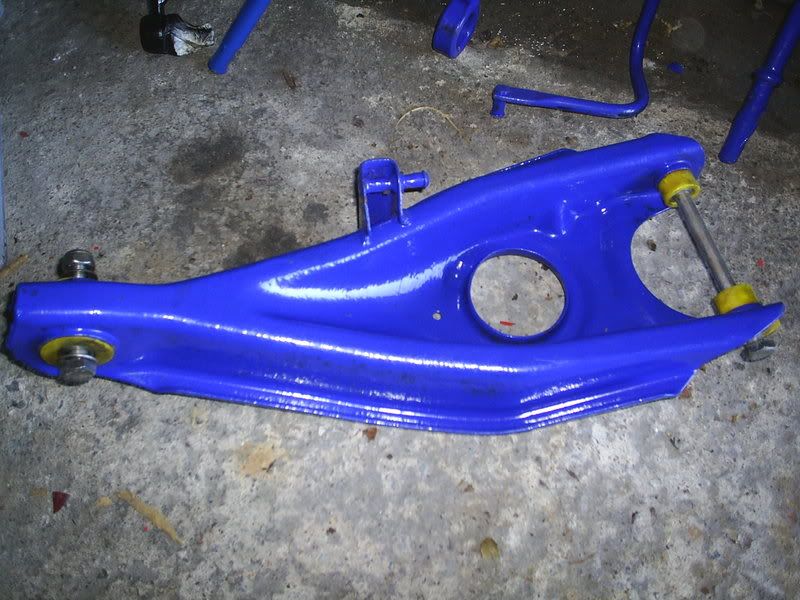
these came the other day all powder coated and power flex bushes and stainless bolts just need to give em a good clean as ma grubby hands hav been all over them lol
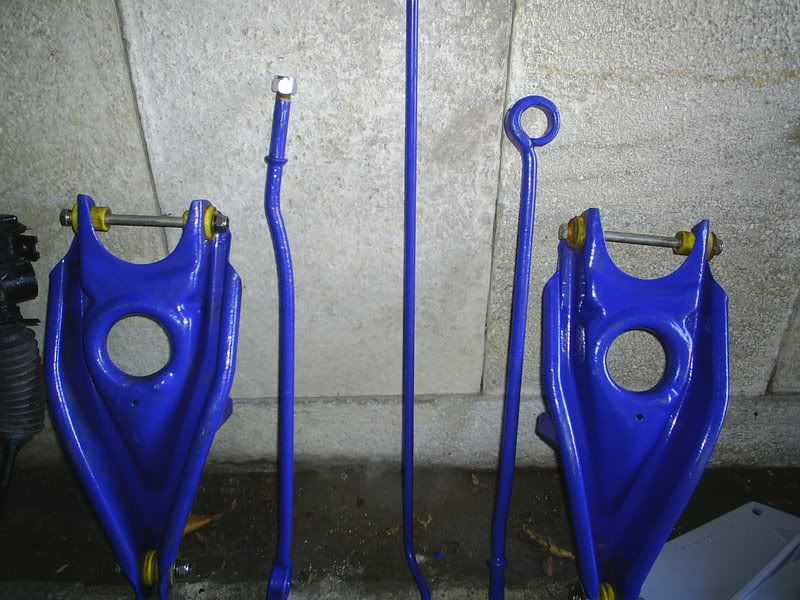
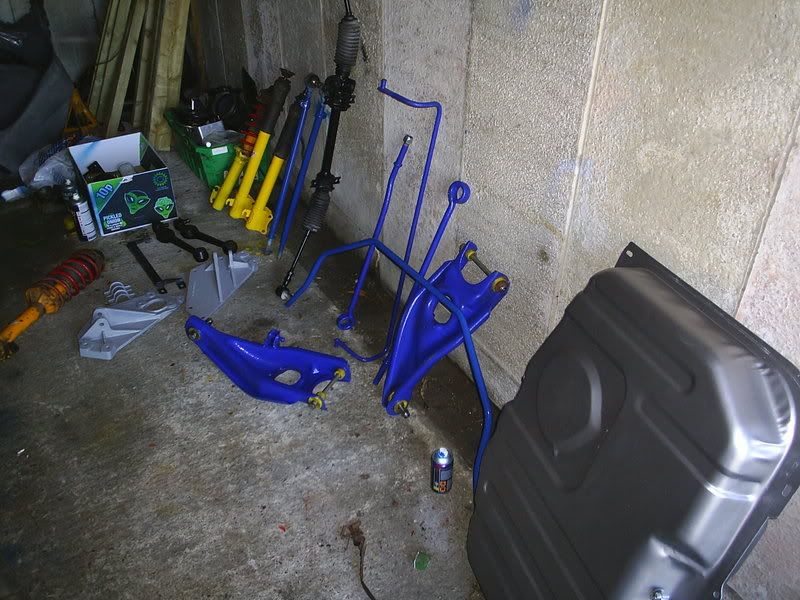
Image

Image

Image
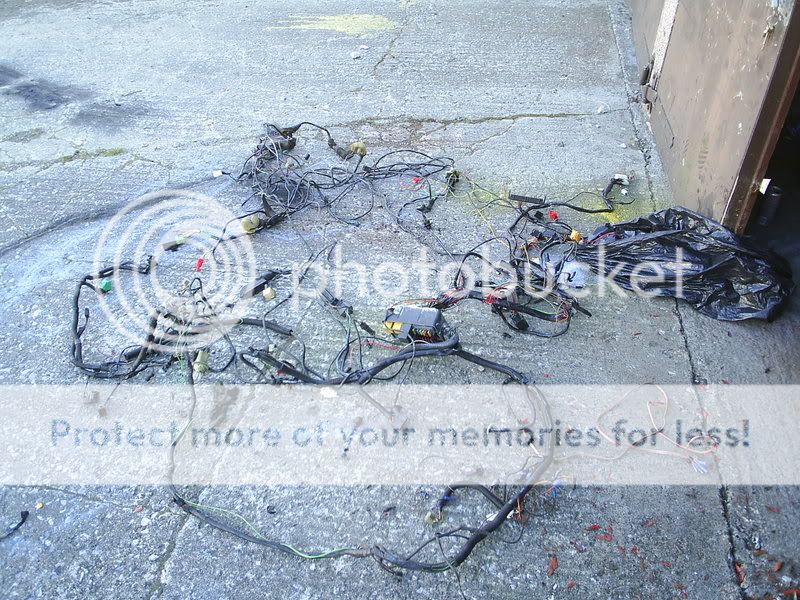
the next f**kin mission the loom ....lets just say its f**ked ha ha
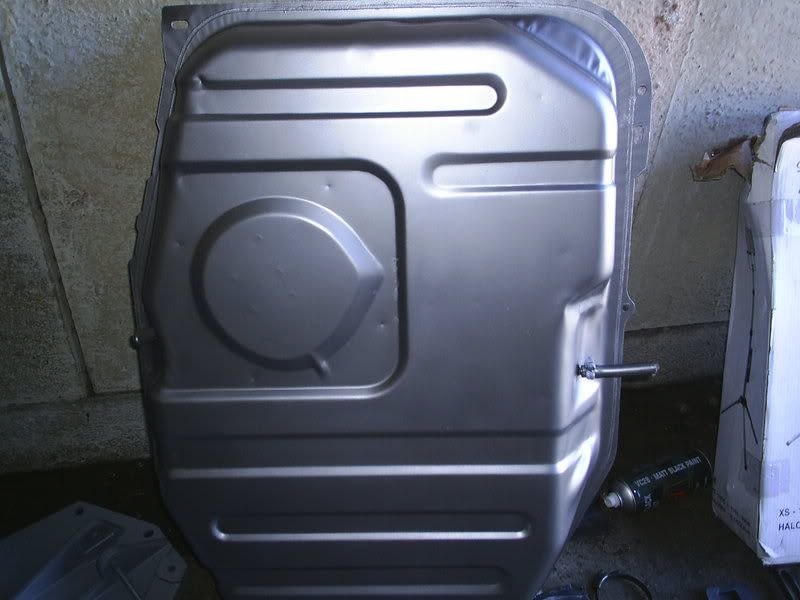
Image
got the tank all painted up
Image
got hold of these to just need a really good polish to bring back the bling :D
got the front anti roll barr and a few other bits and bobs painted today Image
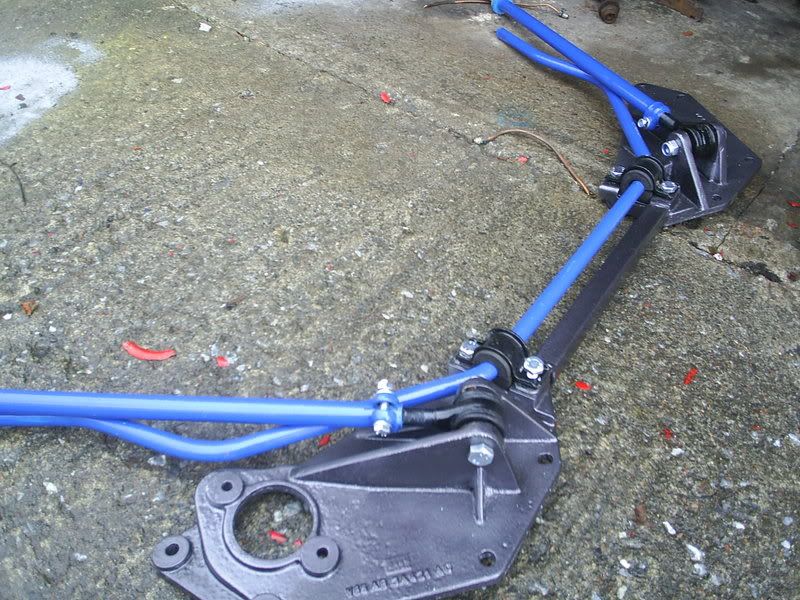

Image

Image

Image

Image

also got back to weldin the old tub up today ,got the boot floor repaired so hopefully thats me ready to fit the neww chassic leg ,i will get some pics of all this up soon
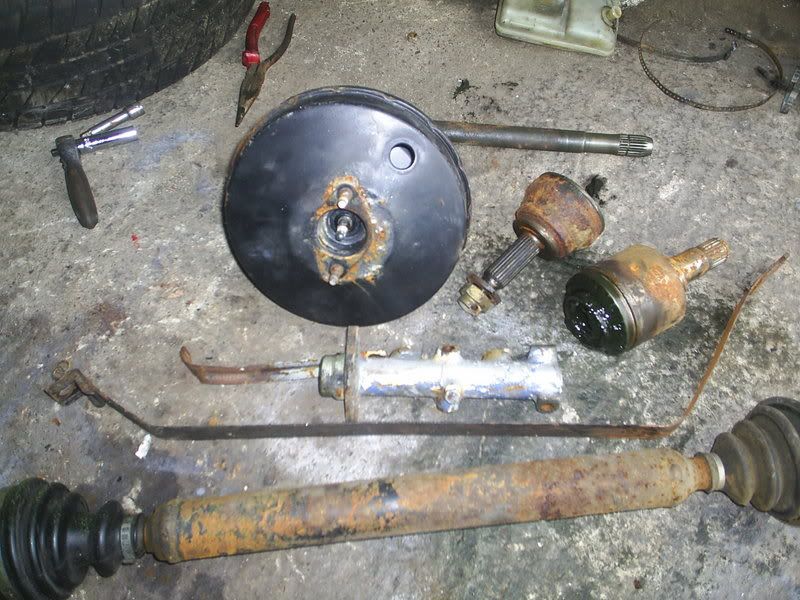
before
Image

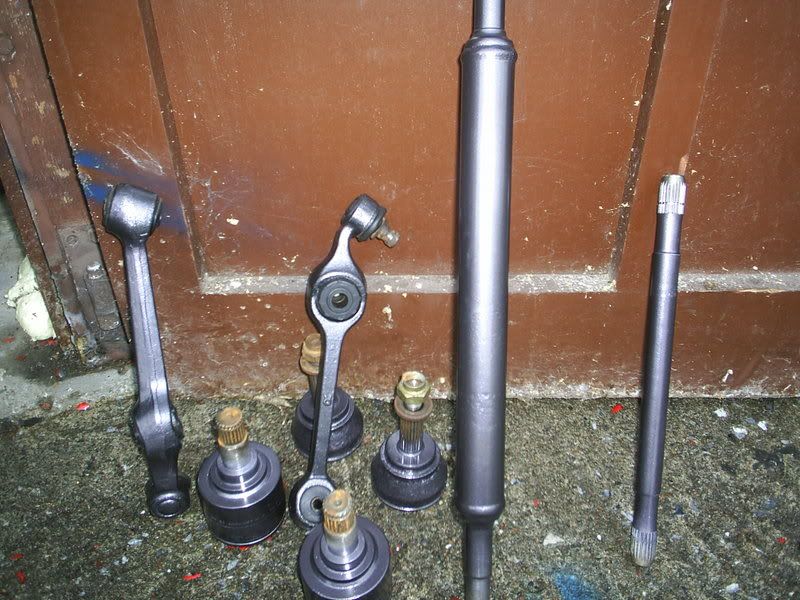
after some of the bits got repainted
Image

Image
Image

Image

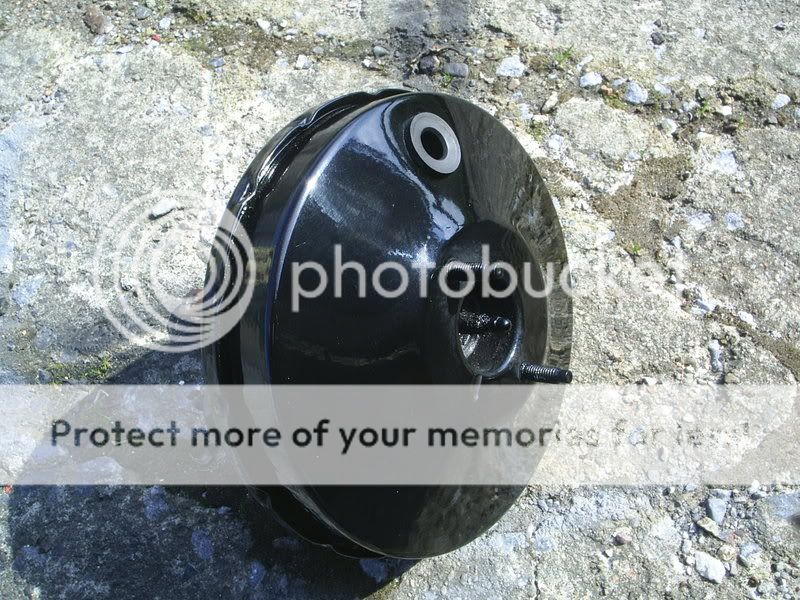
heres a big up date ,been at the s1 all weekend now ,got some more bits painted ,but really spent most my time weldin and scrapin under seal of
Image

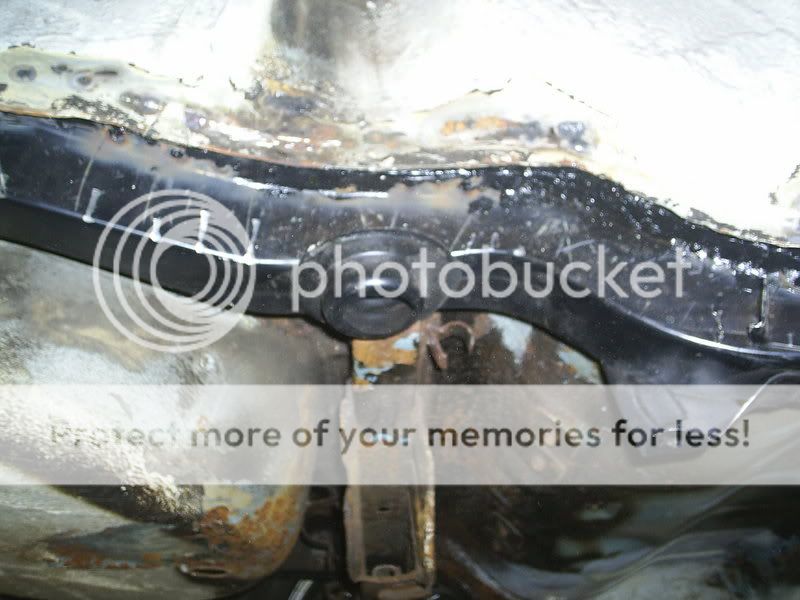
got the chassic leg on after a lot of fookin around to get it to sit right also had to put a boot repair panel on as well
Image

Image
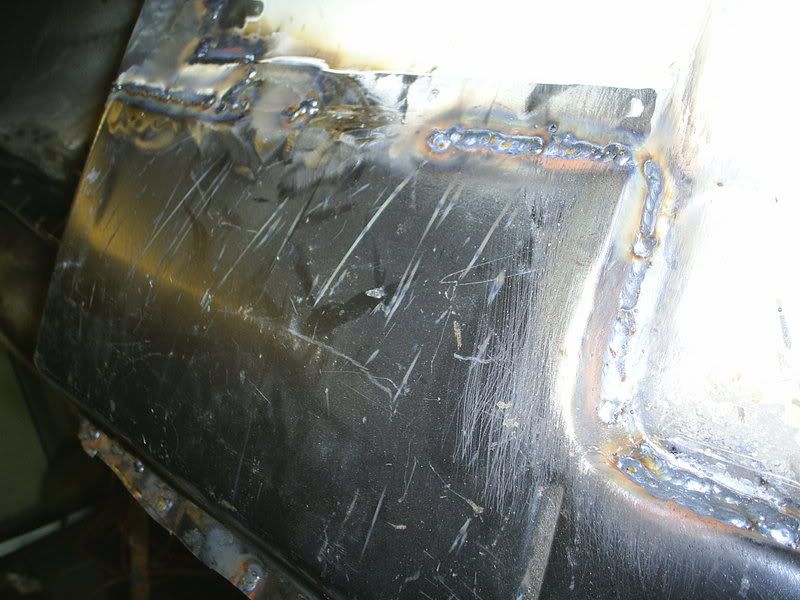
fitted the new sill as well ,took a while to get it right as well ,nothing ever goes smooth for me :cry:
Image

Image

Image

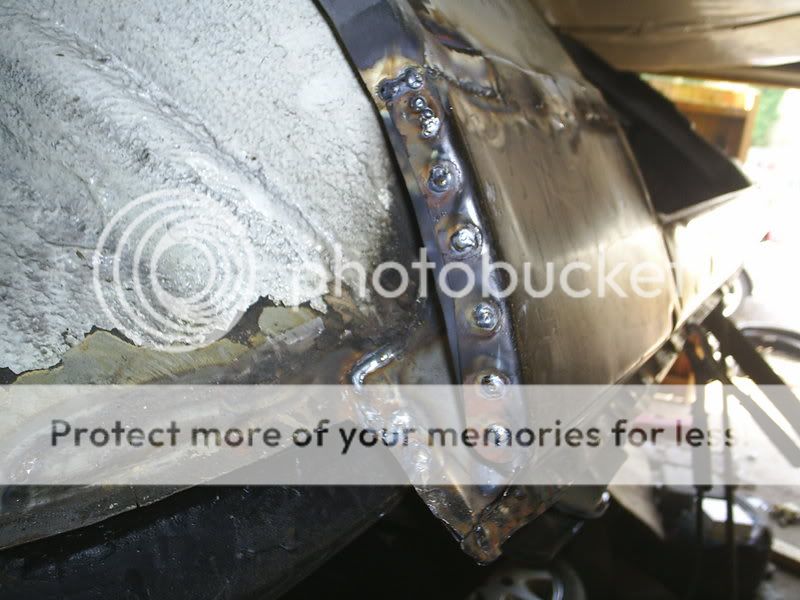
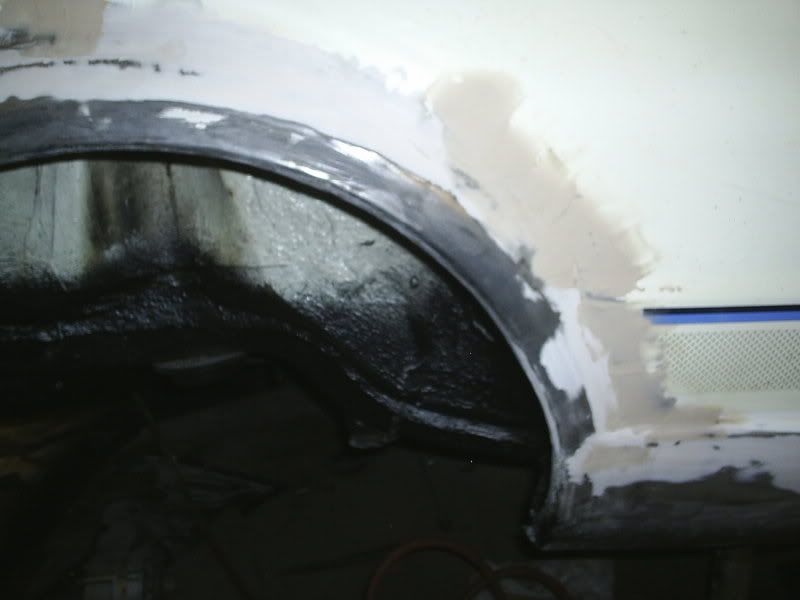
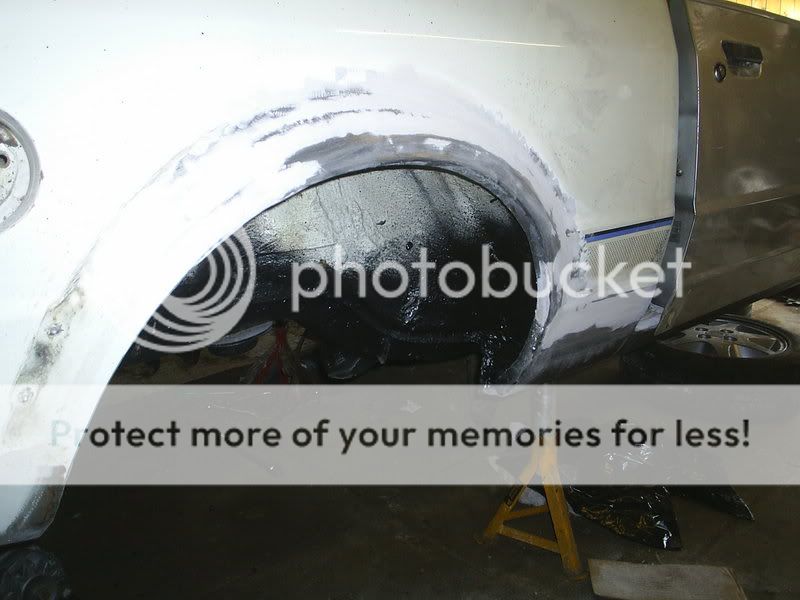
welded in the new arch as well and started to blend that in with filler
Image

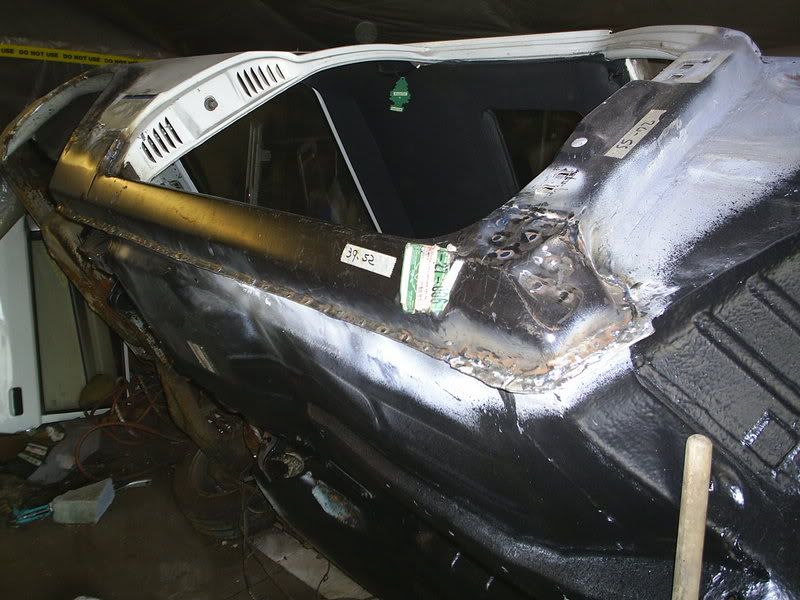
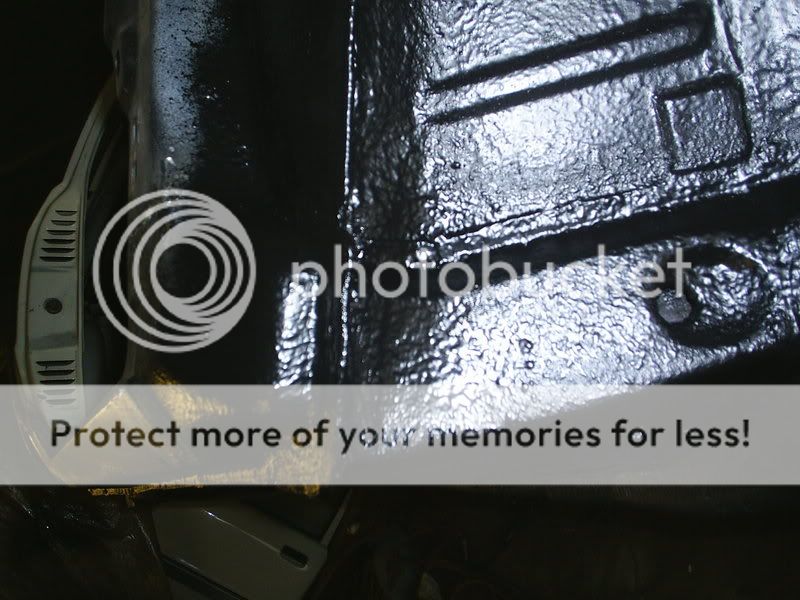
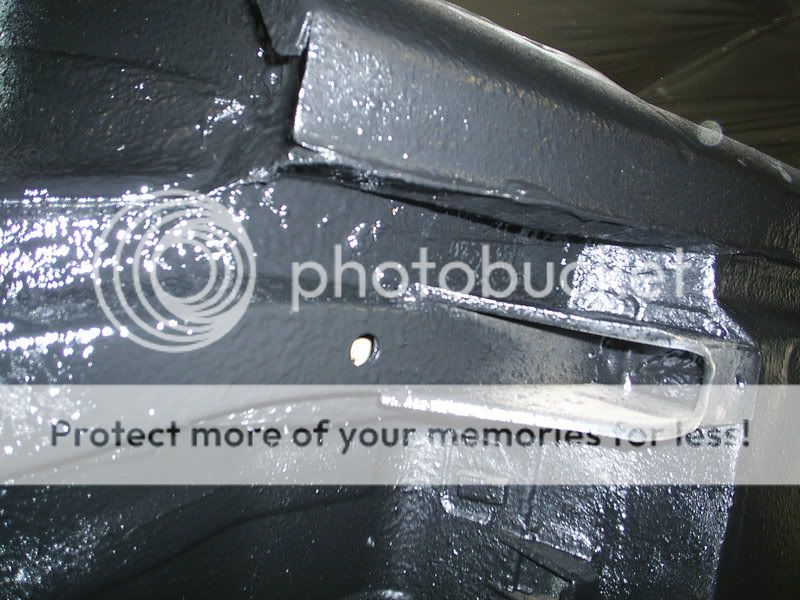
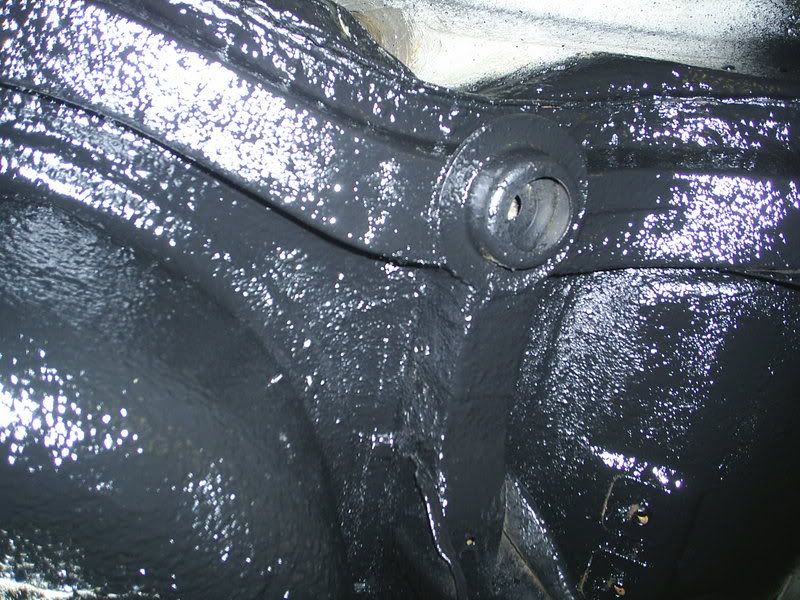
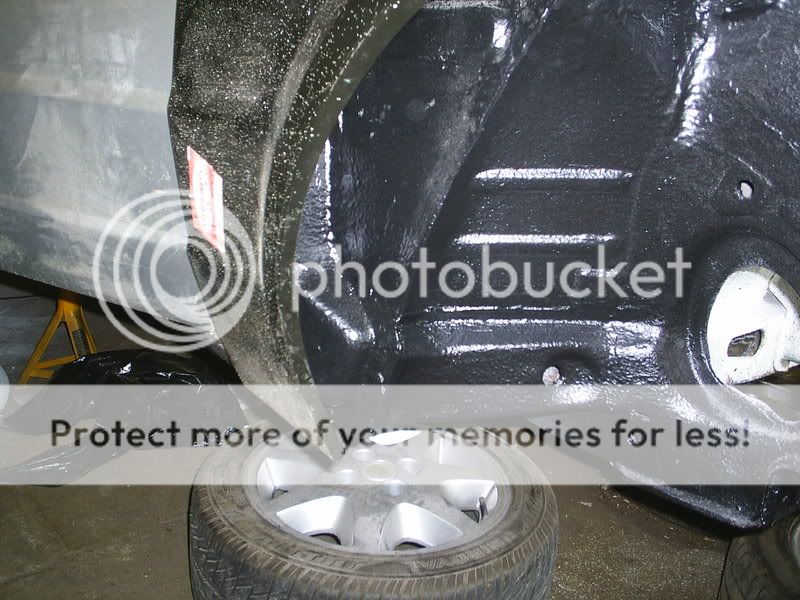
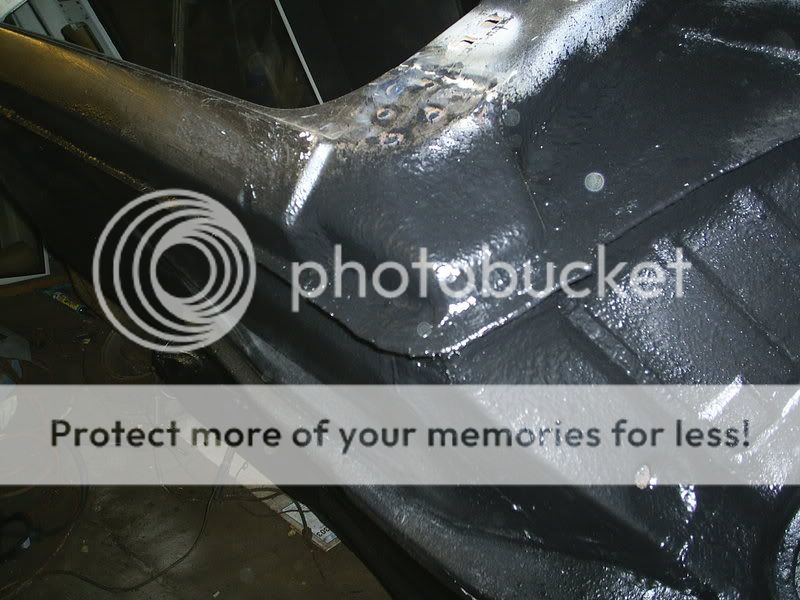
once the sill ,arch,chassic leg and floor where all welded in it was time for a bit of stone chip to protect all my hard work ,was gonna paint the floor white but not gonna do that now i aint no bufty boy and cant be arsed cleanin it after ever run ,i intend to use this car all the time :banana: so only the arches r going white ,any way heres some pics of various new panels covered in lovly stone chip
Image
Image
Image
Image
Image
Image
Image
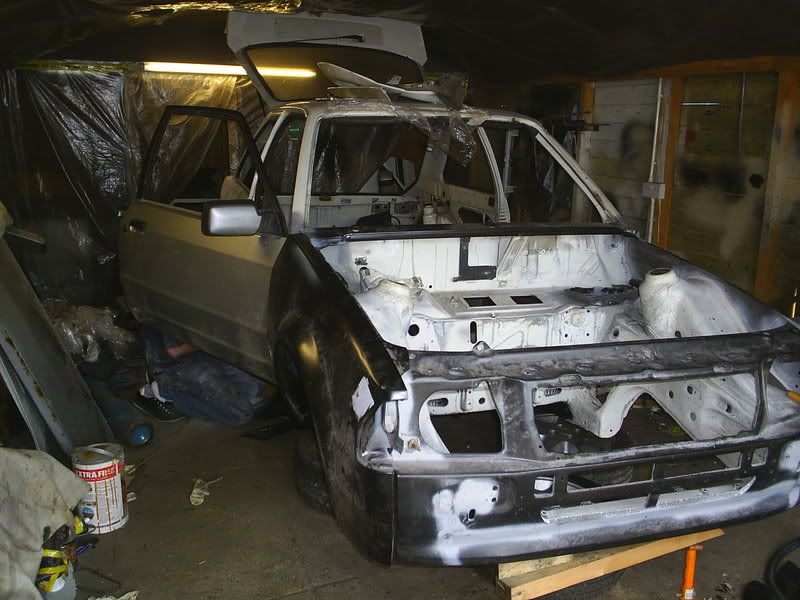
so thats it this now only have some small weldin jobs left now and it will be a solid shell:banana: :banana: :banana: :thumbsup: ,so heres how she looks this now cant wait to get the wings welded on and a coat of primer :thumbsup:
Image

one of the very little welding jobs to finish

Image

i might make a show this year.............eh .....mmmmmmm....dunnnnnnnooo
got a few more things done today ,repaired the rear valance on both corners ,i was gonna replace the whole thing but on closer inspection it was really good except the corners ,so i just cut the rot out and repaired them


Image

Image

need to finish blending them in ,was gonna stone chip this bit with the textured stuff up to the rear bumper height ......what you s think good or bad idea :

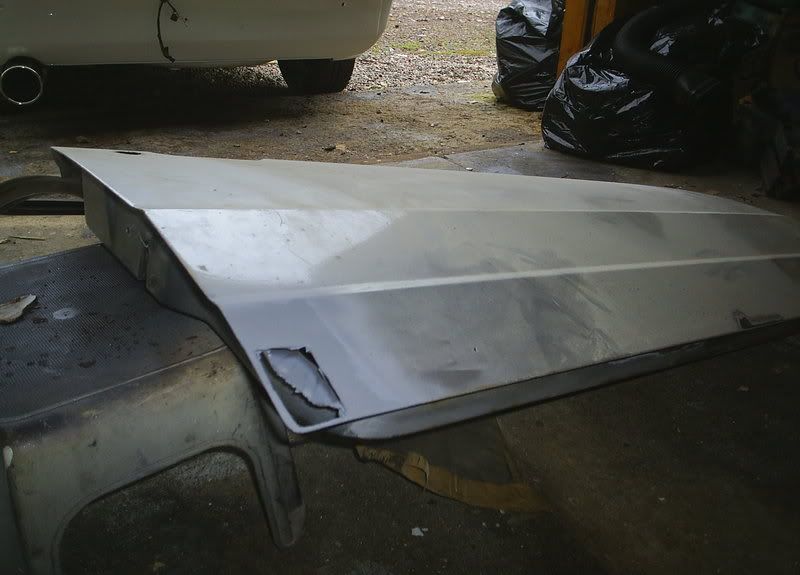
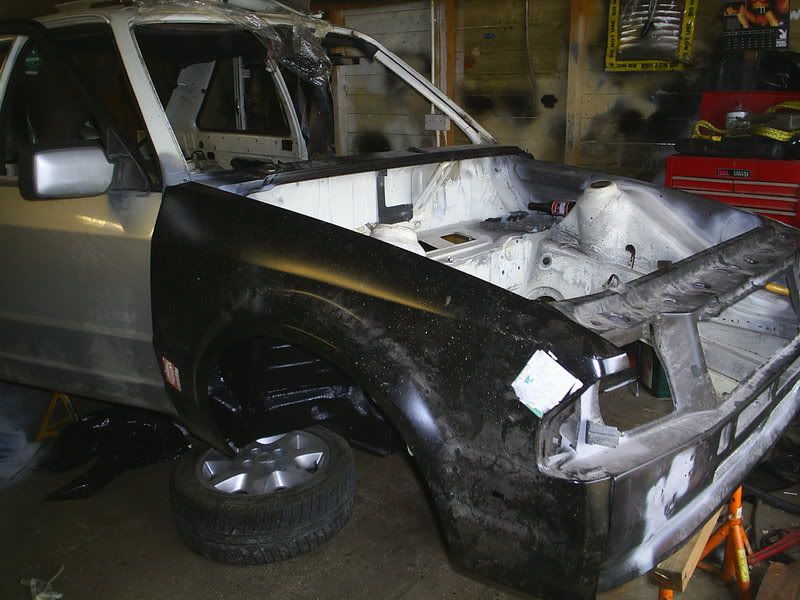
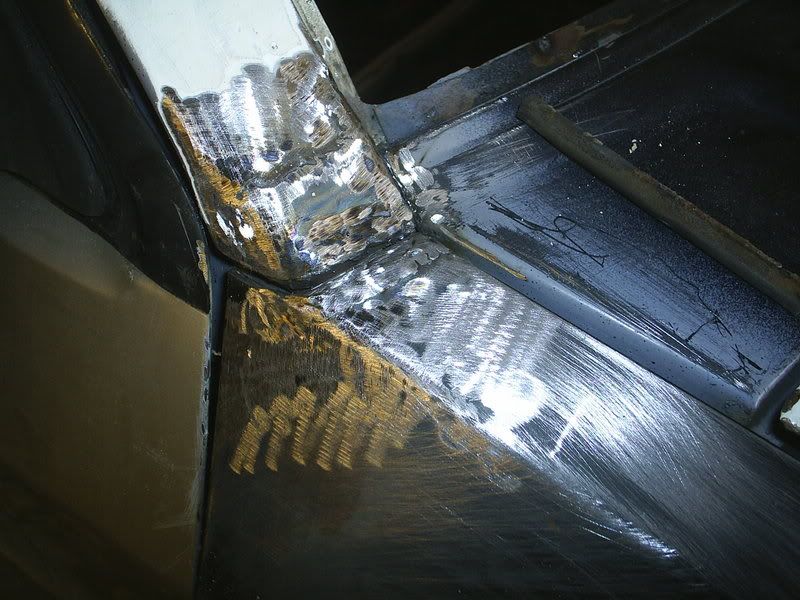
also got the wings on which fitted prefect everywhere except at the a-post and skuttle area ,had to add a wee bit of metal to the wing before i welded it on ,took a wee while to get right but i think it paid of as the gaps are good now
Image

Image
still got to do sand and shape the filler but u get the idea


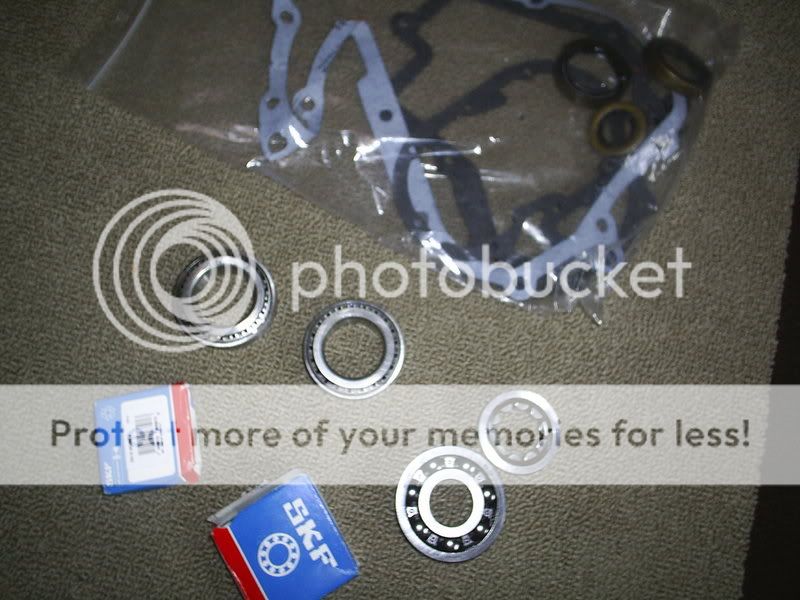
also got my rebluid kit for my gearbox ,gonna do this next week looks like fun eh :pale:
Image
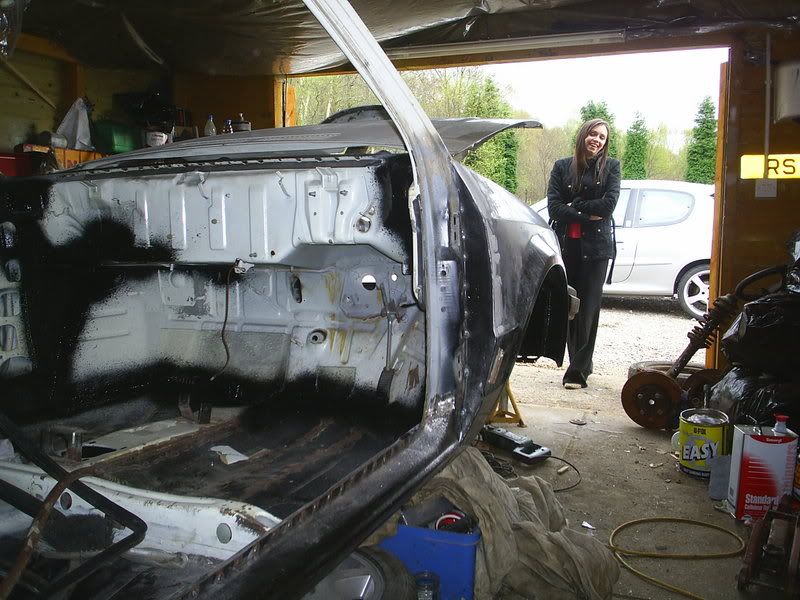
heres the girlfriend happy as fook as she knows she might start seeing more of me as the s1 finally starts to look like its gettin some where:
Image
finally finished welding the s1 up this week .....thank fook its been a long hall to get the old girl back to a solid shell with almost every panel either being replace or repaired so its had
2xsills
2xinner sills
1x front cross member
1x front panel
2x door jabs
2x inner wings
2x wings
1x skuttle panel
2x front floor pans
2x rear floor pans
1x chassic leg
1x battery tray
2x rear arches
1x fuse box tray
also repairs to boot floor ,rear valance,A-pillers ,bulkhead and chassic leg ......fook me what was i thinkin buyin this car ha ha

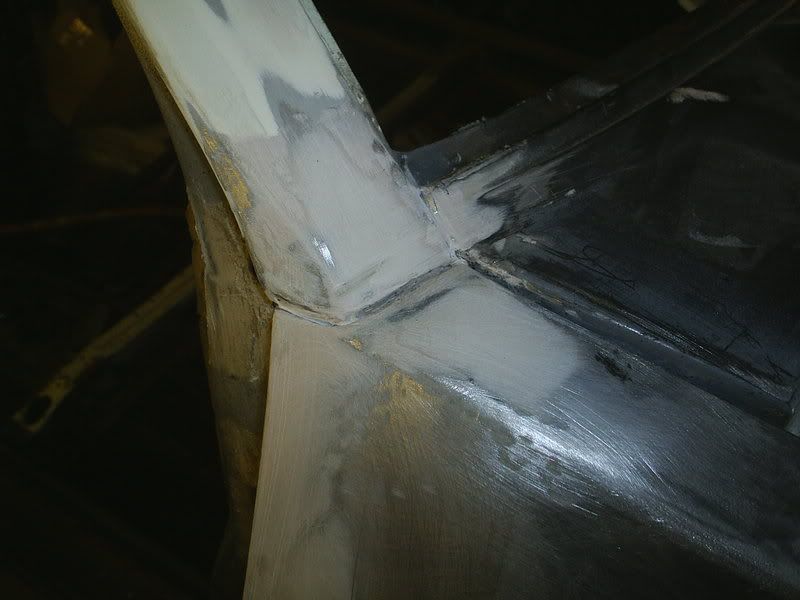
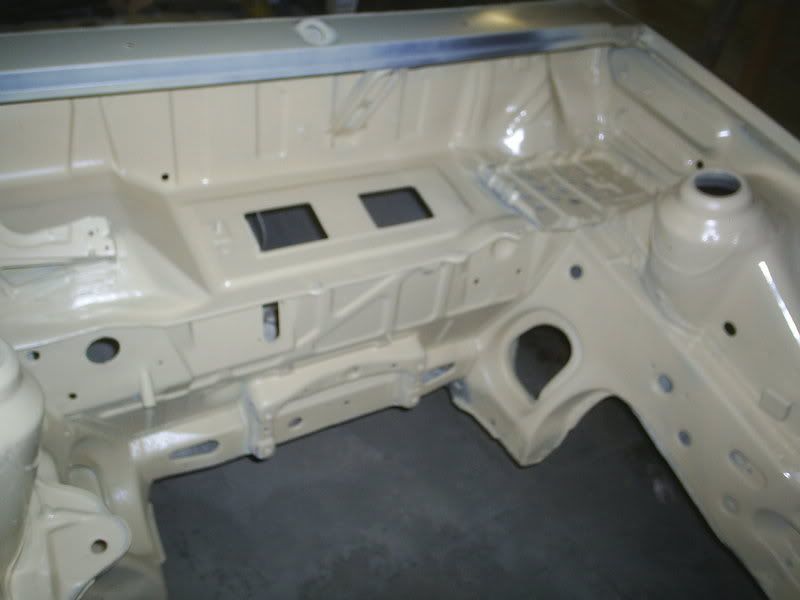
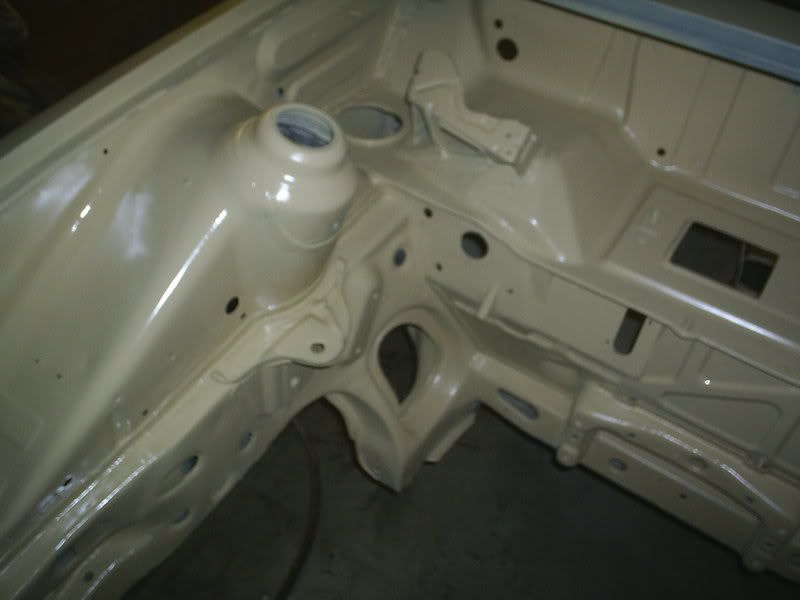
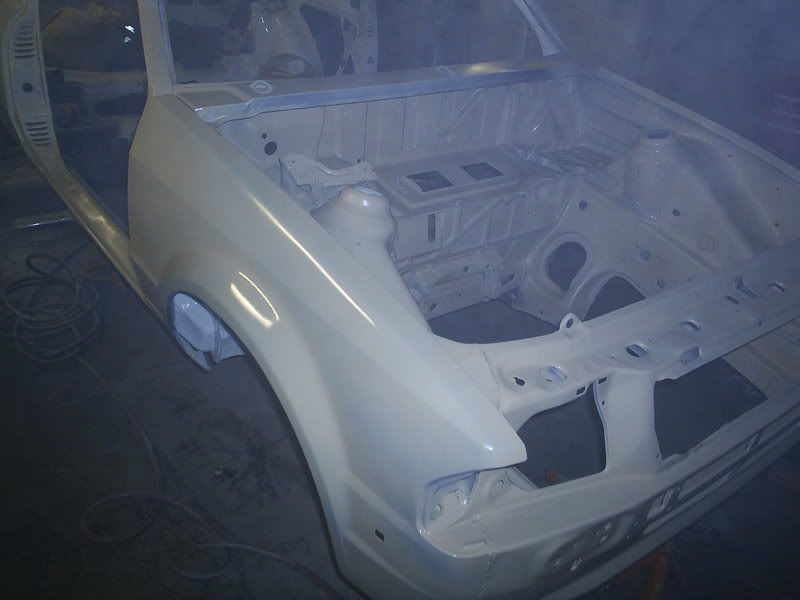
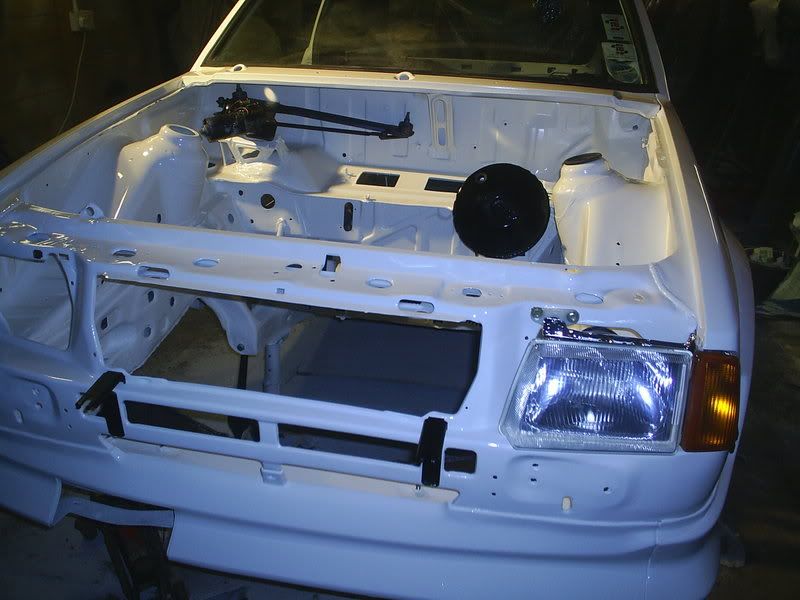
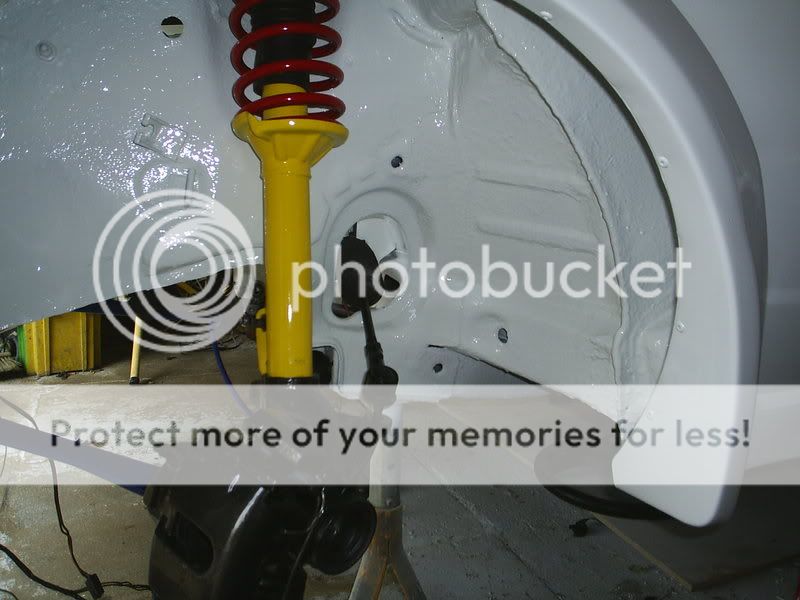
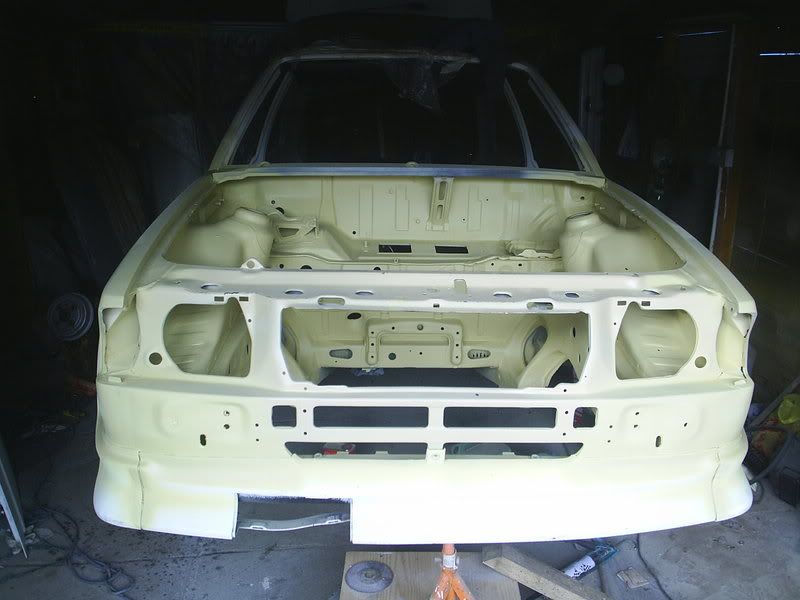
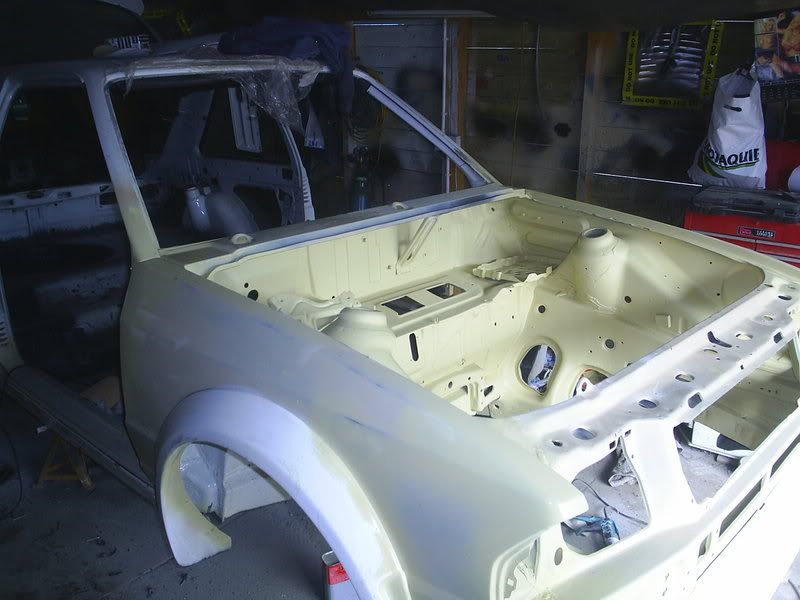
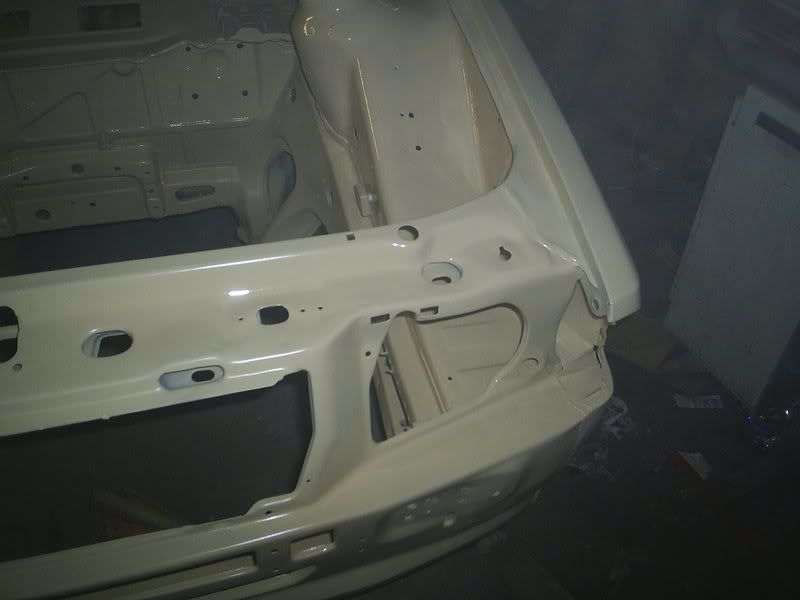
so anyway got a wee got of primmer on her tonight ,well just the engine bay and wings ,
Image
Image
Image
Image

so not long now till it wears a new got of diamond white ,should hav the paint by next week ,so that will give me time to tidy any rough bits up
Image
scottrs1
 
Posts: 74
Joined: Tue Jan 01, 2008 12:12 pm

Re: scottrs1 budget s1 rebluid

Postby scottrs1 » Wed Jan 02, 2008 10:11 am

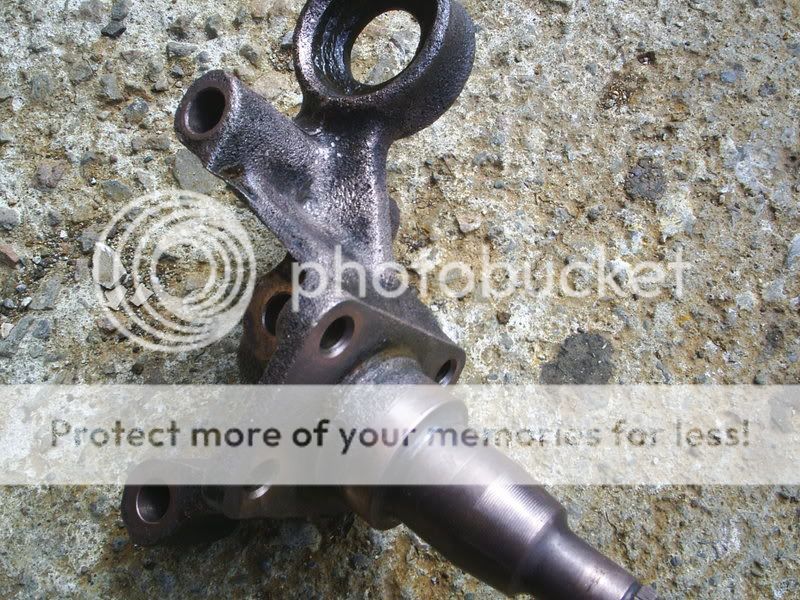
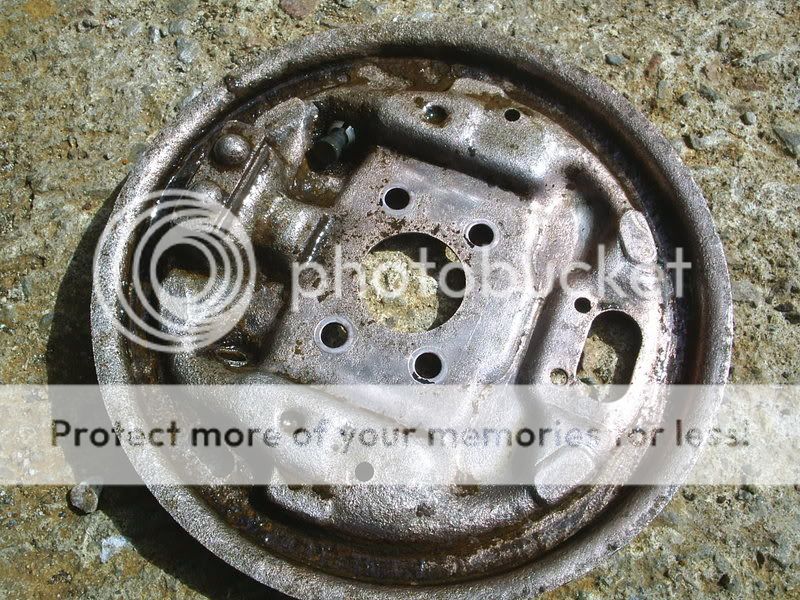
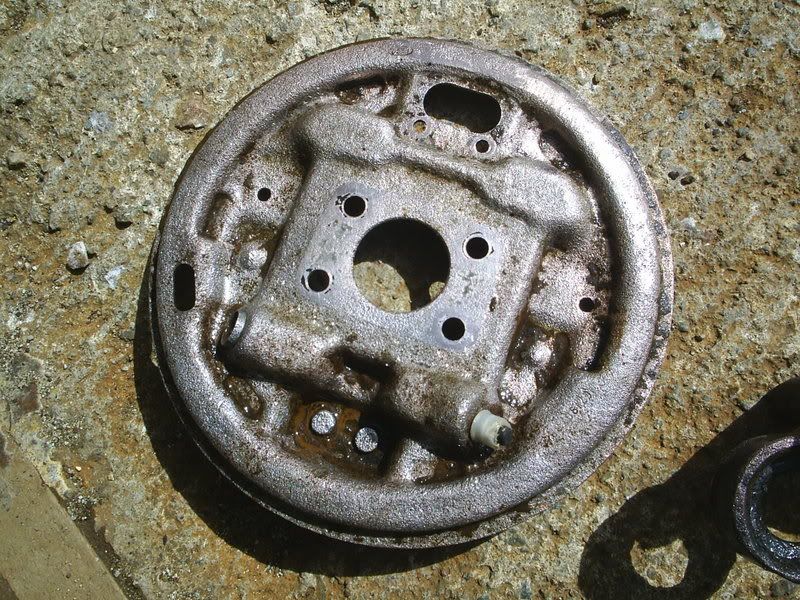
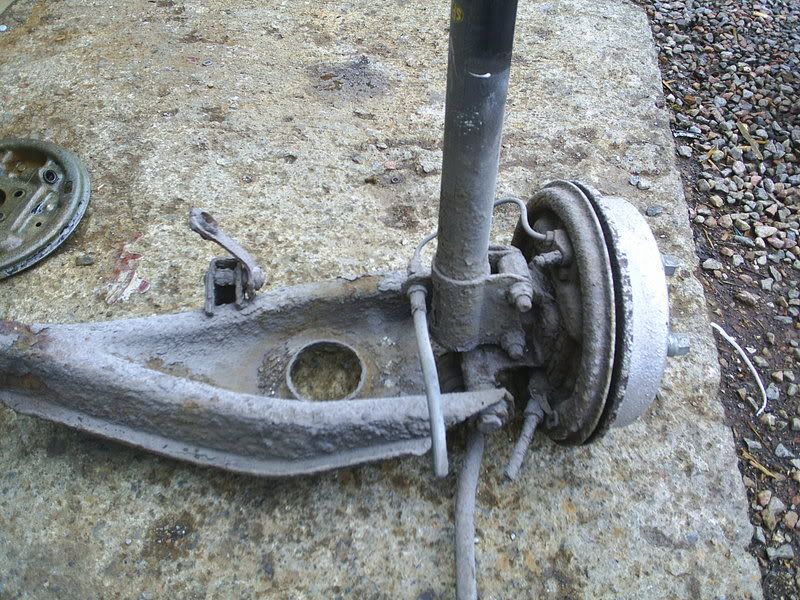
right as u all know this car was covered in rust ...everywhere:mad: and the time had come to start tidying the underside parts up ..ie suspension parts ,brake back plates hubs etc
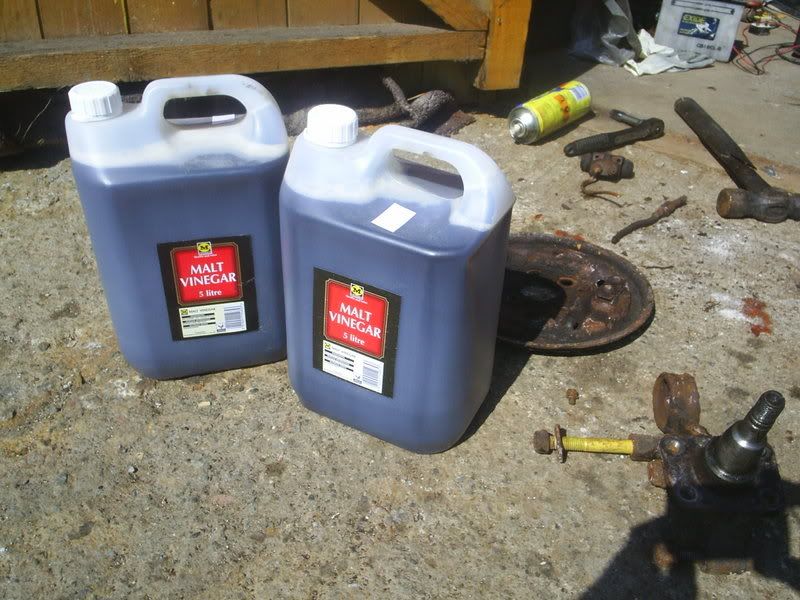
so while lookin through the this web site i seen a guy used vinegar .....yes thats right VINEGAR ,to clean the rust of ,now i thought this would never work but thought it was worth a try :D

so of i went to morrsions to buy lots of the stuff

Image
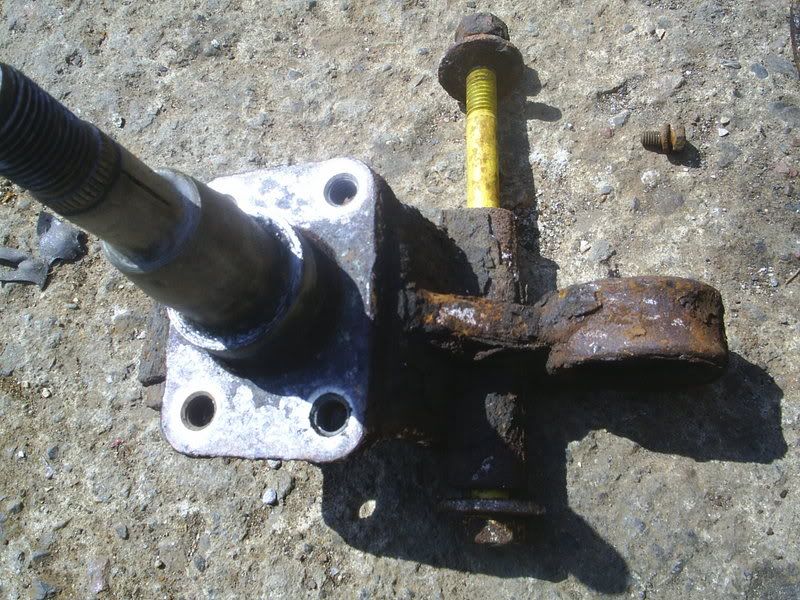
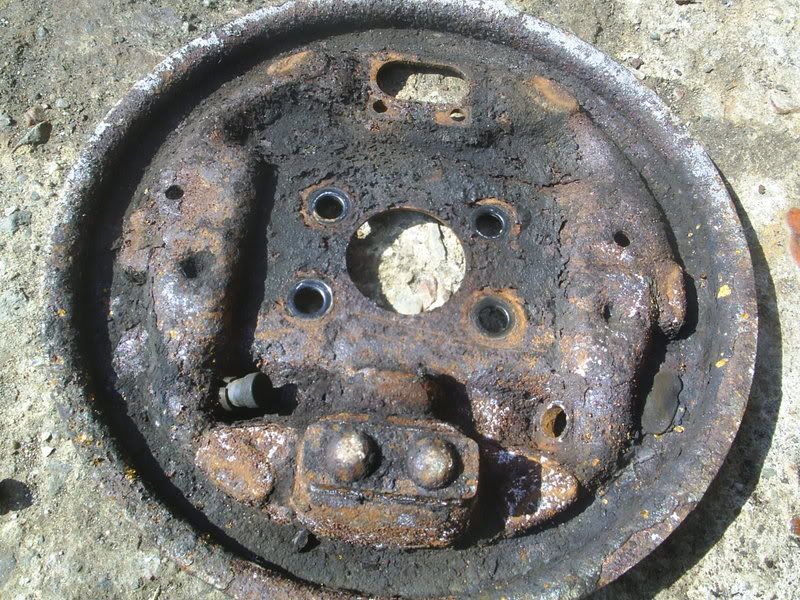
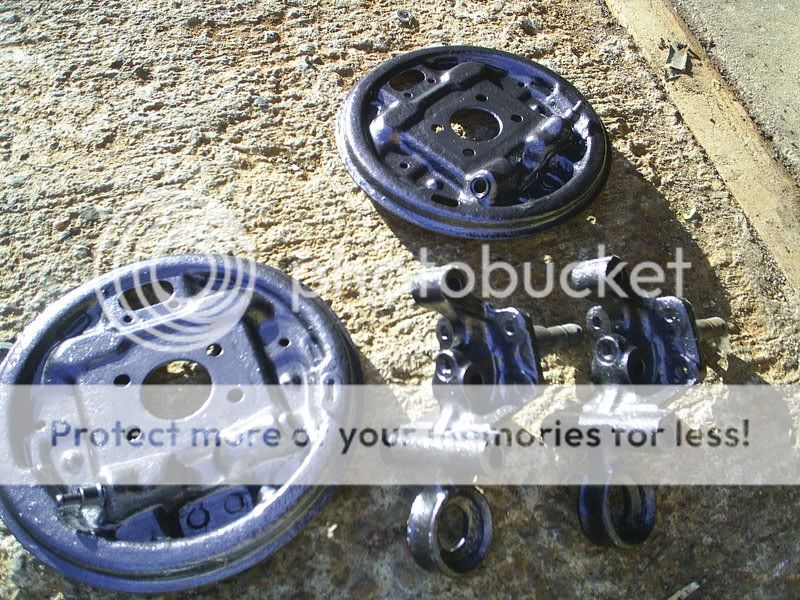
poured all this into a big bucket and left these parts to soak in it (the before pics )
Image
Image
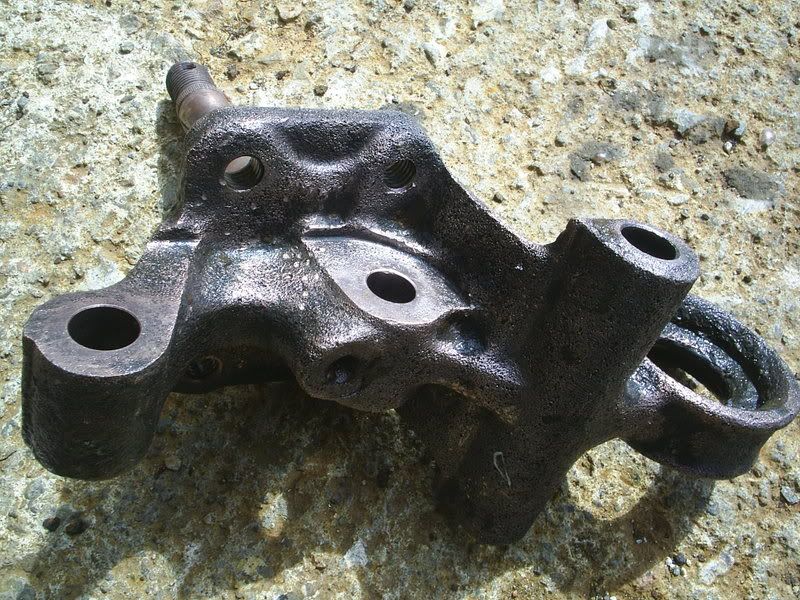
and after 48 hours in the vinegar
Image
Image
Image
Image

now they still need a wee clean up ,but hey u have to admit its amazing how much the vinegar stripped the rust of ,:D
heres another update
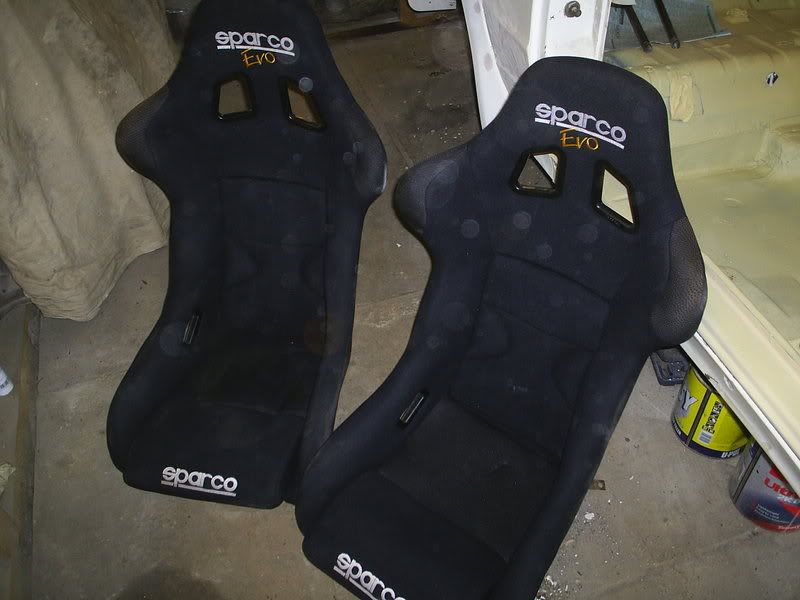
got ma seats today ....what you,s think ,,,and before u ask i still hav the originals and there mint ,no wear no marks and there stayin that way ,so they are of up to the attic ,
i want my s1 to be just a little different to the rest of them ,i'am not going crazy just wee things i want to change and make people look twice

Image
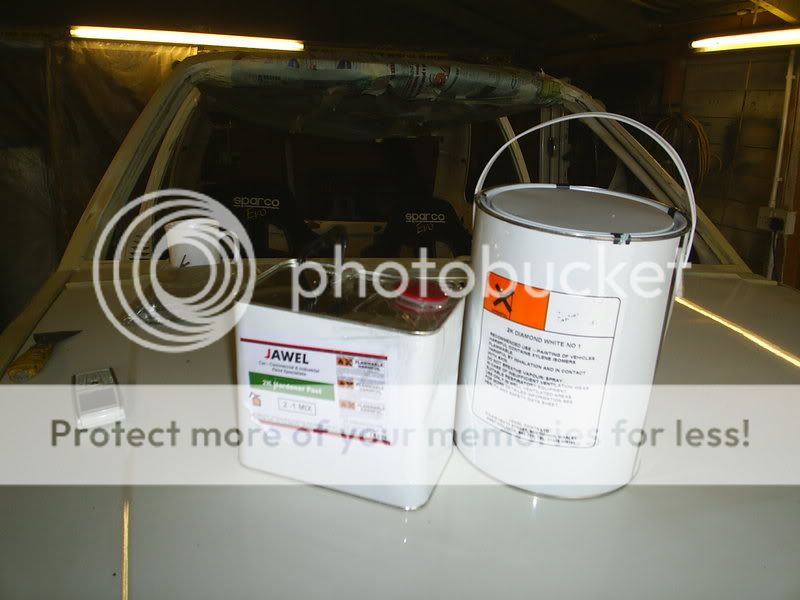
also the paint came today 5litres of candy yellow .............na only jokin,good old diamond white

Image
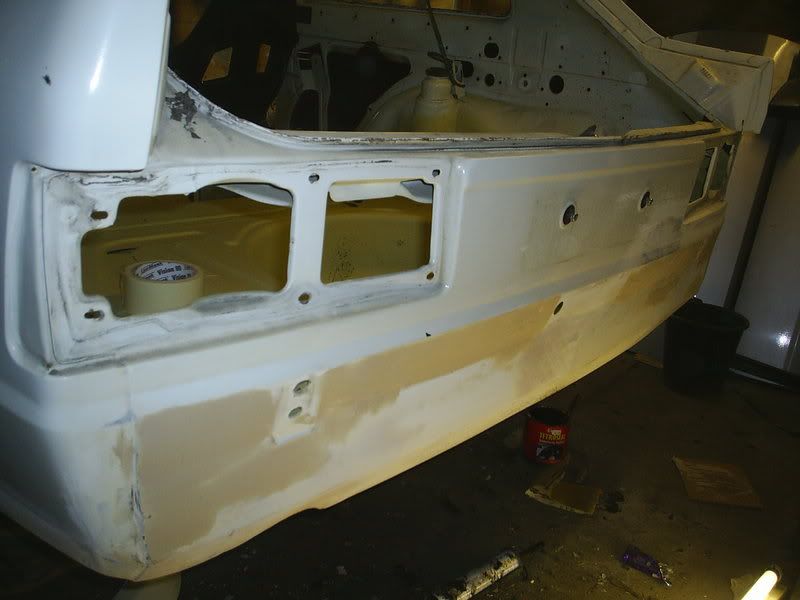
also nearly got the rear panel sorted ,had loads of wee dents in it .....but no more smooth as a babys ;);););) now :D Image
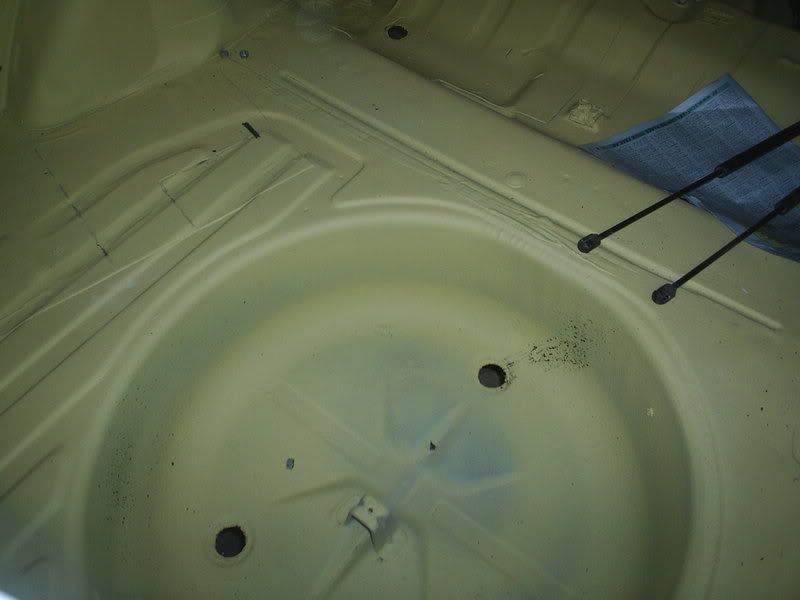
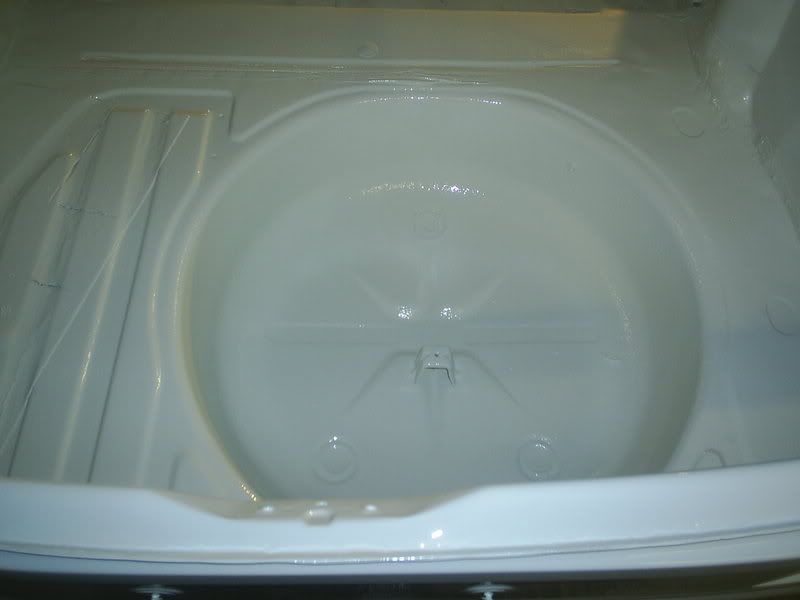
boot floor got a wee splash of primer to
Image

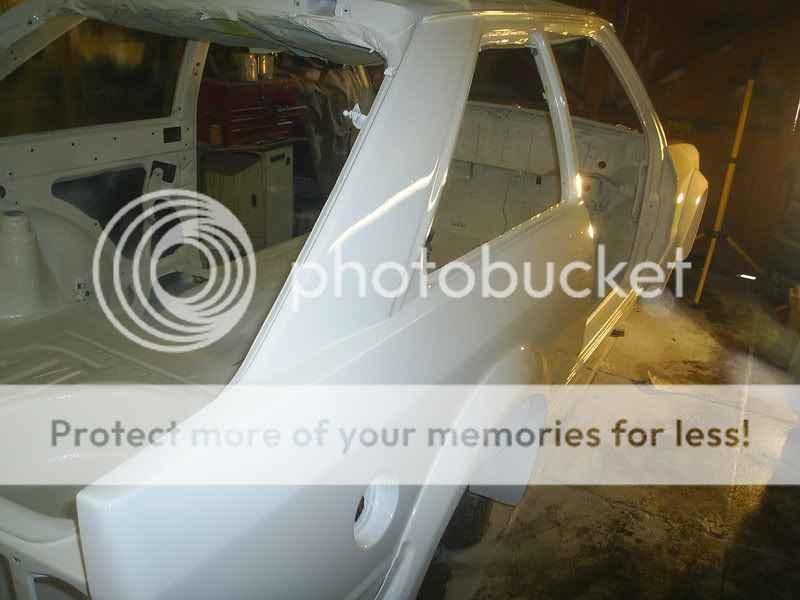
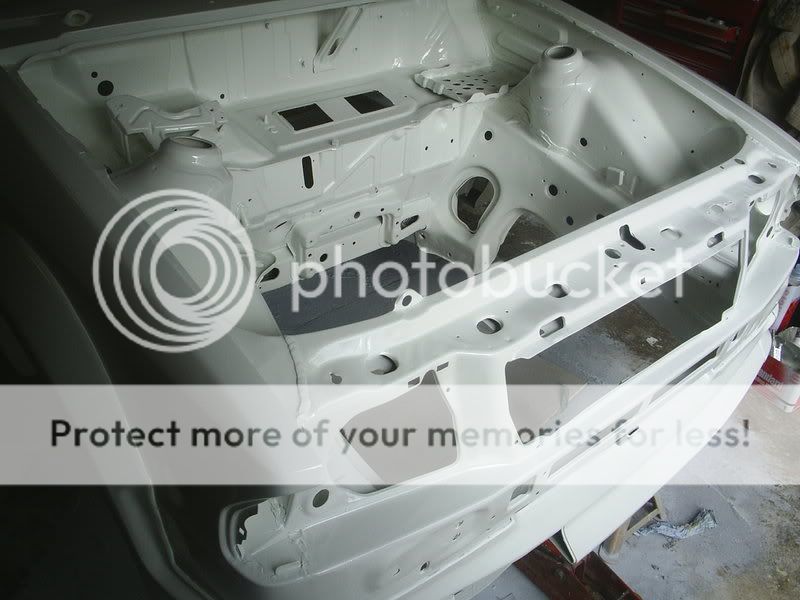
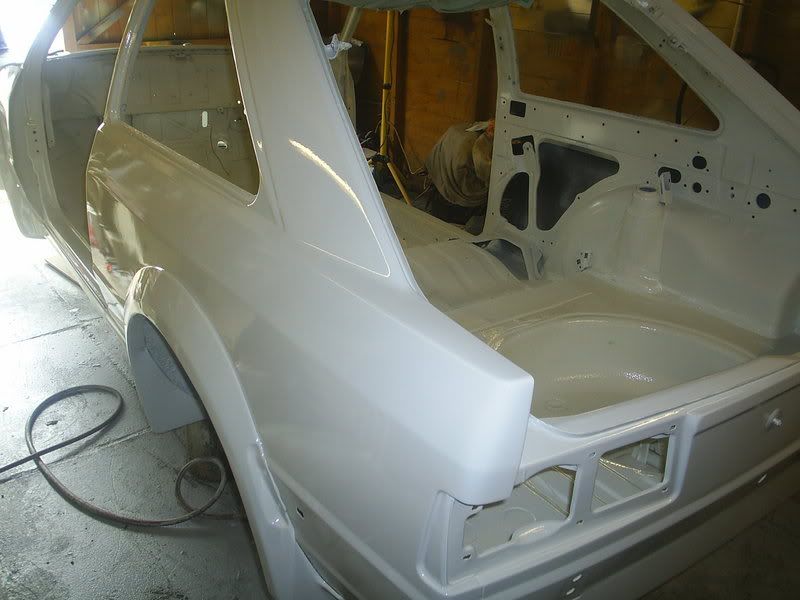
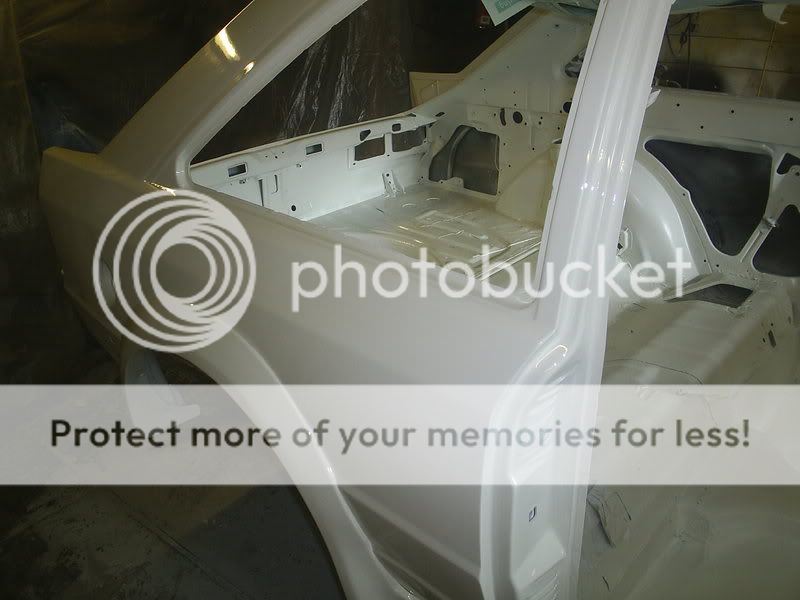
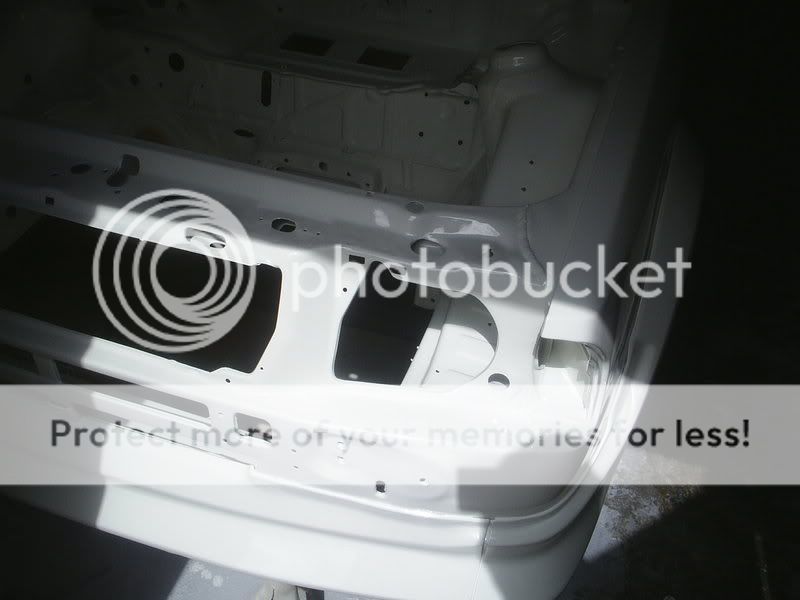
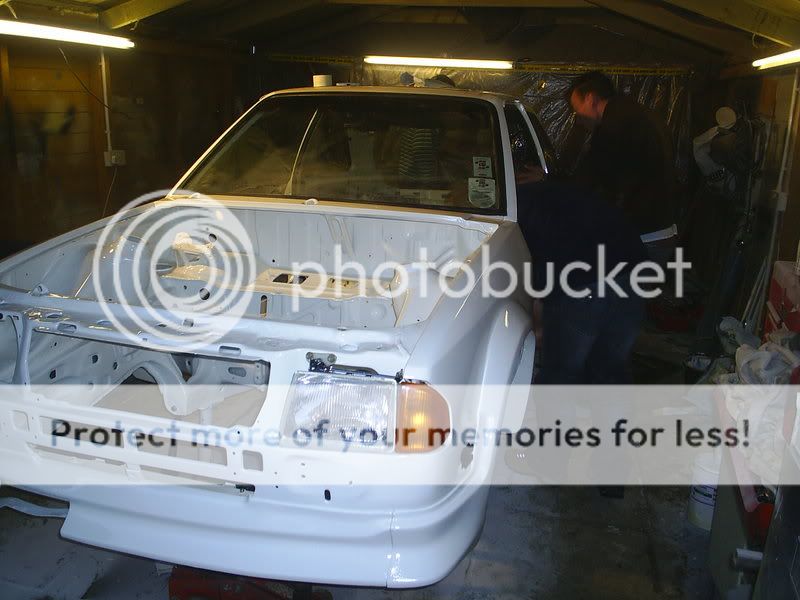
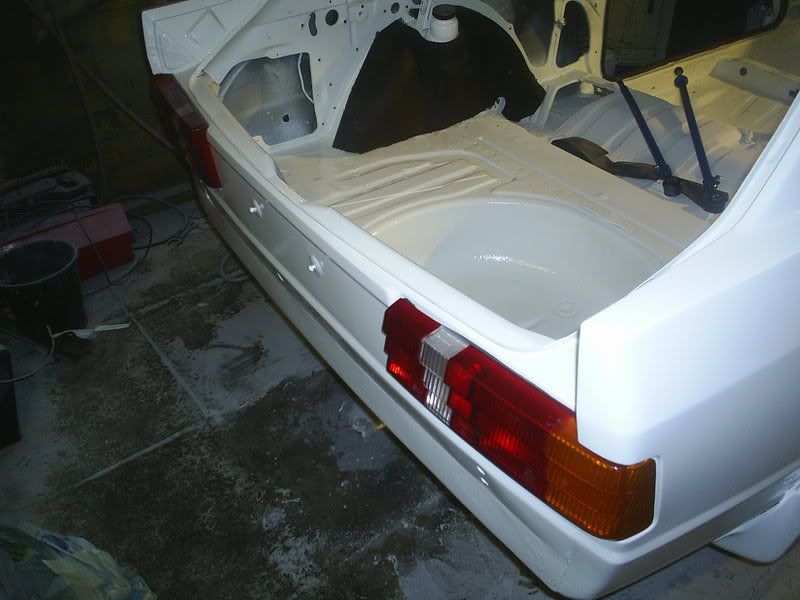
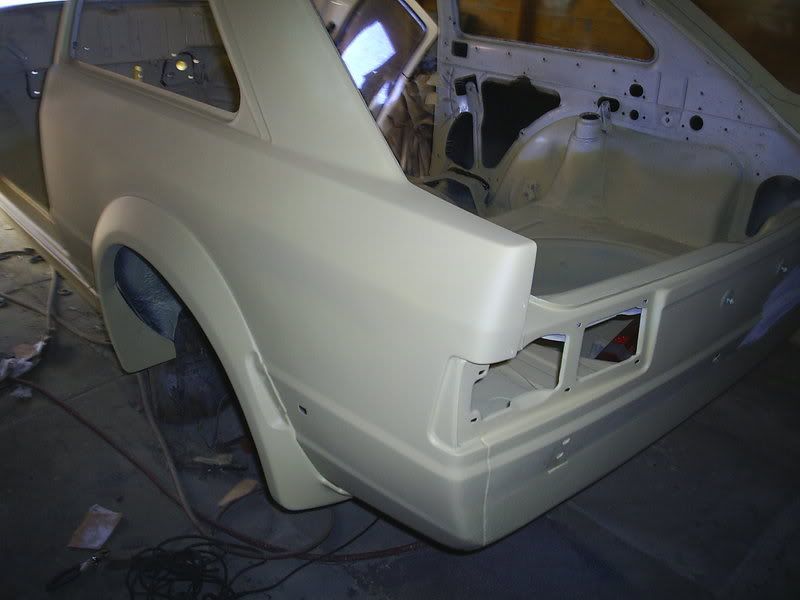
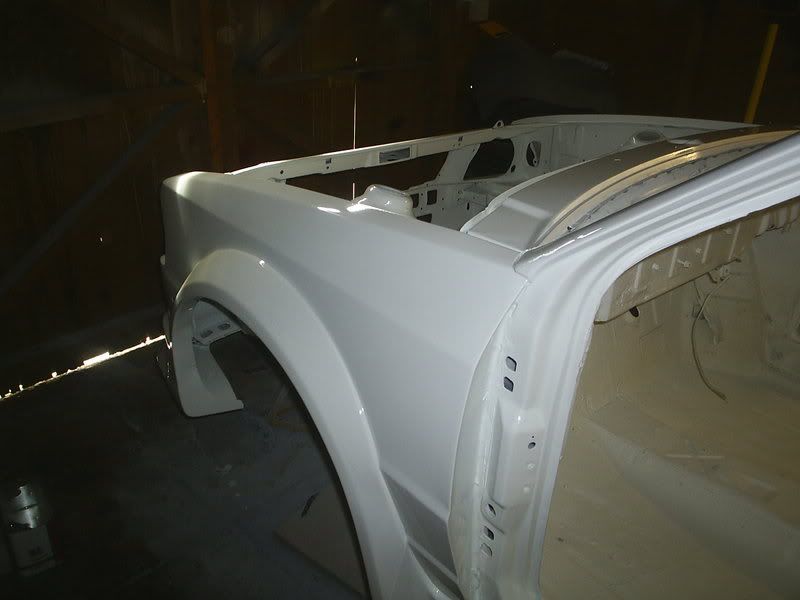
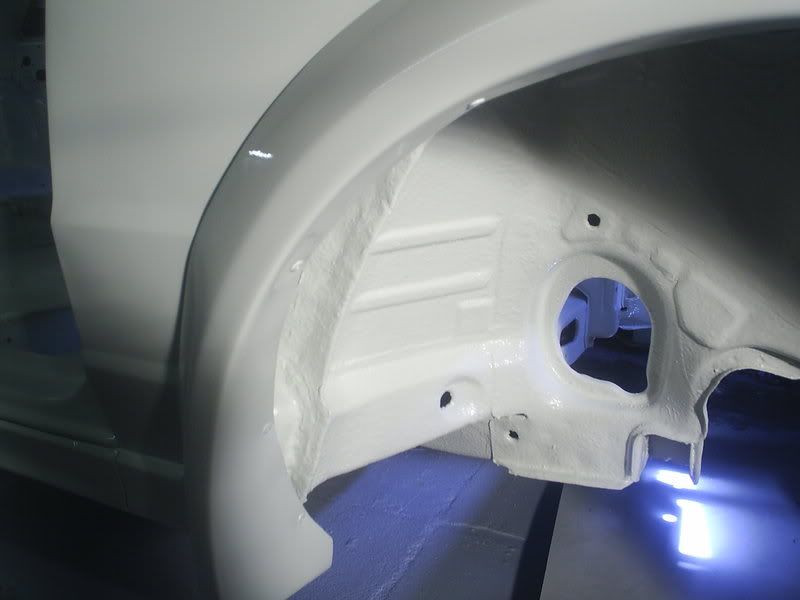
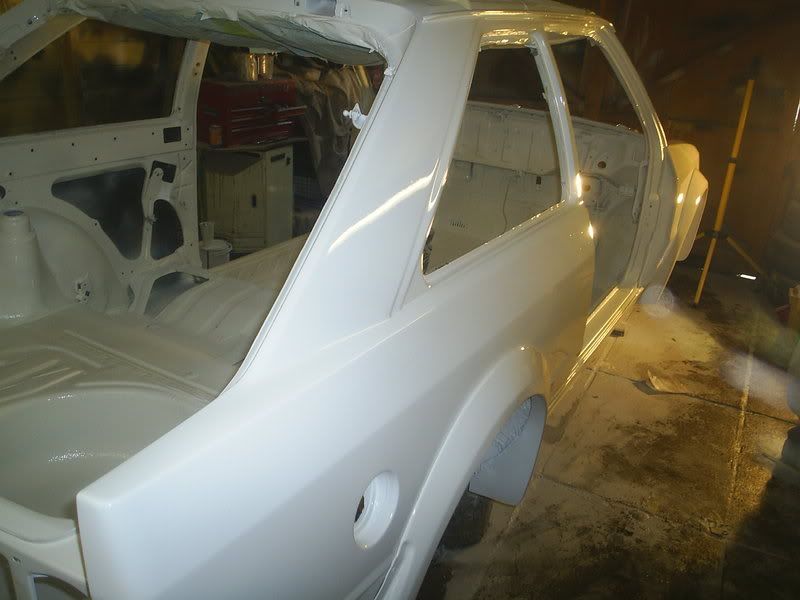
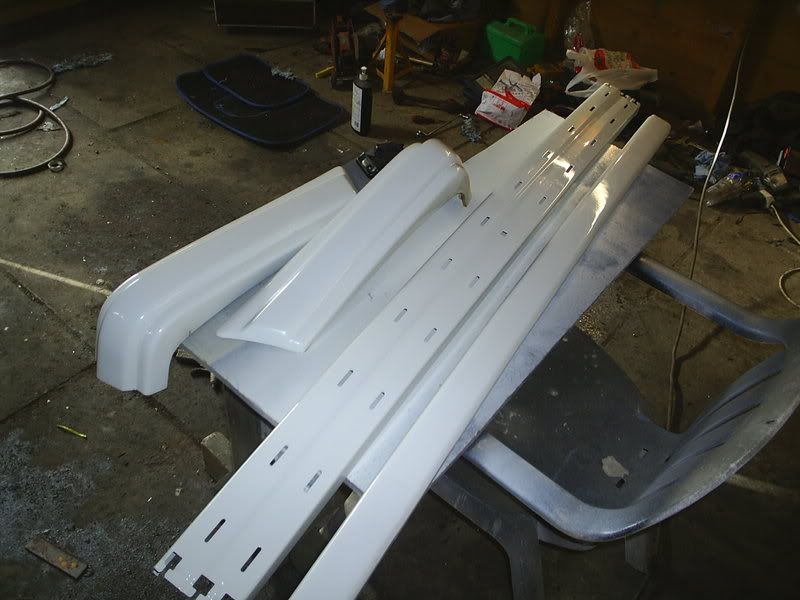
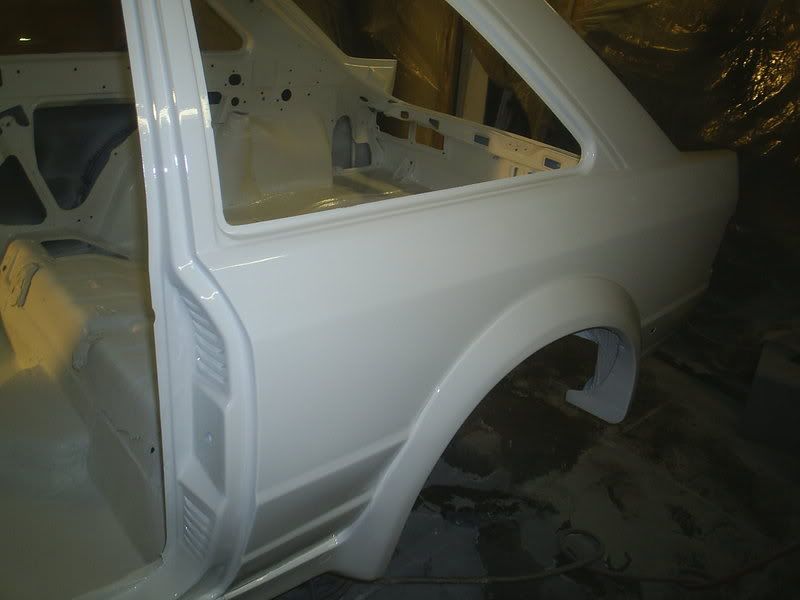
painted the car today ,took me 3 hours just doing light coat after light coat ,dont think i done to bad as i am not a sprayer by trade and only every painted 1 car before :D
Image

Image

Image

Image
Image

overall it turned out really well ,it will need a flattan and a cut and polish which will hopefully take out a few wee runs and dust marks

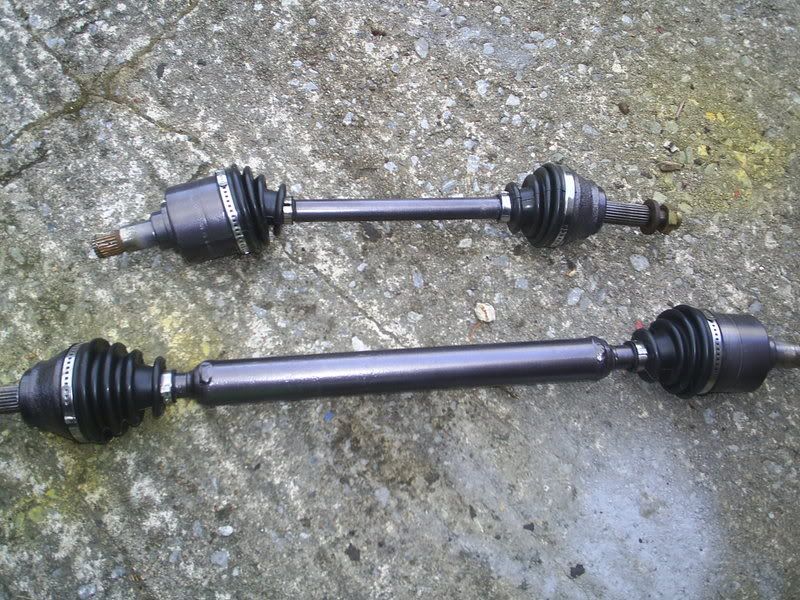
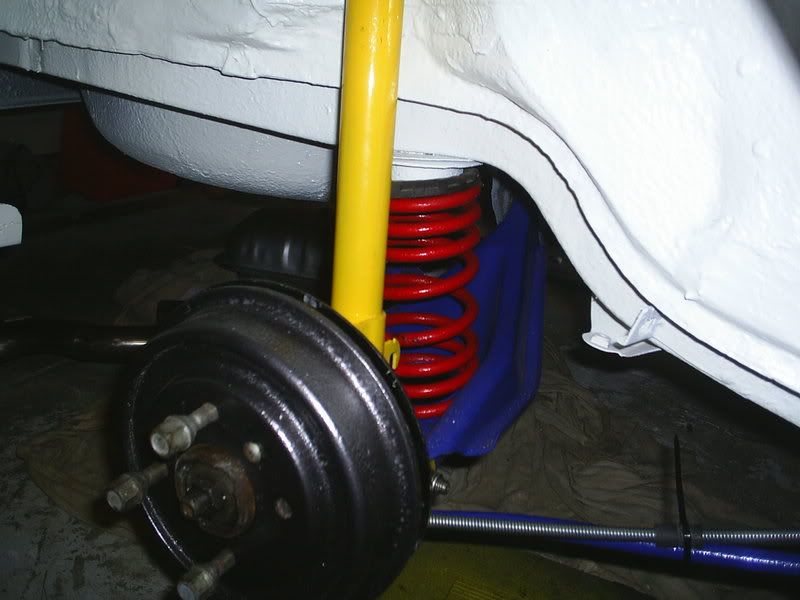
also got my drive shafts put back togeither and back plates and rear hubs painted to
Image
Image

got the boys round tonight to give me a wee hand to try and put the s1 back together :lol: ,its been almost a year since i strip her ,but i will be honest and say its a fookin nightmare remembering where every single wire,nut,screw,bolts ,etc go anyway heres a few of tonights action
Image

Image

Image
Image
Image

thats another 12 hour day at the s1 ,made a lot of progress with the wiring loom which was in a bad way ,still got the headlight wires to sort but i can do that in place ,

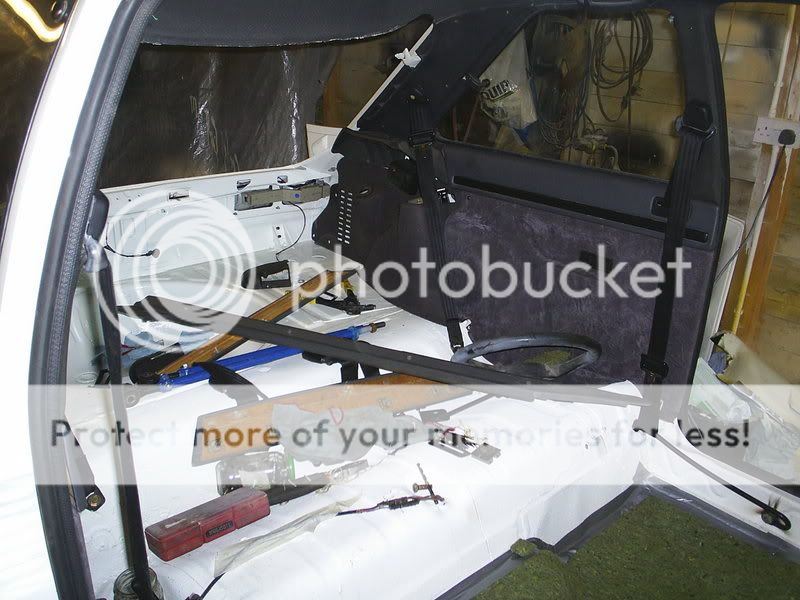
put most of the inside stuff back in ,and i know the sound deading is not original and its stuck down with gaffa tape ,but i am not going for a concours car just a really good s1 i can use all the time and take to a few show and shines :D

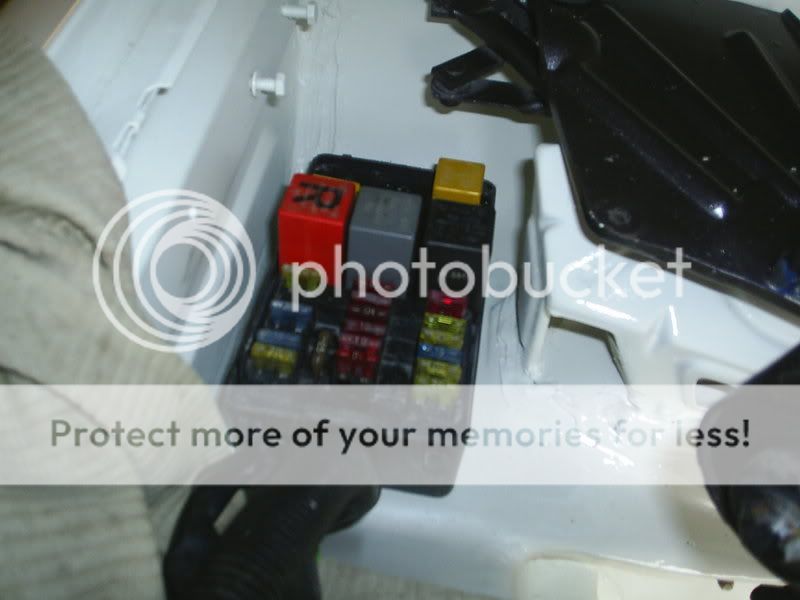
i think over the years this car has had a few resto attempts and the count less spray jobs had taken its toll on all the parts with over spray on every thing and it takes me ages to scrub and clean all the part ,took me 3 hours on the fuse box alone and i am still not that happy with it ,but we will see ,might try and source a good second hand loom ..........

heres some of todays pics

Image

Image

Image

Image

Image

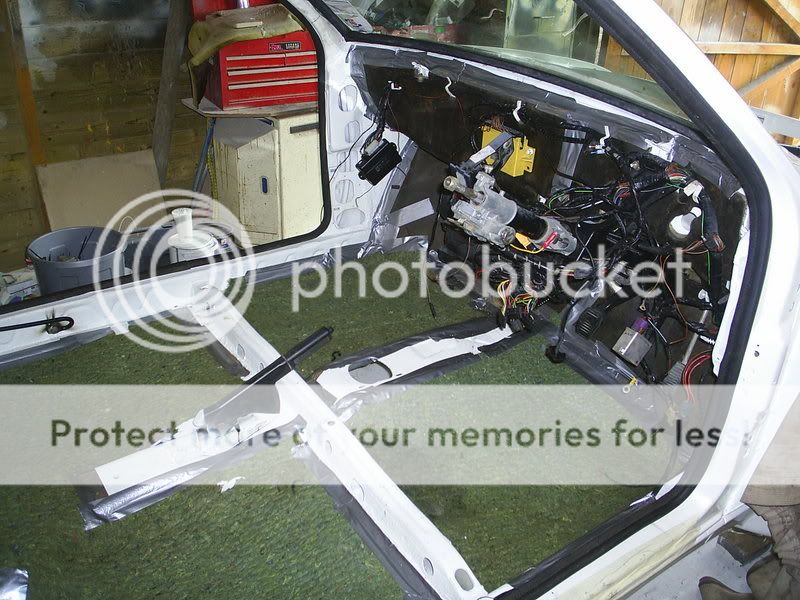
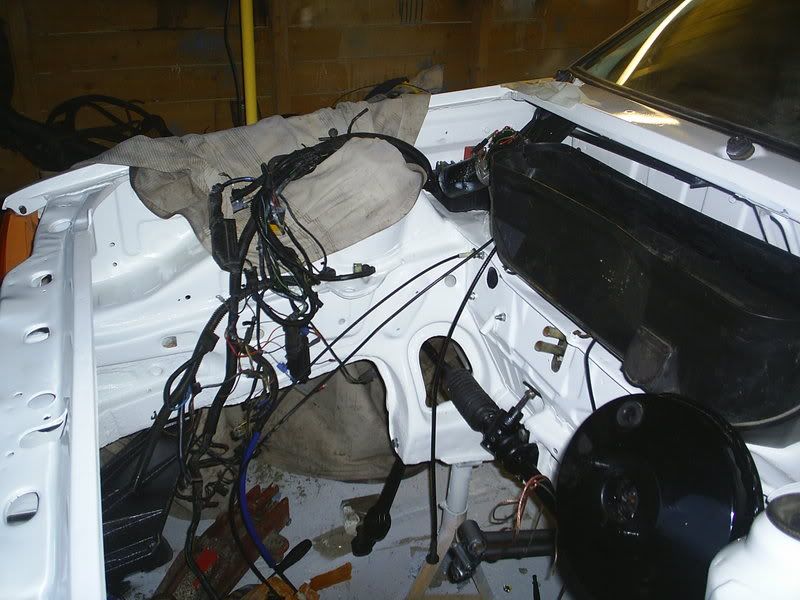
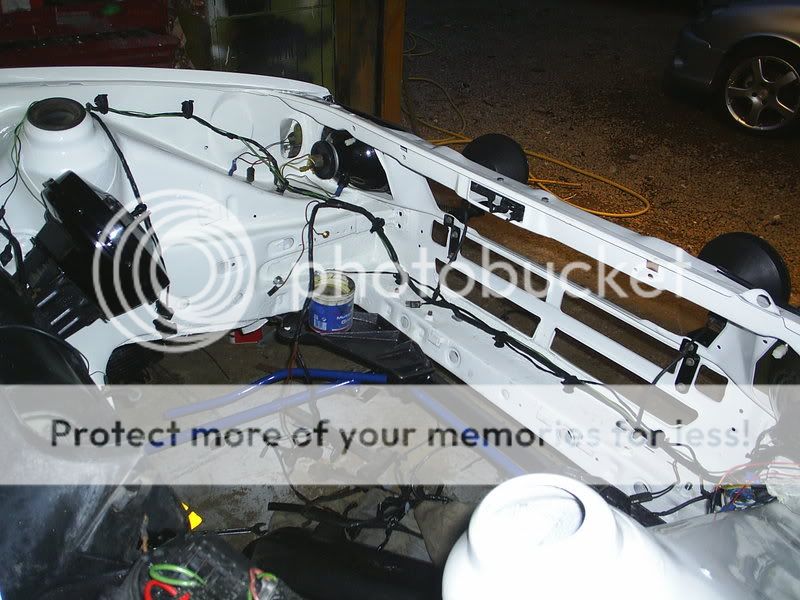
been busy again today ,decided i would tackle the wiring in the engine bay :cry: :cry: :cry: what a nightmare the whole loom was covered in overspray from a past respray

tired to rub it of using paint thinners but it soon became clear this would,nt work ,so i decided to strip it right back and re-tape the whole loom ......:cry: ...what a nightmare that was, some of the loom had 3 layers of back tape on ...oh and some red,blue and white tape to :confused:

well after hours and hours it started to look a lot cleaner so all i need to do now is repair the loom where is been cut or damaged over the years ,mostly to do with the horn and side lights and jobs a good-un :thumbsup:

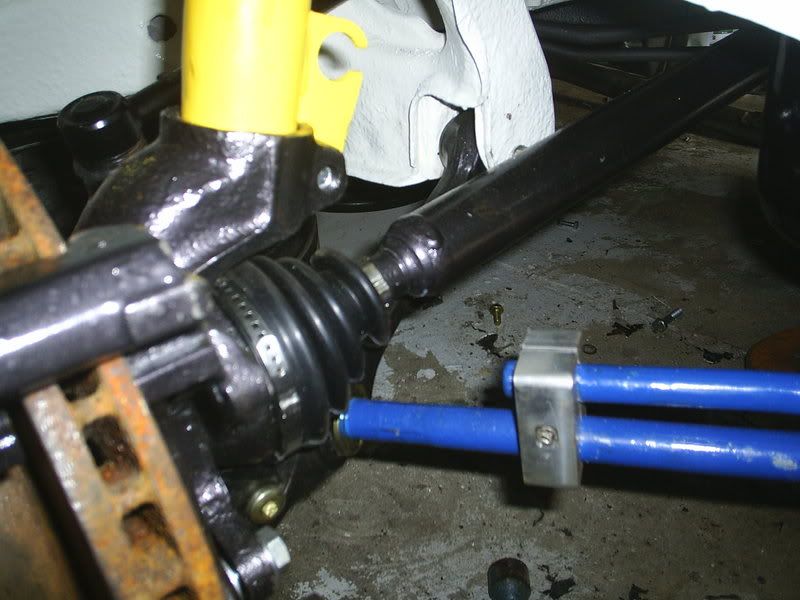
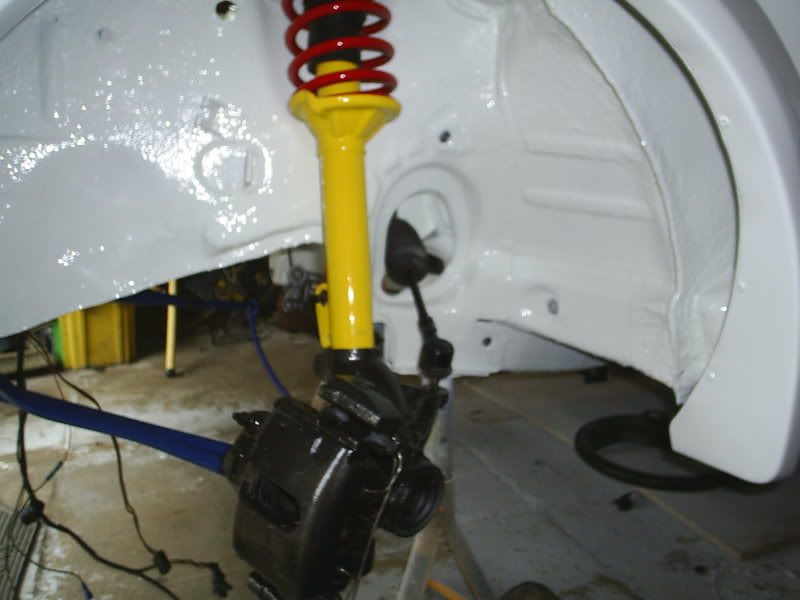
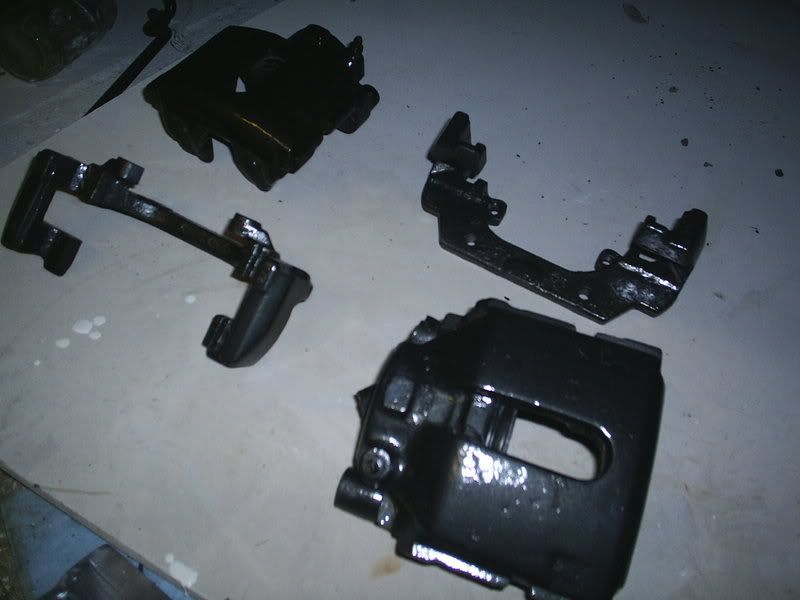
also stripped down the front hubs and threw them in the vinegar to soak ,while i cleaned and painted my cossie brake cailpers up :rsg:
heres some more pics
Image
Image
Image
Image
Image

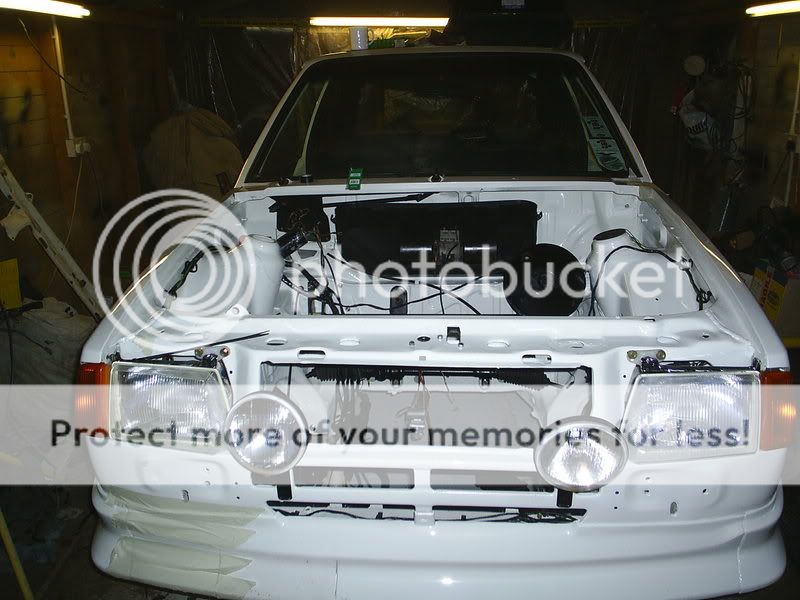
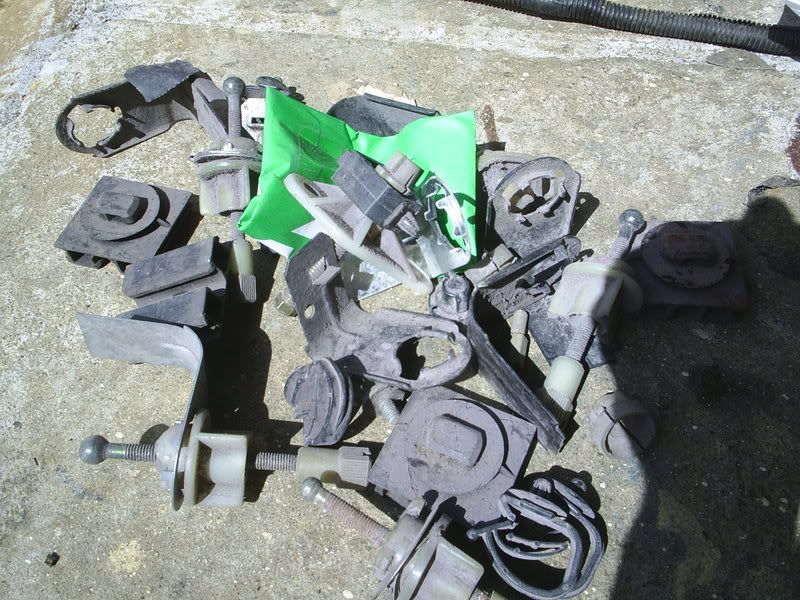
well started of today tryin to fit the headlights and indercators in ,every thing was going well un-till i found out i did,nt have half the bits , :cry:
the new headlights came with new top mounts ,but i was still missing the bottom mounts and the bolt and plastic clip that held the indercator to wing and headlight............(well i had some of the bits but they where fooked)

anyway was round seeing lad i know who has a body shop and was telling him about hassle i was havin .....when of he walk into the back of his garage and pulled out a box which was full of every type of clip ,bracket,screws etc for all different makes of cars :D ....................so as luck would hav it i managed to find everything i needed ,a bit dusty but mostly brand new :D .....how lucky ehhhh
Image
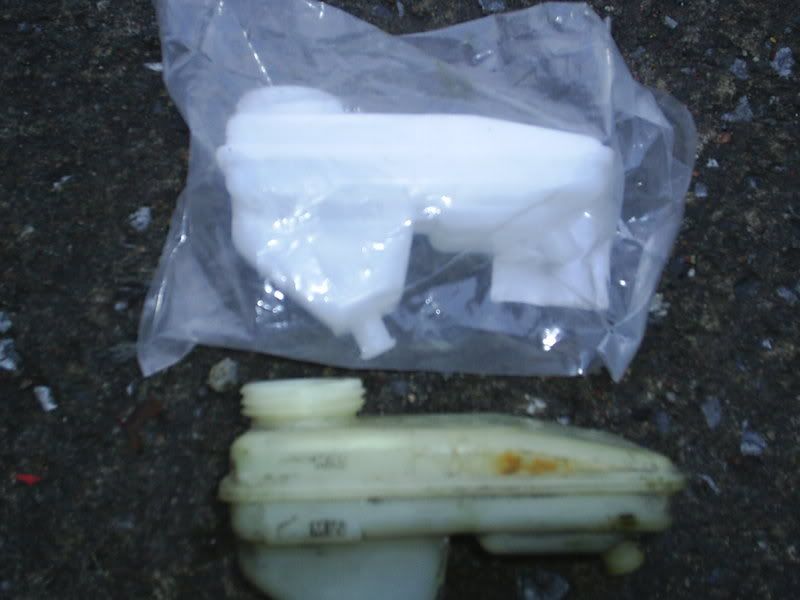
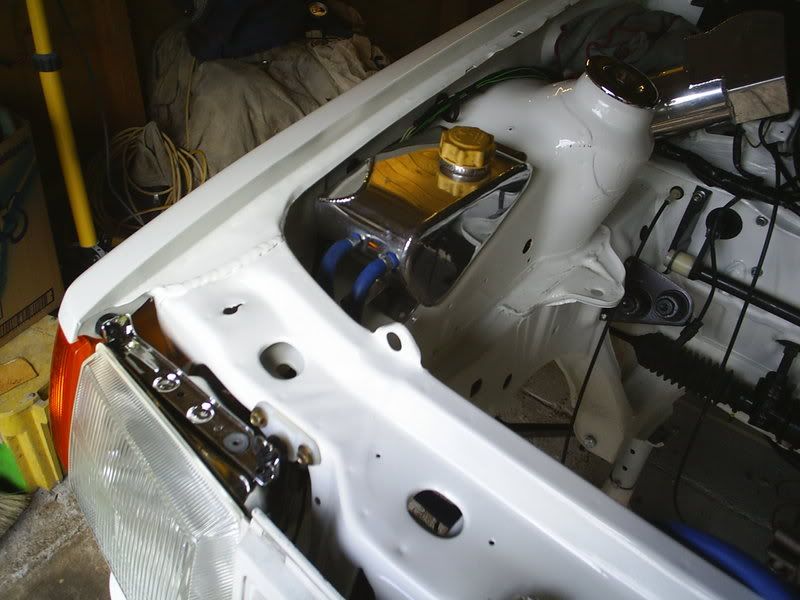
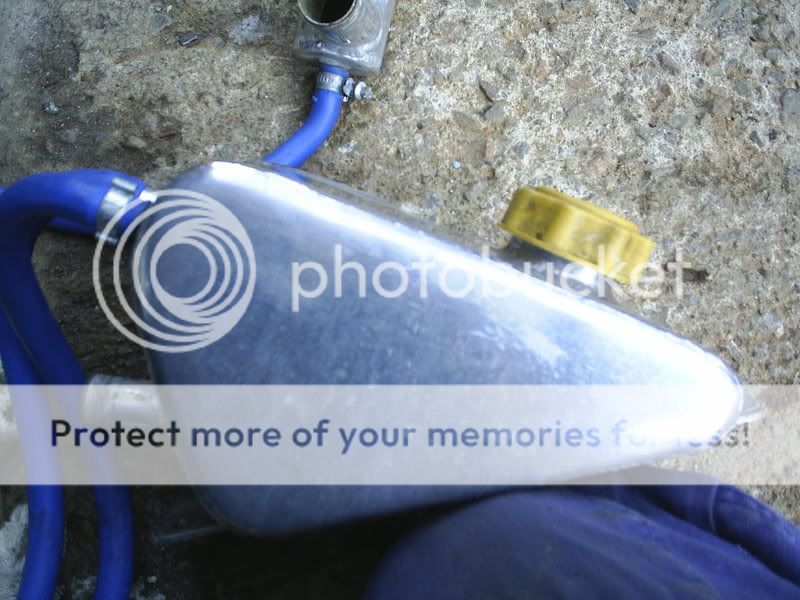
polished up the header tank to (before)
Image
(after)
Image
done this as well ,this might change again as i dont know if i like it or not
Image
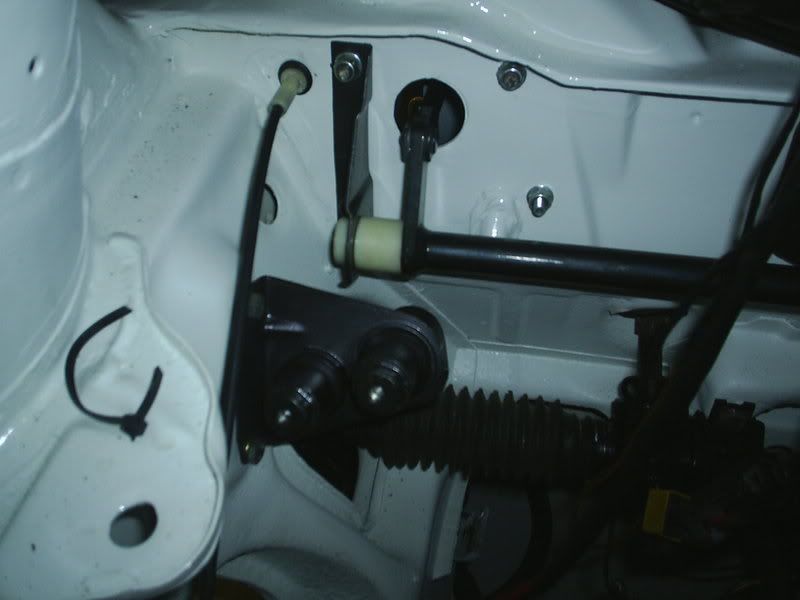
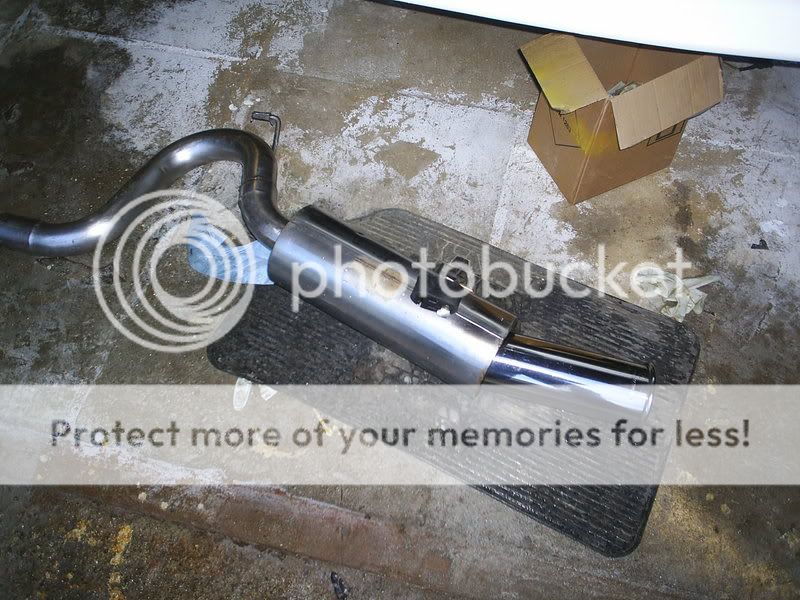
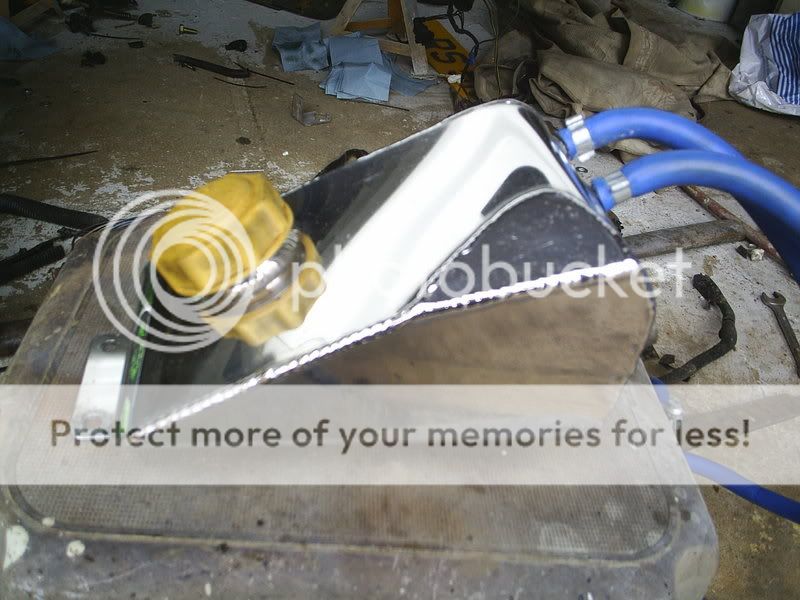
started to make a start on the exhaust as well ,took hours to clean it up and polish it up ....worth it i think
Image
Image
got the front sort of built up but i am still waiting on new bits so it will all need to come of again ,just put it on for a photo :D
Image

so thats it for a while back to work next week then i am of to sunny tenariffe for two weeks ,so prob wont be back near the car for a month :(
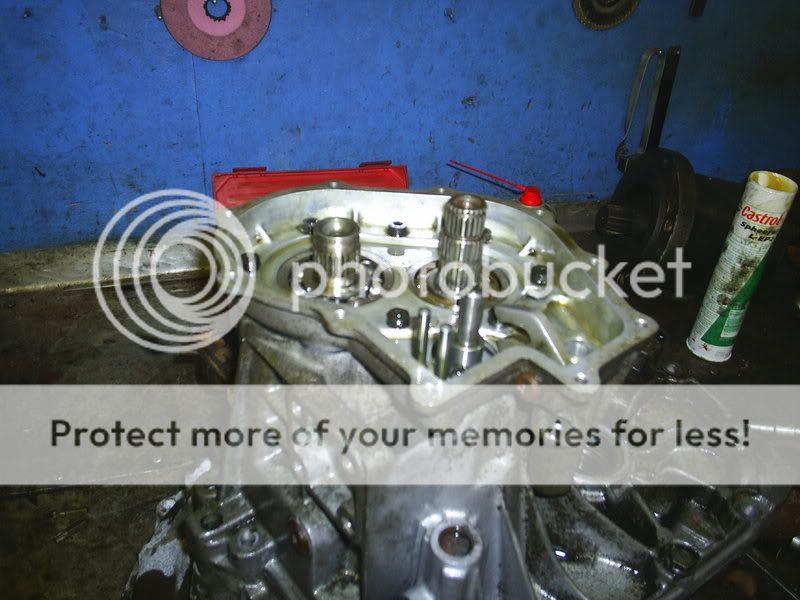
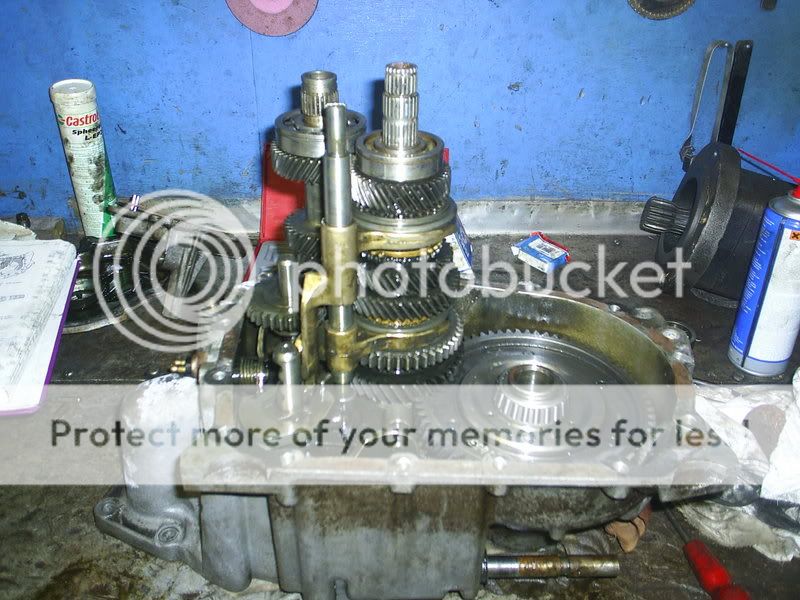
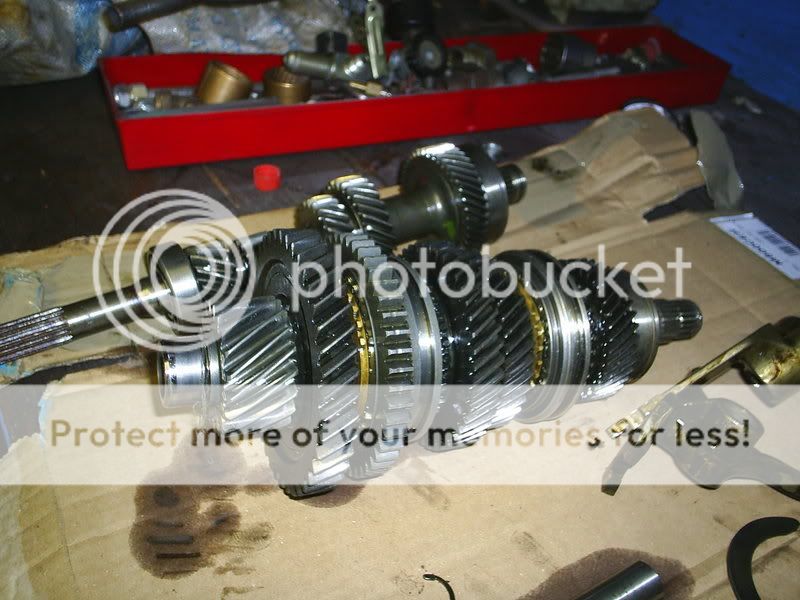
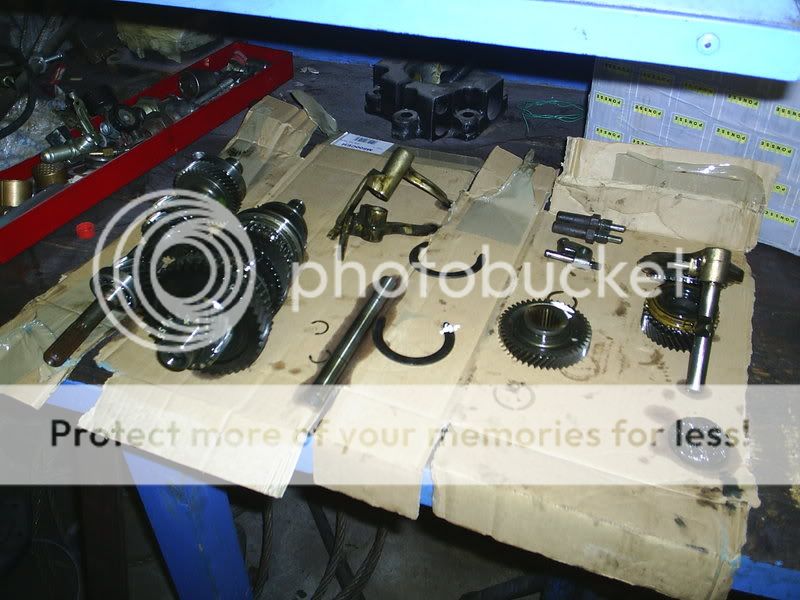
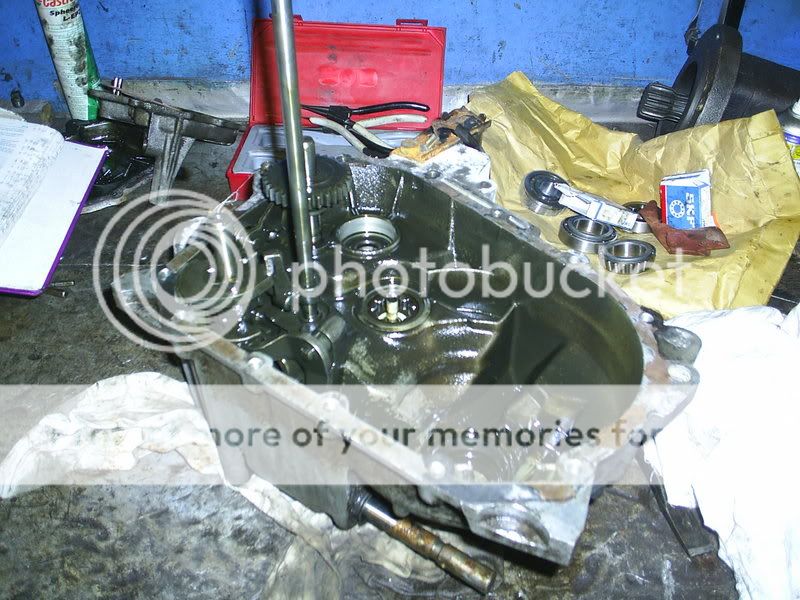
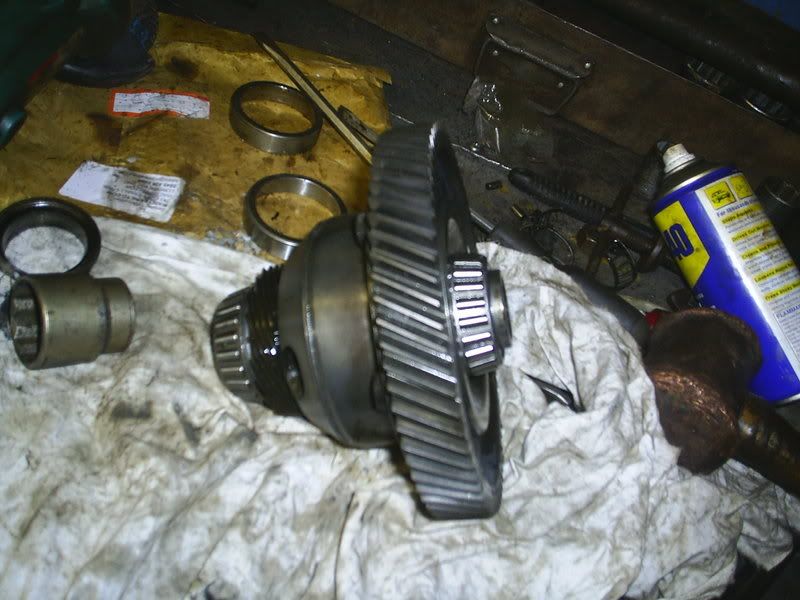
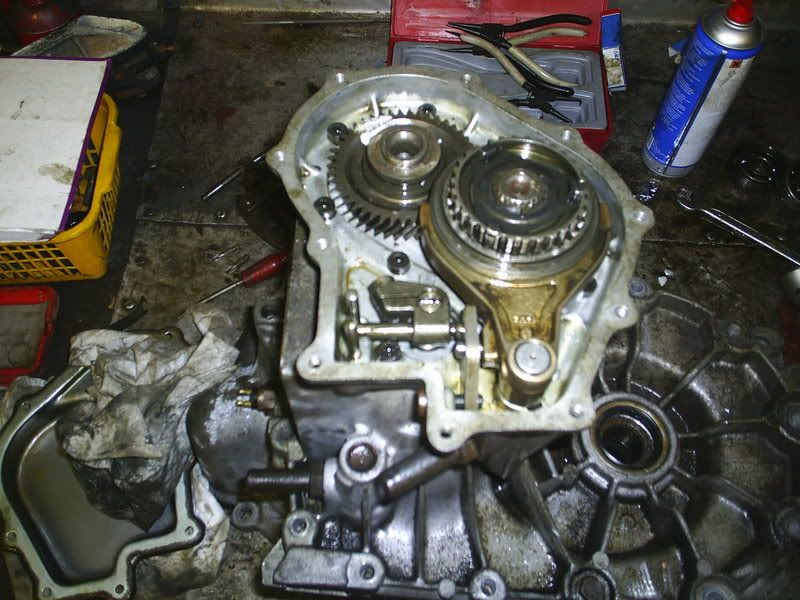
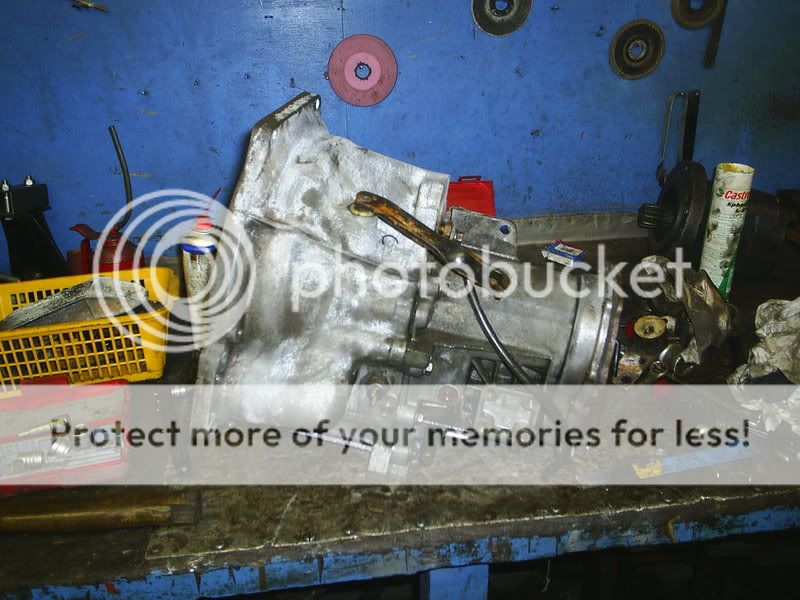
thought i better do the gearbox ,managed to do it at work which was magic as they had all the tools i needed ,
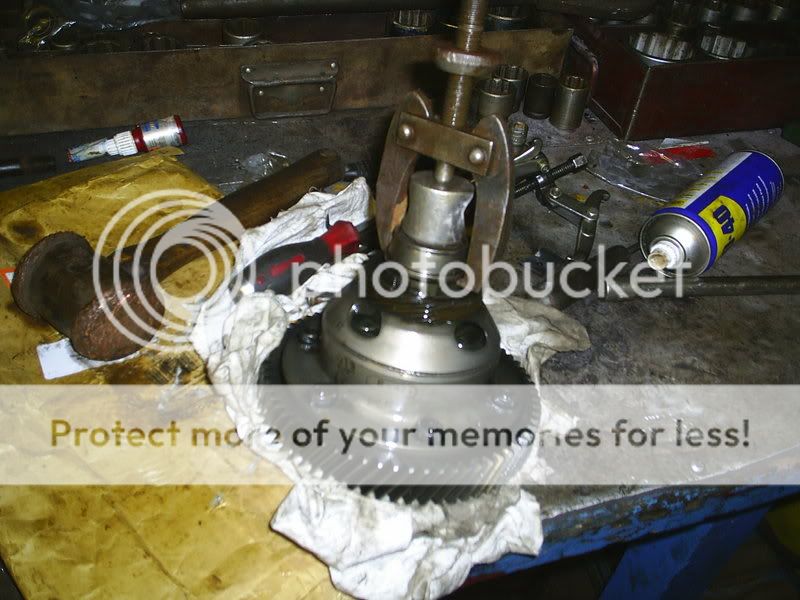
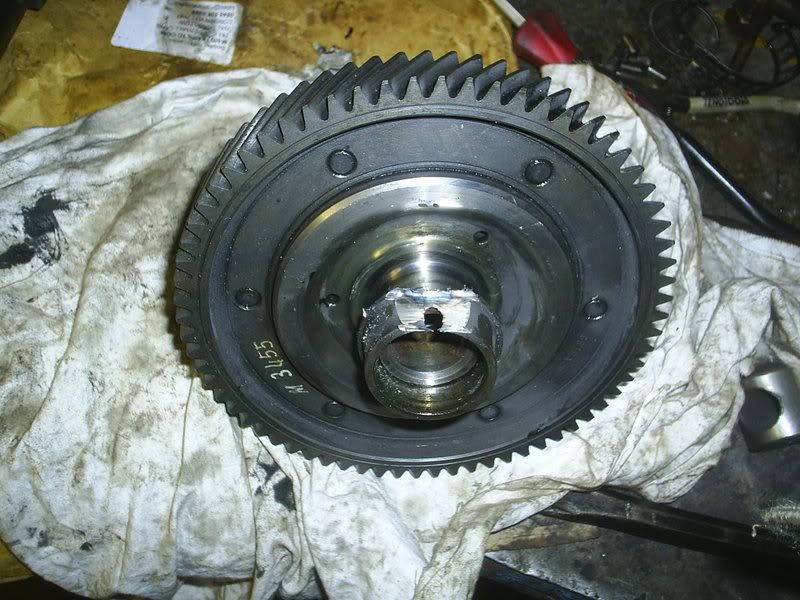
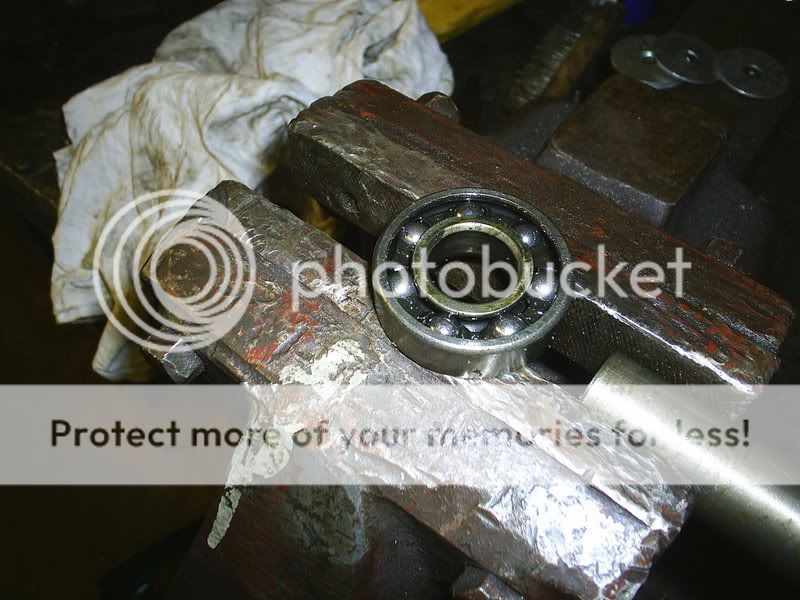
the box was a wee bit nosiey so a while back i bought a rebluild kit ,bearings,seals ,gaskets etc ,as u can see in the photos all did,nt go to plan as the bearings where as hard as fook to come of even with a bit of heat and the bearing puller the bearings on the diff would not shift ,in the end had to get the grinder out and cut what was left of the bearing

in all honestly it was a bit of a nightmare to do but we will see if it was worth the effort :D
hers some pics
Image
Image
Image
Image
Image
Image
Image
Image
this the fooked bearing
Image
then i stuck it back together
Image
Image

Image

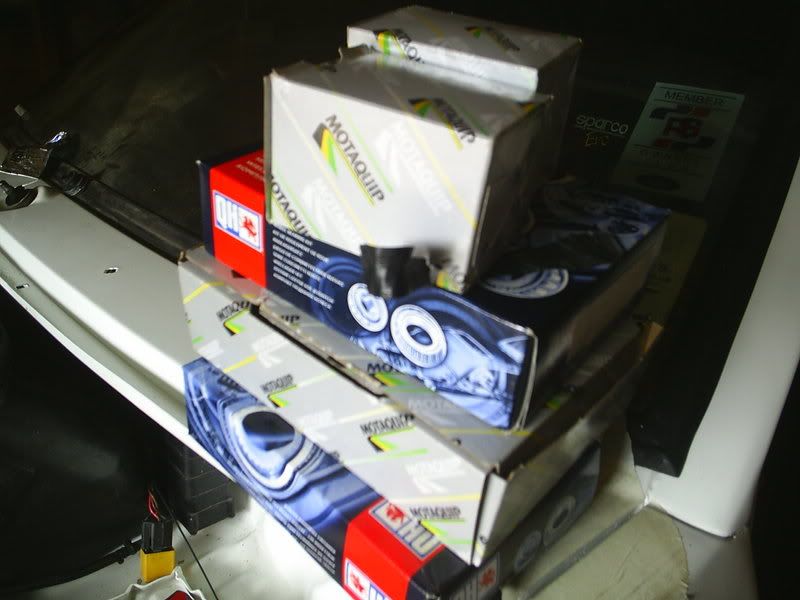
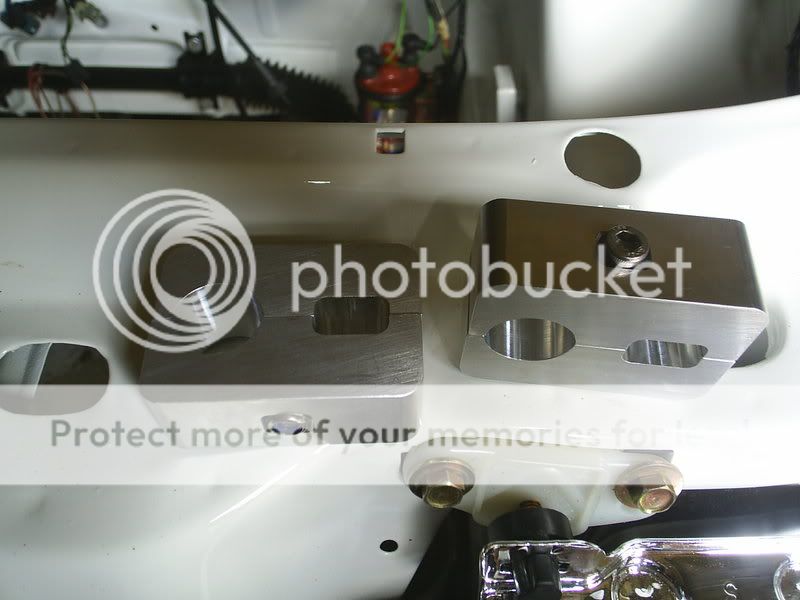
and thats it ,prob took me 4 hours in all to do ,and also got some more bits today as well ,new front bearings ,rear shoes ,clutch cable ,rear wheel cylinders ,handbrake cable and new alloy anti-roll bar clamps
Image
Image

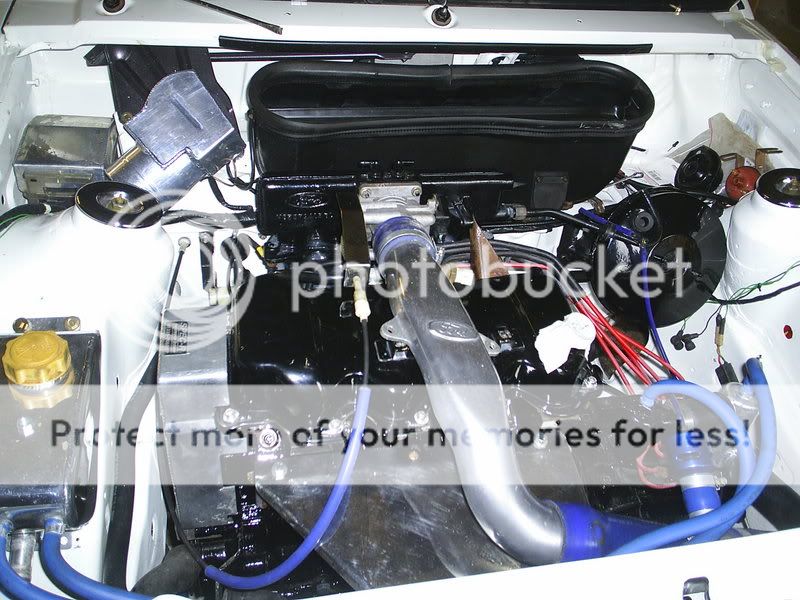
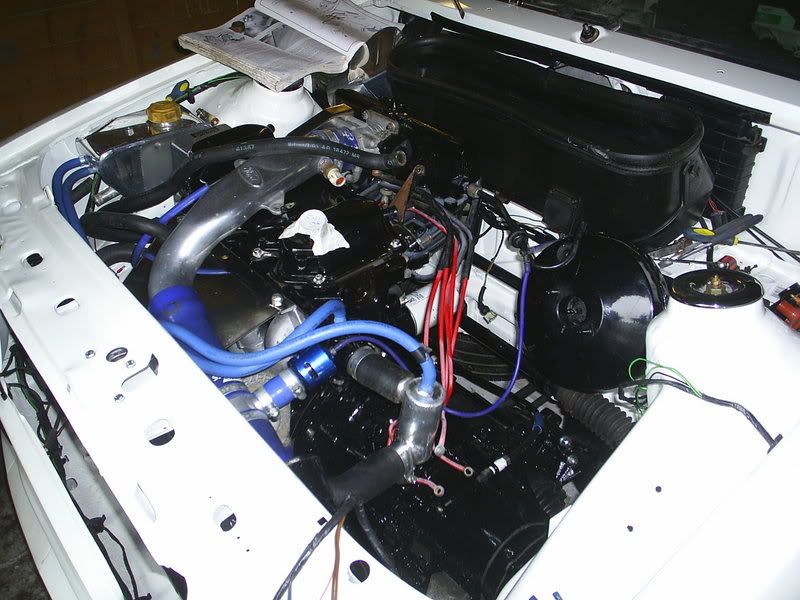
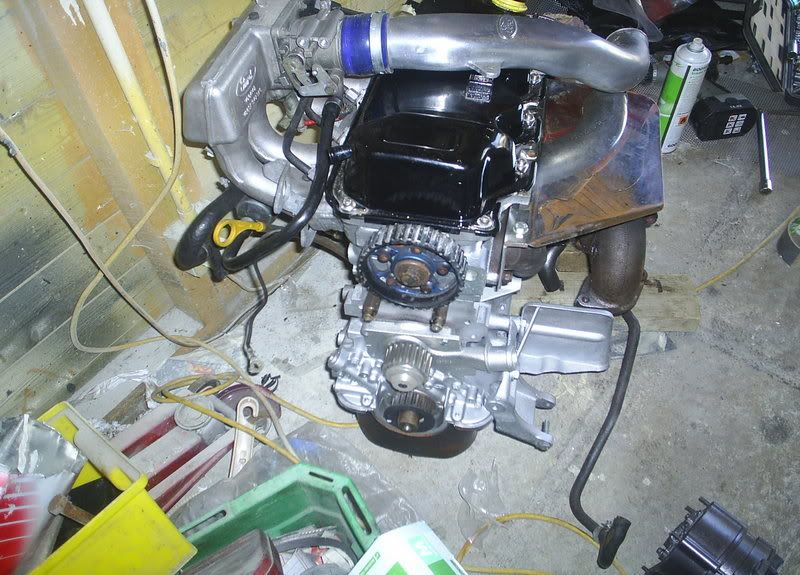
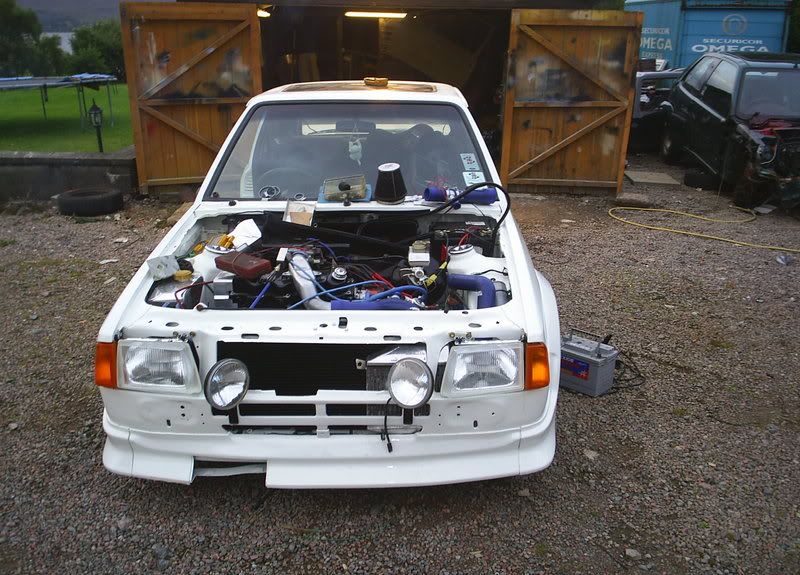
well finally got the engine put back in ,still got to plumb a lot of it in but at least iam nearly done :D

Image
Image
also got the back brakes done ,hand,brake cable etc all replaced just need the fuel lines and brake lines done and that pretty much the back end done :D
Image

fronts all done to ,new bearings etc ,gonna fit new disc to just not got em yet
Image
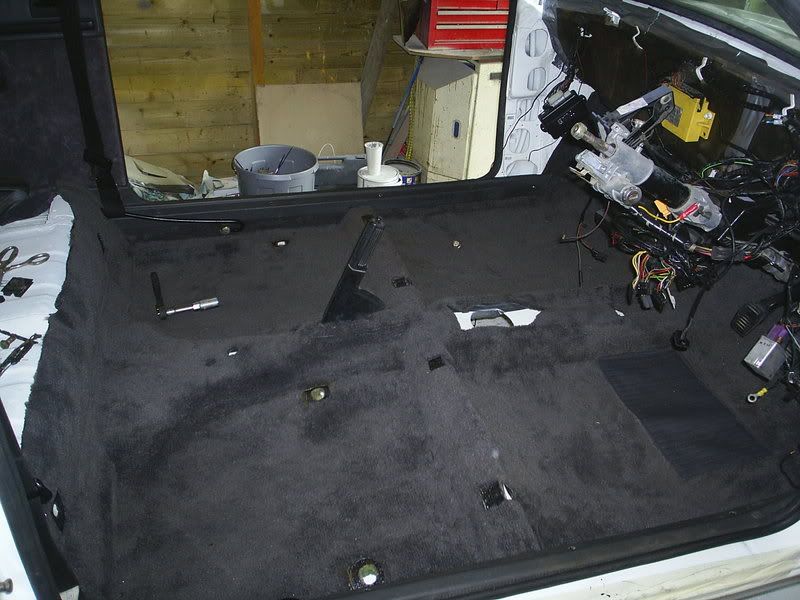
ok its been along time since my last update ,but that dont mean i havent being doing anything ,the car is about 90% back together ,still needs the dash and some interia put in
bleed brakes
paint ,doors ,bumper ,grill,bonnet
sort some of the electrical system

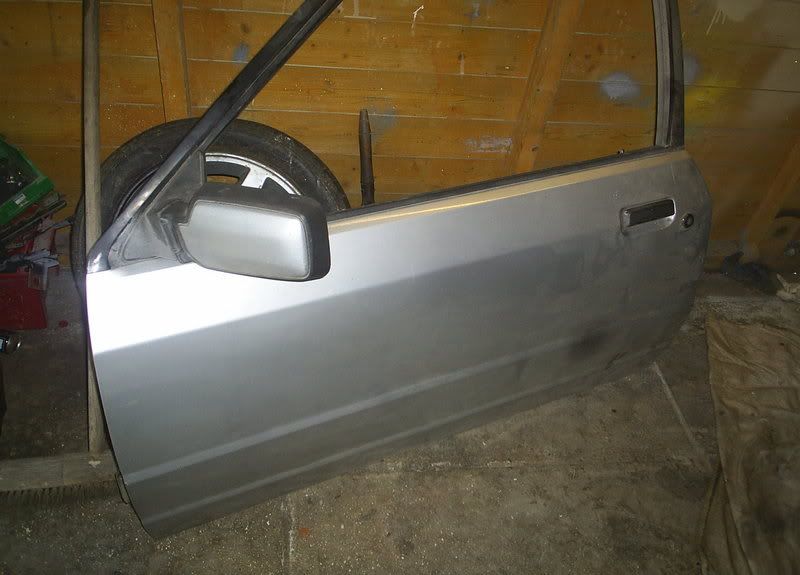
at least its sitting on its wheels again for the first time in a year ,anyway got stuck into the doors and the bonnet today gettin them ready for painting ,as the doors i had where totally riddled with tin worm i got new doors of a xr3 i bought for spares
drivers door needs a small patsh welding in just on one corner ,other wise the doors where in prefect condition ,did,nt see any point in just filling the door as it would only come back again :wink:

Image

Image

Image

^^^^^^^
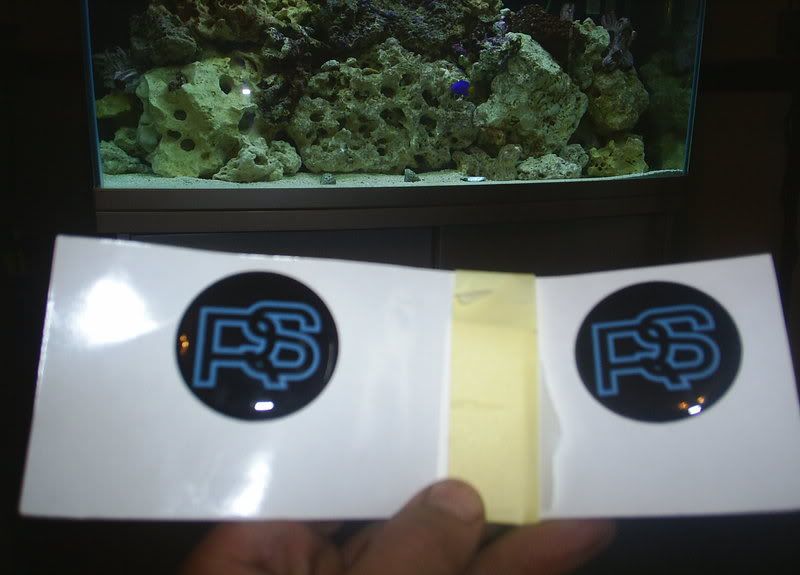
got my new badges made for my wheels ,what u think??????

not gonna post any pics of my car this now think i would rather go to a show or a meet with it for its first outing ............as i have changed some of few bits and peices that might make it stand out a bit from every other s1 on the road :D :D
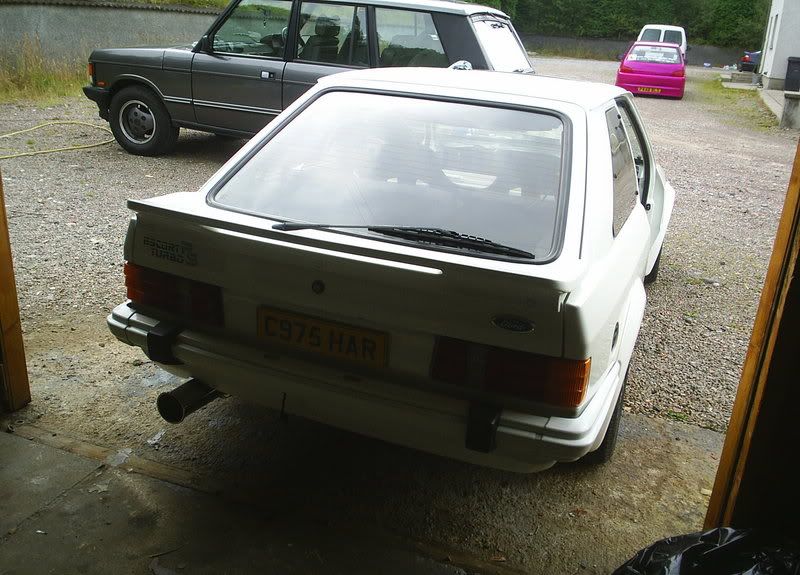
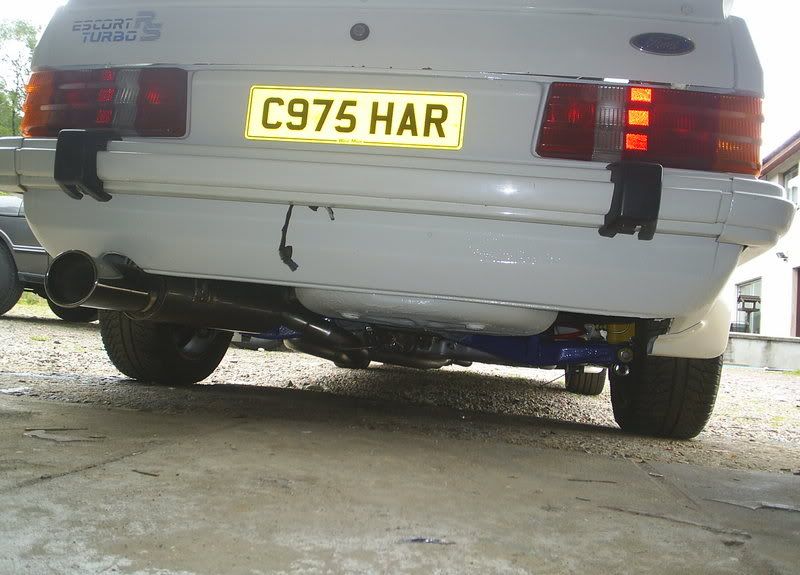
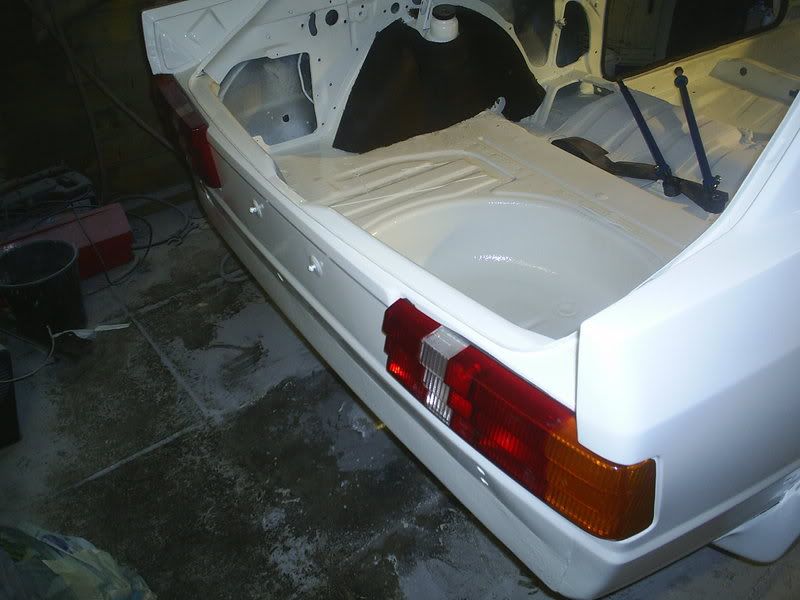
got the boot and the rear bumper painted and then fitted them :D soooooo check her out looking good me thinks :D :D
Image
Image
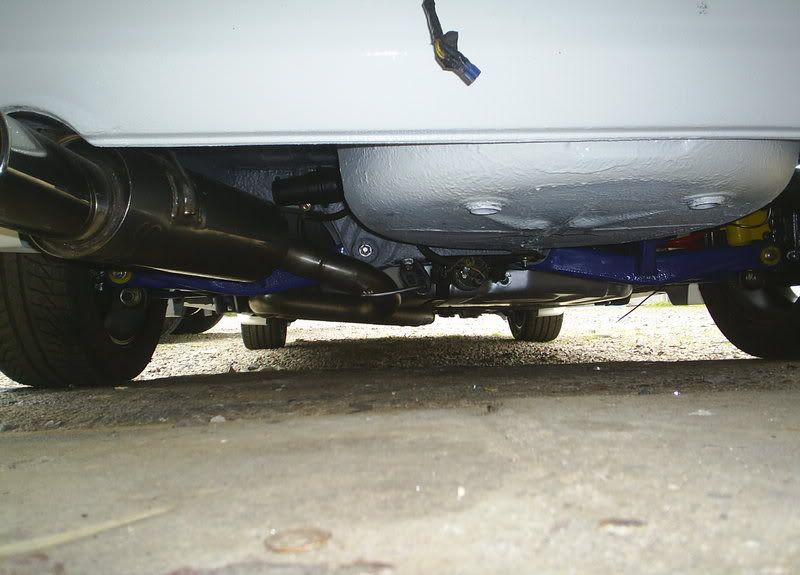
a wee photo of underneath from the rear ,...........a mighty good looking rear end .......................well pleased with how its turning out :D :D :D
Image
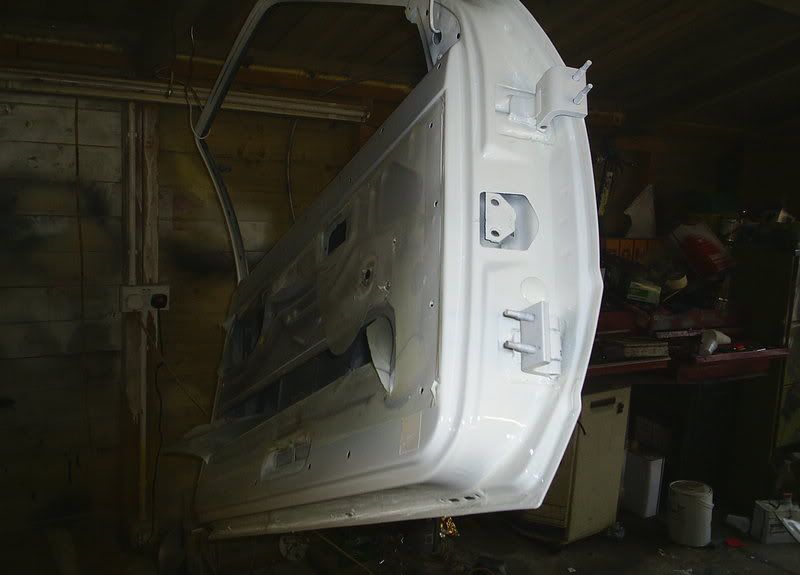
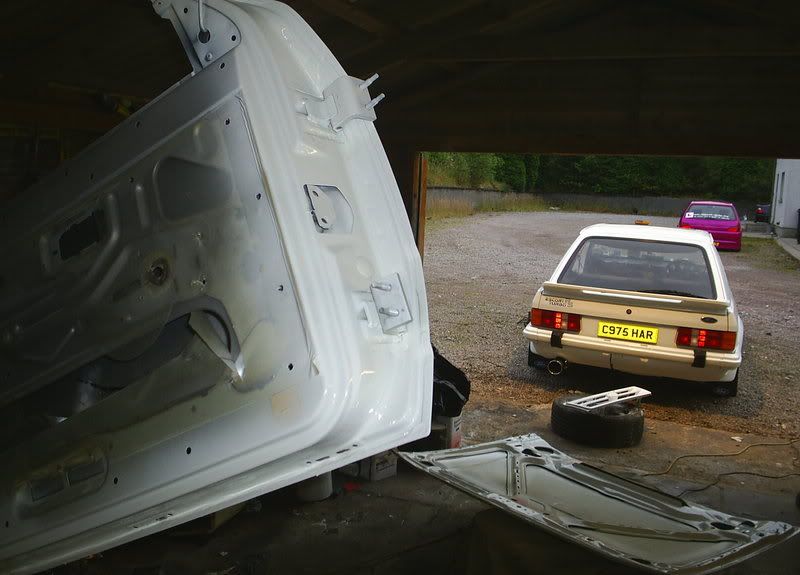
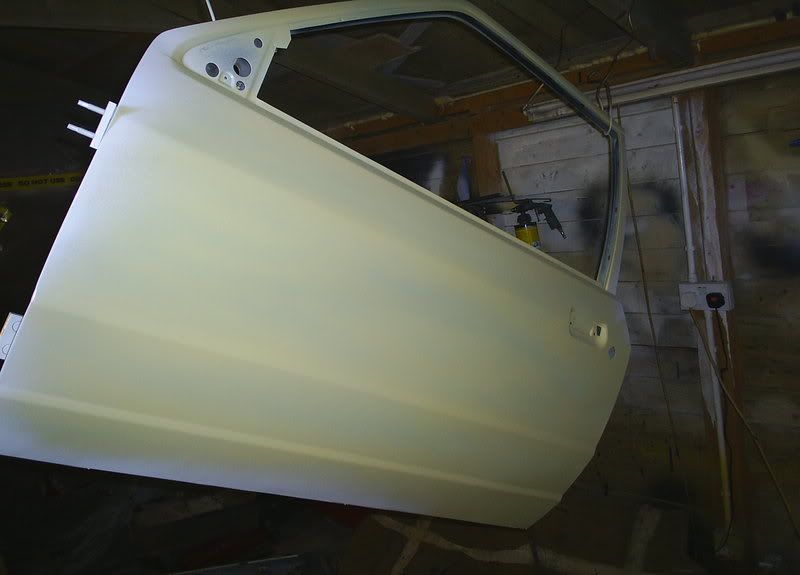
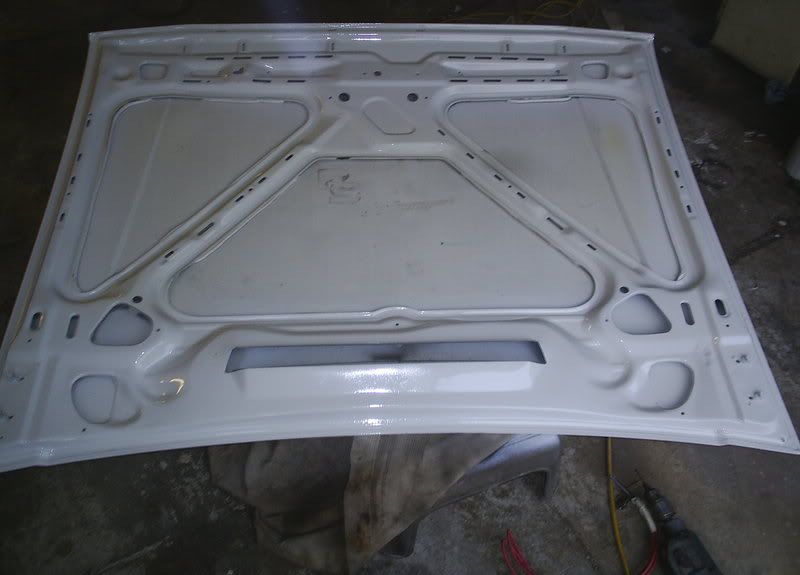
right got some more done ,started to get the doors primmed and painted :D
painted the back side of the door and the bonnet then when that drys i will mask it of to do the front and top ,thought it would be eaiser that way as the shed i do the painting in is pretty small and its hard to get every bit in one go
Image

Image

Image

Image

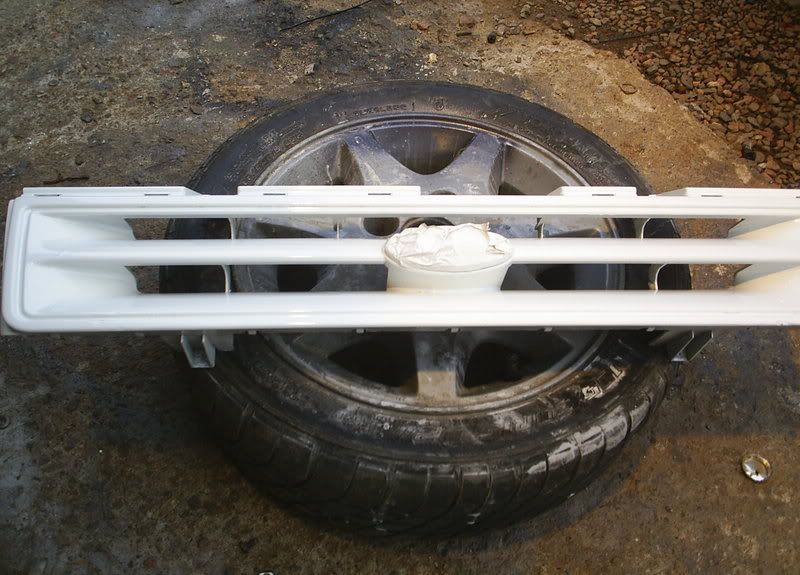
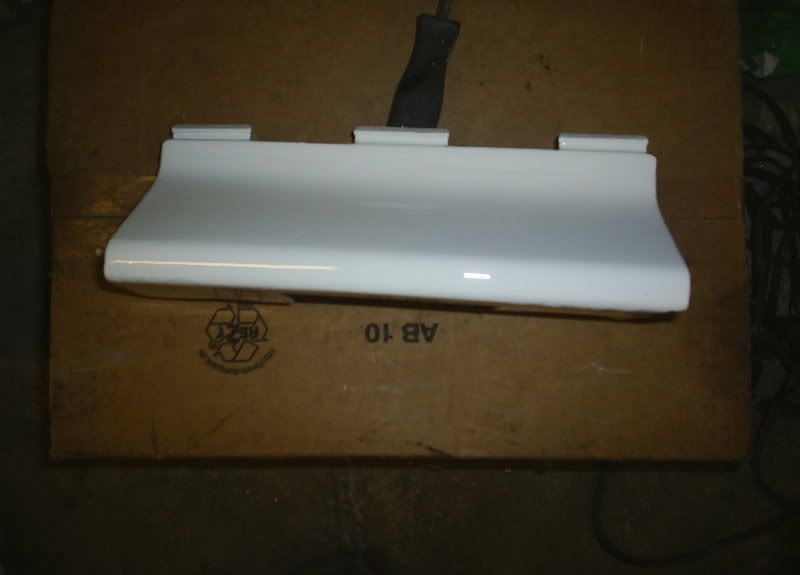
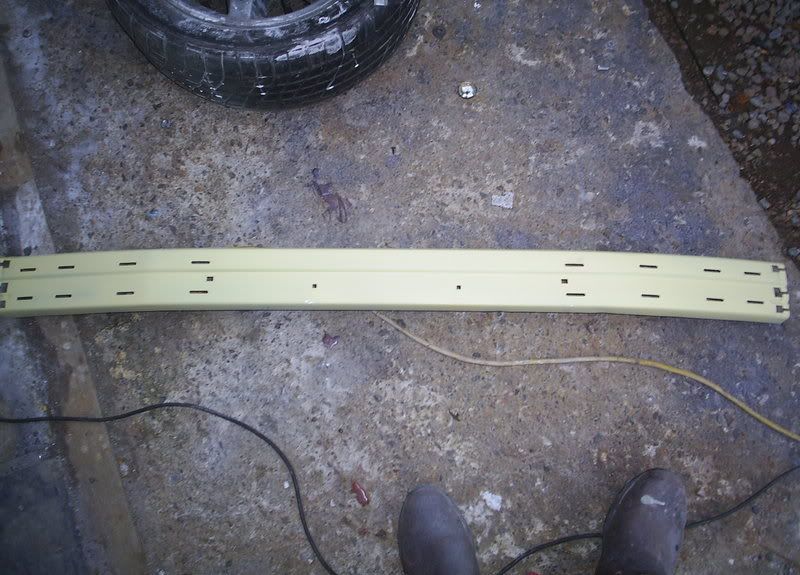
also got the towing eye cover done ,grill ,and bumper

Image

Image

Image

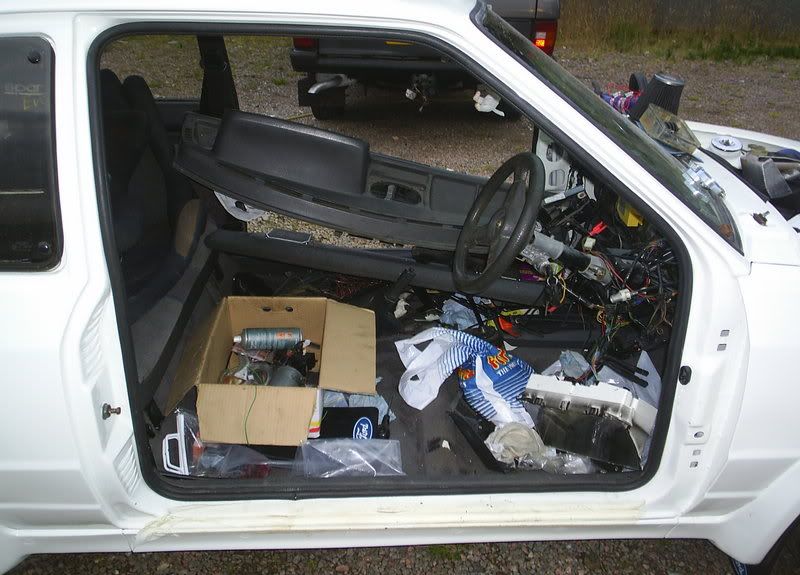
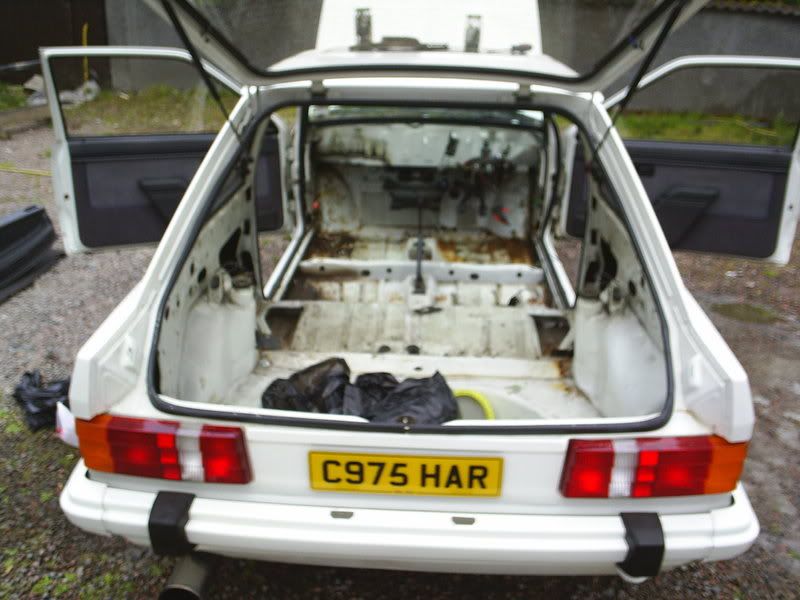
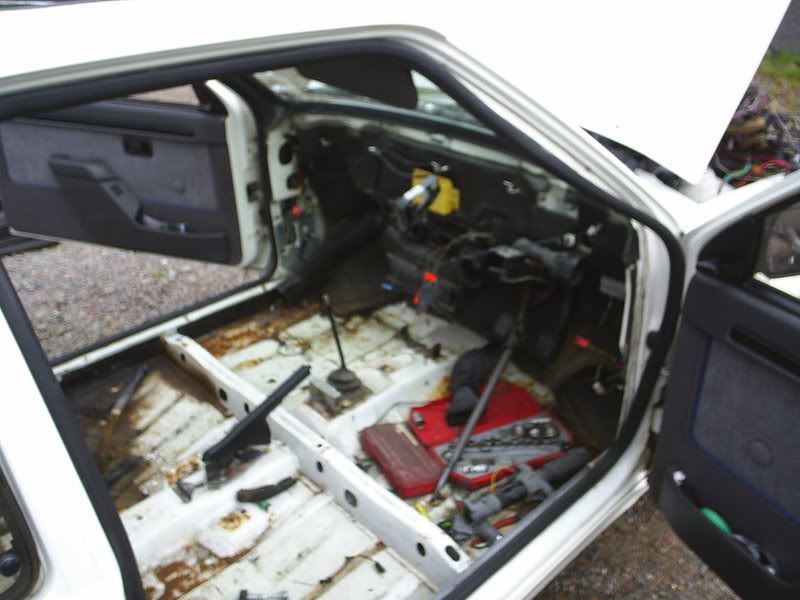
and this is how it sit today still with the inside in total chaos ,dont want to stick the dash back in till i get this wiring prob sorted ,

Image

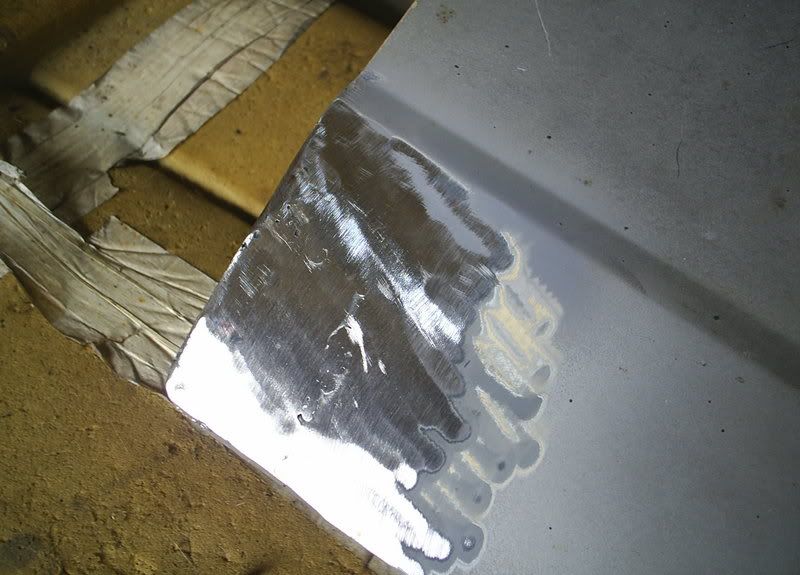
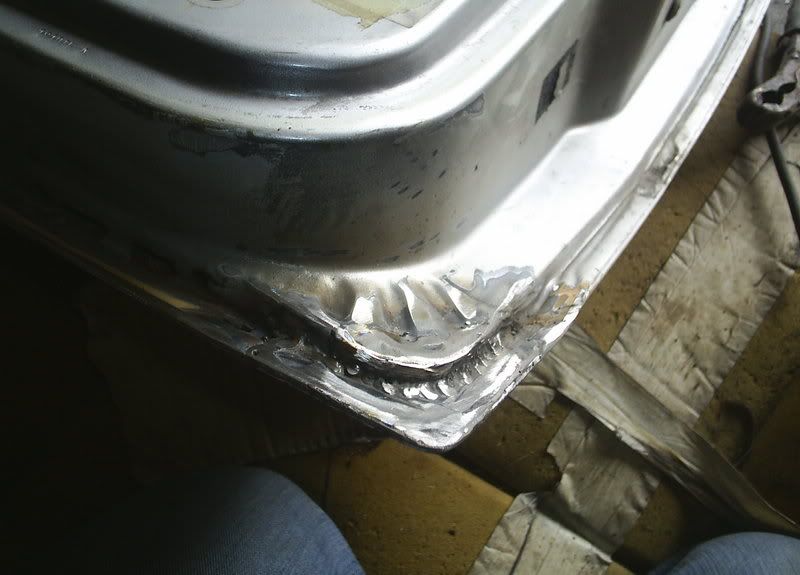
got stuck into the doors today getting the last welding jobs out the way ,the bottom of the drivers door had a small amount of rot that had gone right through the two skins ,so i cut it out and welded a patch in ,then it was a case of repairing the inside of the door ,this took a lot longer to make and shape the patches ,did,nt want it to look bodged, wanted to make it look as neat as poss ,heres a couple of pics

Image


Image

Image

Image

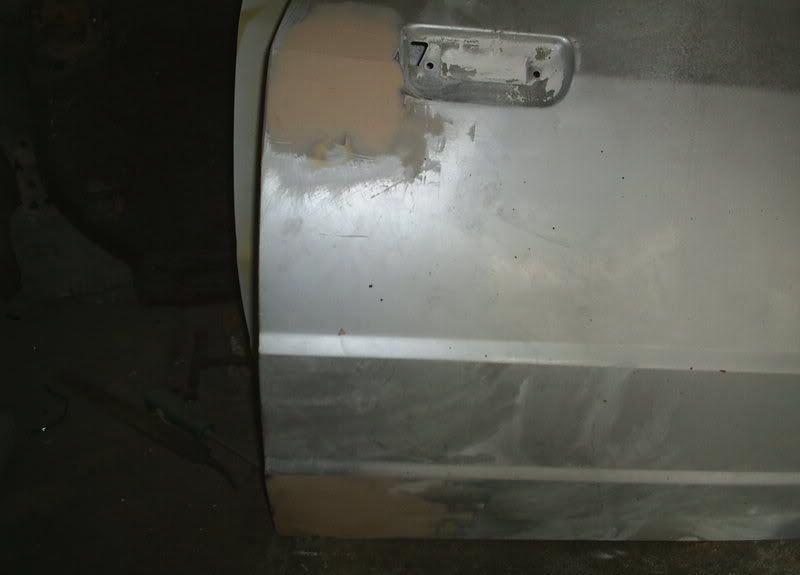
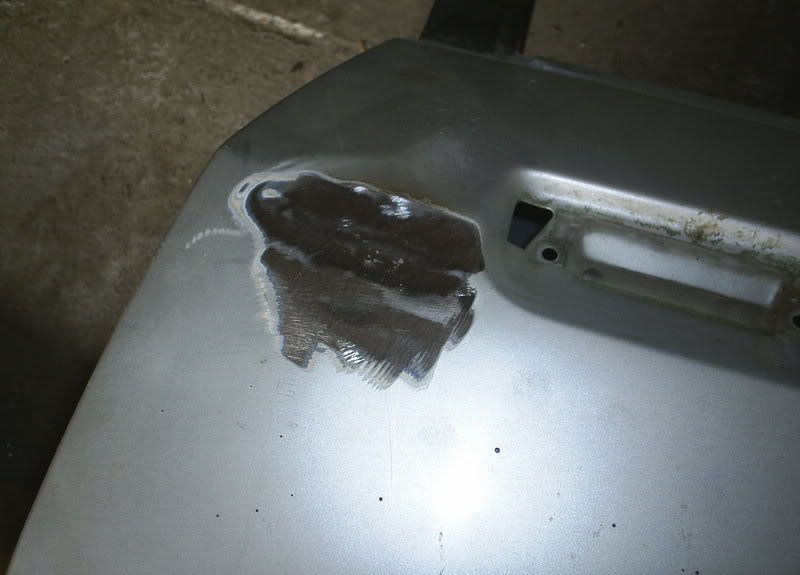
also decided to delock the doors ,it was done before on the old doors and i liked the look of no locks so thought what the hell,
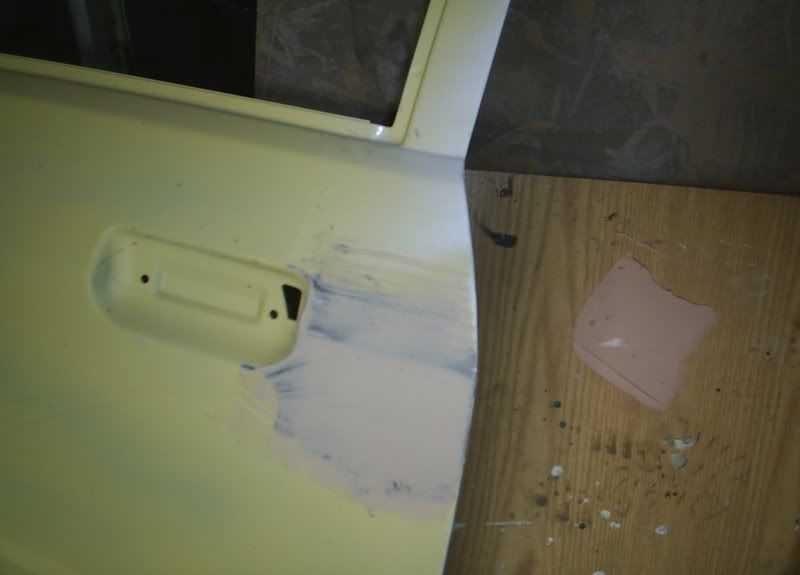
i put a patch on the rear of the door and tacked it on ,then rather than fill the holes with filler i bulit the hole up with weld then ground that down that so all that is needed is a wee skim of filler ,seen lots of cars with the lock area cracked and the round hole visable again cause the filler has shrunk ,so hopfully i want have that prob
Image

Image

so that s em done just need to finsh the filler part and get em painted


Image

been a while since i updated anything thats cause ................i hav done fook all to it lol ,every since i bought the car i knew the turbo was on the way out and it was gonna be have to be replaced so i was always on the look out for one
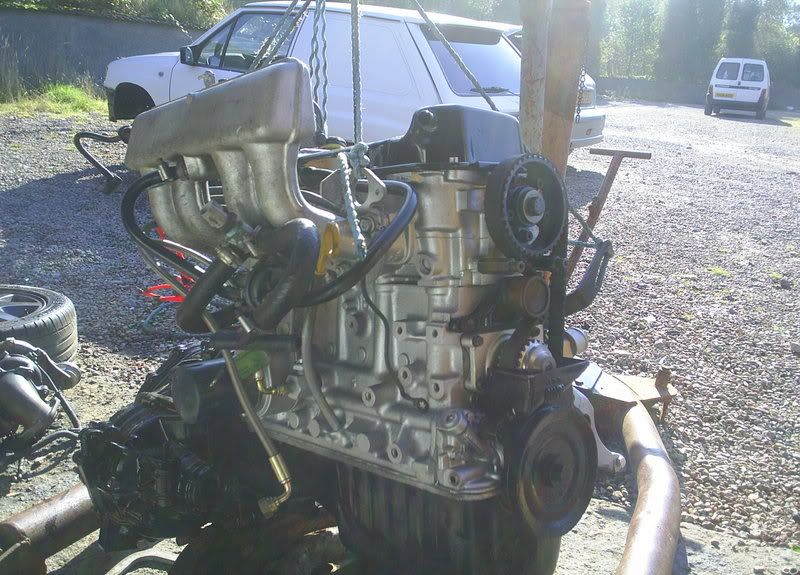
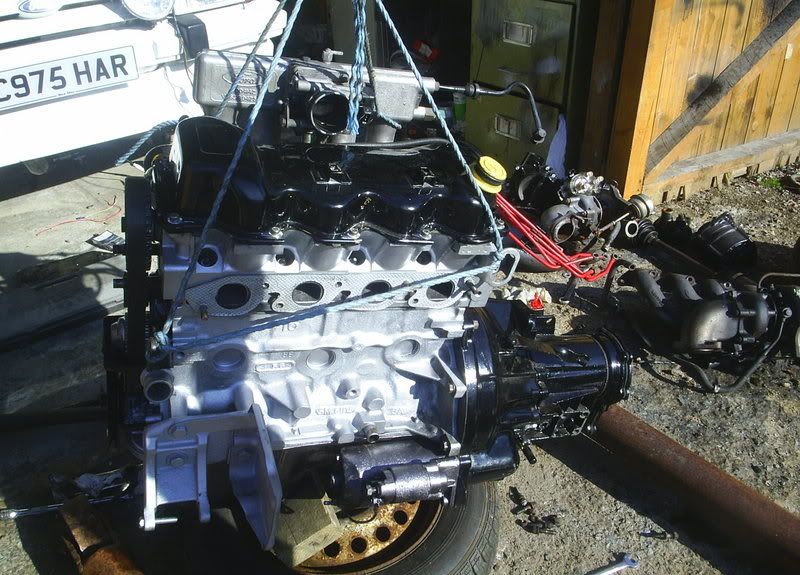
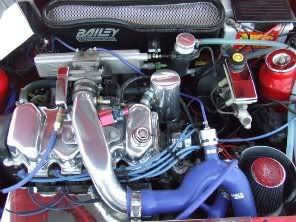
but when this engine turned up local to me i had to have it ,its in near new condition with less than 9,000 miles on it bought from ford a few years back ,since then its had high lift cam fitted ,V-pully and a brand new stage 3 turbo fitting
and i managed to get the whole lot for £500 :top: :top: so its out with the old and in with the new :top:
Image

Image

Image

also bought a chipped ecu so once its all fired together it will be interesting to see what it will make

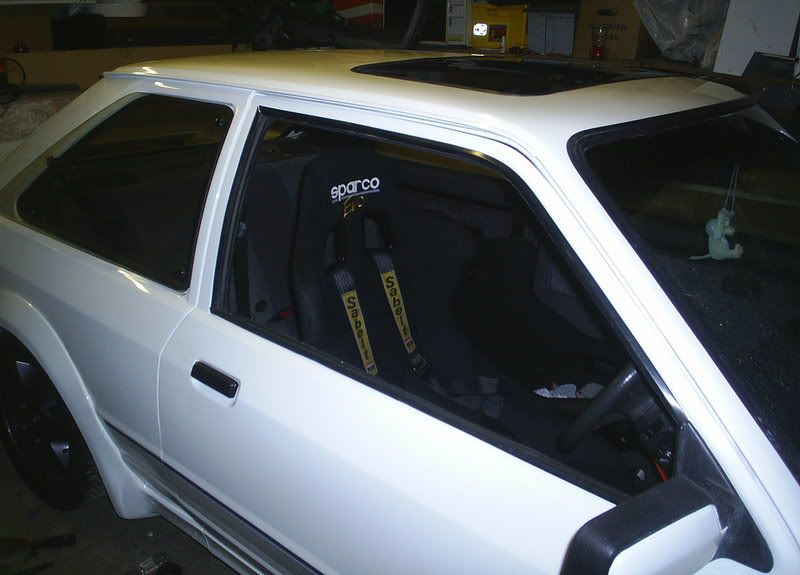
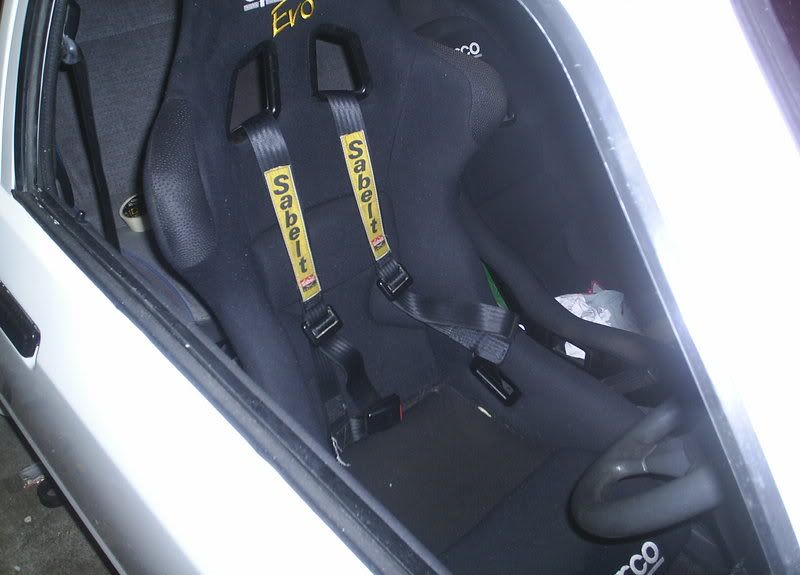
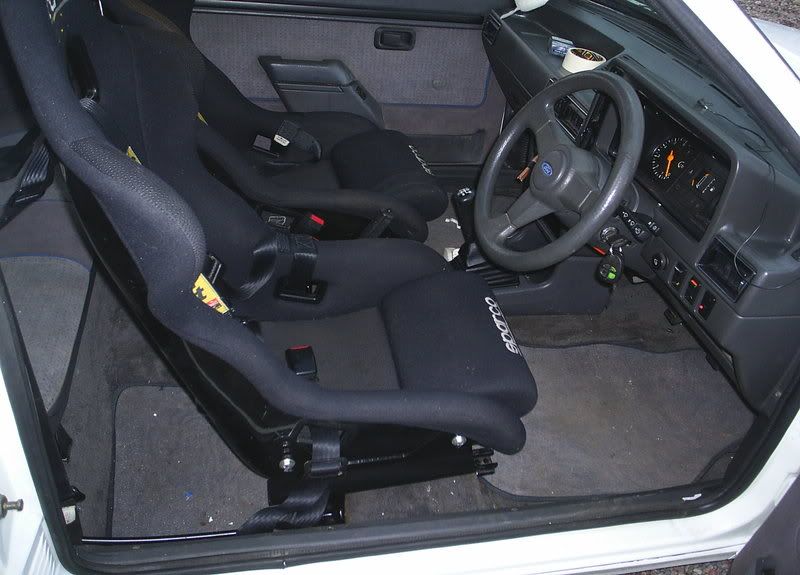
well finally got my seats fitted after mia (the bird) got me the sparco seat mounts i was needing for my xmas:D ,had to do a wee bit of modifieing to get them to fit with the standard runners as i still wanted the seats to go back and forward ,but after a few hours i had it all worked out:D
Image
Image
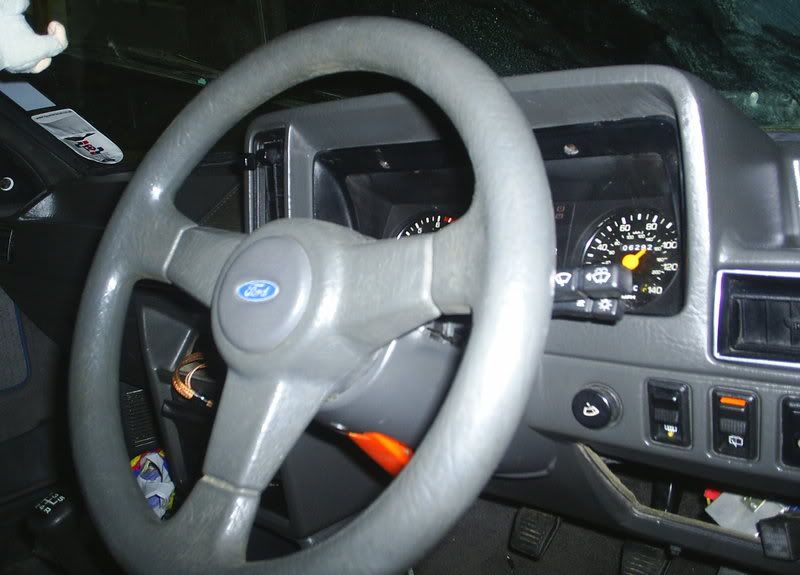
also got the rest of the wiring repairs and the dash bolted back in .......not an easy job
Image

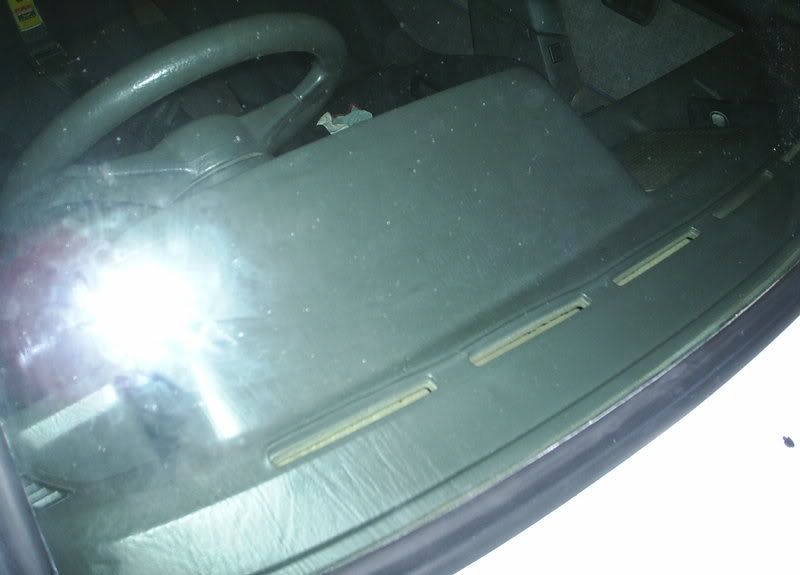
a uncracked dash ,pretty rare for a mk3 escort me thinks:D
Image
Image


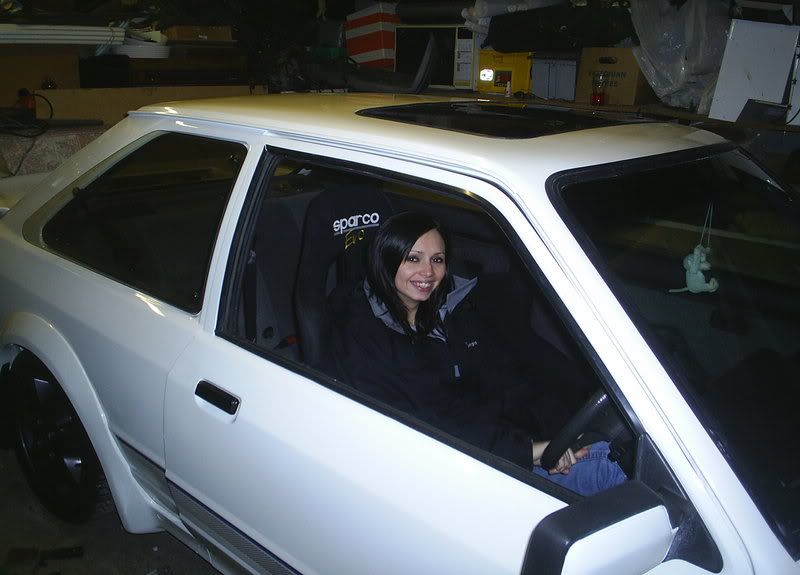
think the bird s getting a wee bit to comfy in the hot seat for my liking lol:cool:
Image
scottrs1
 
Posts: 74
Joined: Tue Jan 01, 2008 12:12 pm

Re: scottrs1 budget s1 rebluid

Postby scottrs1 » Wed Jan 02, 2008 10:21 am

well that took a wee while to copy and paste that little lot back onto the site :D i decided to change the title this time to,<budget s1 rebluid>,to date the car has cost £4500 to bluid that inculdes the £1800 i paid for it ,dont think i have bluit a bad car for that money maybe it just shows folk what can be done when u dont have endless cash to throw at it and hunt out em bargins :D
Image
scottrs1
 
Posts: 74
Joined: Tue Jan 01, 2008 12:12 pm

Re: scottrs1 budget s1 rebluid

Postby neil117 » Wed Jan 02, 2008 2:09 pm

that looks absolutely awesome mate i wish i had went to that extent with my 16i ;) ;) ;) ;)
by the way your back over riders should be centred on the reverse lights ;)
Image
neil117
 
Posts: 16
Joined: Tue Jan 01, 2008 11:16 am

Re: scottrs1 budget s1 rebluid

Postby SHIFTY » Wed Jan 02, 2008 2:41 pm

Totally stunnin mate 8-) Thats the 1st iv seen more of your earlier resto pics, good too see your doin it right. Even puttin stiffiners in when doin the inner and outer sill - good on ya mate ;)
Deffo will be a crackin car for the clubstand 8-)
User avatar
SHIFTY
 
Posts: 688
Joined: Mon Dec 31, 2007 4:02 pm
Location: In the workshop or out gettin some sideways!

Re: scottrs1 budget s1 rebluid

Postby scottrs1 » Wed Jan 02, 2008 3:29 pm

Image
scottrs1
 
Posts: 74
Joined: Tue Jan 01, 2008 12:12 pm

Re: scottrs1 budget s1 rebluid

Postby scottrs1 » Wed Jan 02, 2008 3:35 pm

Image
scottrs1
 
Posts: 74
Joined: Tue Jan 01, 2008 12:12 pm

Re: scottrs1 budget s1 rebluid

Postby Adie » Wed Jan 02, 2008 5:13 pm

looking gorjous mate if your running out of things to dofeel free to give me a hand hahahaha :D load of work isnt it mate :P
ImageImage
[
Adie
 
Posts: 176
Joined: Mon Dec 31, 2007 4:26 pm

Re: scottrs1 budget s1 rebluid

Postby RSlewis » Wed Jan 02, 2008 7:40 pm

looking fantastic m8ty 8-) super cool car hope im gonna get a chance to see it come show season ;) :D
ImageImage

CHAIRMAN OF THE ESPARANTO OWNERS CLUB

FOOKIN MAD FOR IT
User avatar
RSlewis
 
Posts: 29
Joined: Mon Dec 31, 2007 3:19 pm
Location: SALTCOATS

Re: scottrs1 budget s1 rebluid

Postby scottrs1 » Wed Jan 02, 2008 8:56 pm

thats all the interior put back together just needs a really good clean up now ,hopein to have it a done and mot for march :D
Image
Image
scottrs1
 
Posts: 74
Joined: Tue Jan 01, 2008 12:12 pm

Re: scottrs1 budget s1 rebluid

Postby Foxy » Sun Jan 06, 2008 8:54 pm

Look forward to seeing it then mate, and amazing work for the total cost, good stuff mate! ;)
Image
93 L Reg Saph Cos 4x4....Common As Muck!!!!
Foxy
 
Posts: 13
Joined: Mon Dec 31, 2007 3:46 pm
Location: Home Sweet Home!

Re: scottrs1 budget s1 rebluid

Postby scottrs1 » Sun Jan 20, 2008 4:54 pm

well with the s1 nearly done its ground to a halt till i find the last missing parts i thought i would post a few random pics of what has been done ,so here goes
Image

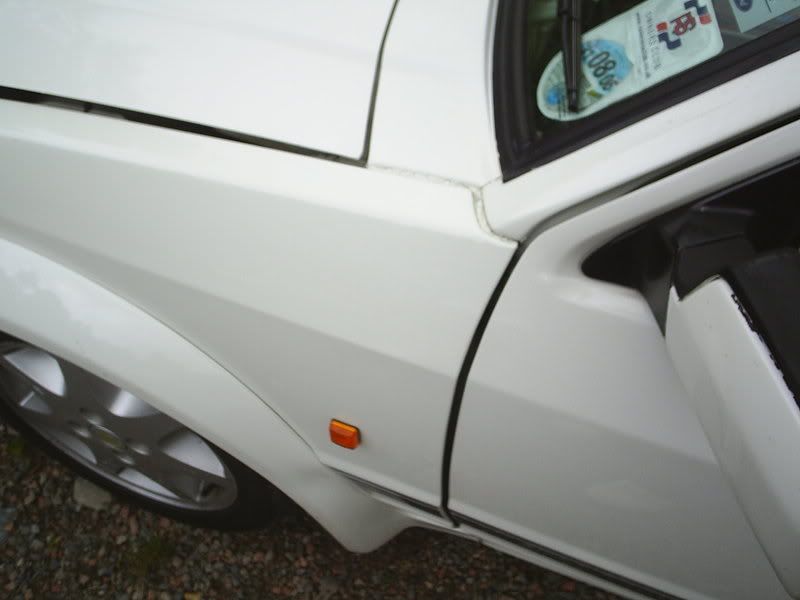
one very ill fitting wing
Image

Image

Image

Image

Image

Image

Image

Image


Image

Image

Image

Image

Image

Image

Image

Image

Image

Image

Image

Image

Image

Image

Image

Image

Image

Image

and thats it :D i will post pics of the finished car when it gets a mot cause in my eyes thats when its DONE :cool:
Image
scottrs1
 
Posts: 74
Joined: Tue Jan 01, 2008 12:12 pm

Re: scottrs1 budget s1 rebluid

Postby rsfordnut » Sun Jan 20, 2008 9:28 pm

thats stunning scott, wont be long now :mrgreen:
rsfordnut
 
Posts: 8
Joined: Tue Jan 01, 2008 3:25 pm

Re: scottrs1 budget s1 rebluid

Postby RSlewis » Mon Jan 21, 2008 10:04 am

looking very tidy bud hope to see it very soon :D 8-) after all the work bet u cant wait to drive it :D 8-)
ImageImage

CHAIRMAN OF THE ESPARANTO OWNERS CLUB

FOOKIN MAD FOR IT
User avatar
RSlewis
 
Posts: 29
Joined: Mon Dec 31, 2007 3:19 pm
Location: SALTCOATS

Re: scottrs1 budget s1 rebluid

Postby SHIFTY » Mon Jan 21, 2008 7:35 pm

Man I love seeing a fresh coat of paint goin on a car! 8-)
Looks the biz mate 8-) :D
User avatar
SHIFTY
 
Posts: 688
Joined: Mon Dec 31, 2007 4:02 pm
Location: In the workshop or out gettin some sideways!

Re: scottrs1 budget s1 rebluid

Postby g.varney » Mon Jan 21, 2008 9:02 pm

lookin well good mate
Image
Old Fords Never Die, They Just Get F**kin Faster
g.varney
 
Posts: 41
Joined: Fri Jan 04, 2008 7:21 pm
Location: Balloch, Loch Lomond

Re: scottrs1 budget s1 rebluid

Postby DALSY » Fri Feb 01, 2008 12:43 am

welll done that man,,, looking great mate,,,, looking forward to seeing thecar at Scone Palace jaunt
DALSY
Committee
Committee
 
Posts: 1367
Joined: Mon Dec 31, 2007 4:38 pm

Re: scottrs1 budget s1 rebluid

Postby scottrs1 » Sat Feb 02, 2008 9:06 pm

Image
scottrs1
 
Posts: 74
Joined: Tue Jan 01, 2008 12:12 pm

Re: scottrs1 budget s1 rebluid

Postby scottrs1 » Sun Feb 10, 2008 12:42 pm

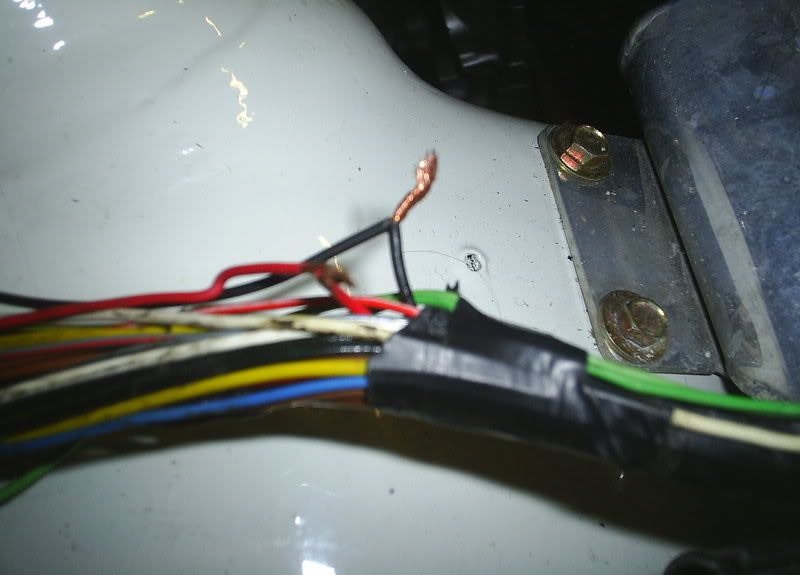
well after getting the car fully built back up and days away from a mot it packed in :( no spark and no power to ecu ,coil etc ,so after another3 days of testing wires removing this and that i traced the prob to a couple of wires that had fused together (pic below ) just outside the fuse box ,and with that fixed it fired into life ............thank god for that .....

Image


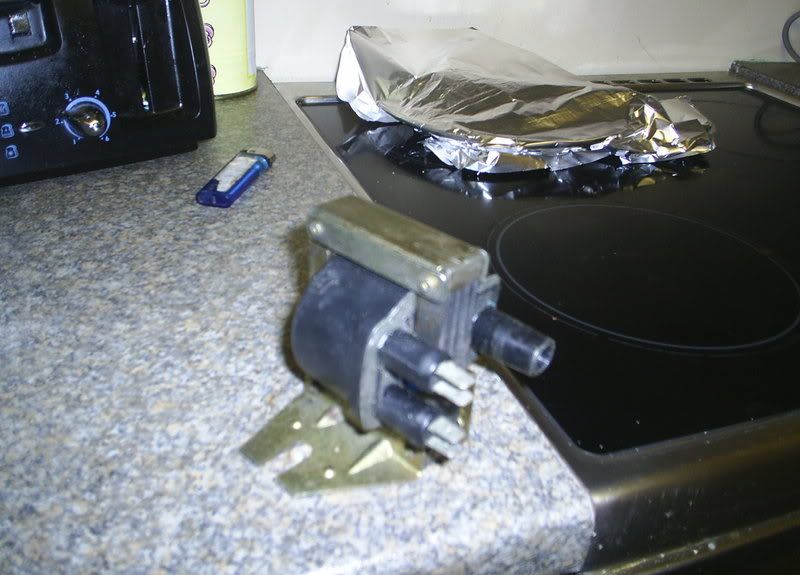
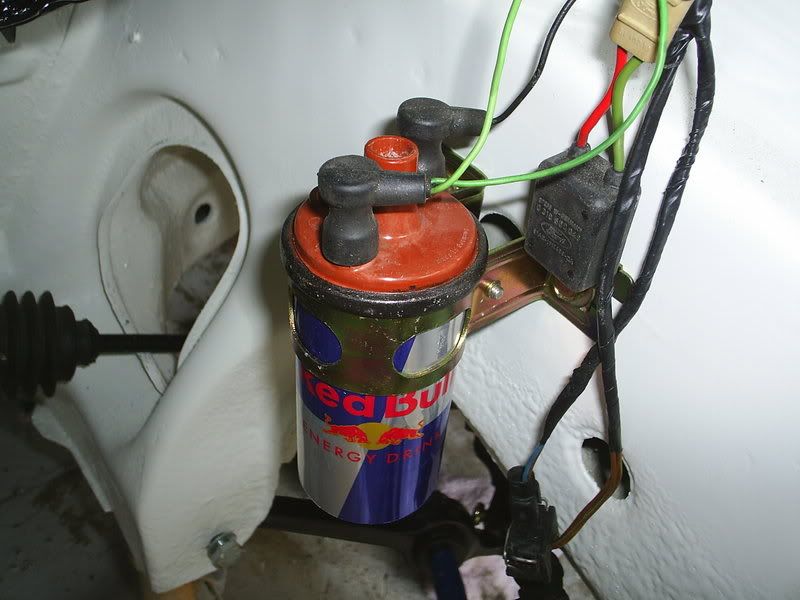
so with it running again and the the dash refitted and winging loom retaped and clipped on again i thought i would do a few more wee jobs ,one being a group a coil pack which was a peace of pee to do and makes a huge difference to the car (much better and smoother tick over) and the other job fit the wiper arms


Image

now by this point the car had been testing my patience and i all i wanted to do was fire it up and move it back into the garage and go home ..........but no it would,nt start again this time no power to wipers ,heaterblower and the ecu relay ,
to cut a long story short i traced it to a bad earth beside the wipermotor (after 3 hours )......and if i was honest it was my fault :roll: i had bolted the earths onto the wiper motor mount which has a rubber bush on it
so with me mucking about with the wipers it must of shifted and broke the earth contact ;)

well its all good i hav a few small things to do and then its mot time prob friday or saturday next week .....cant wait :D
Image
scottrs1
 
Posts: 74
Joined: Tue Jan 01, 2008 12:12 pm

Re: scottrs1 budget s1 rebluid

Postby Stu/RS » Sun Feb 10, 2008 5:28 pm

Hope it sails its MOT mate. Your needin' a bit of luck.

Be all worth it come the summer.
Image
"IF YOU WEREN'T THERE, YOU WONT UNDERSTAND"
Stu/RS
Group Official
Group Official
 
Posts: 999
Joined: Mon Dec 31, 2007 3:16 pm
Location: Motherwell

Next

Return to Restorations & Rebuilds

Who is online

Users browsing this forum: No registered users and 12 guests

cron