
My Series 1's Transformation and Modernisation
88 posts
• Page 3 of 5 • 1, 2, 3, 4, 5
Re: My Series 1's Transformation and Modernisation
![]() by Mel D » Sun Aug 10, 2014 9:51 am
by Mel D » Sun Aug 10, 2014 9:51 am
Very informative thread Derek! Good to see all the pics of your hard work, car will look great 

- Mel D
- Posts: 973
- Joined: Sat Jun 11, 2011 3:38 pm
- Location: Girvan
Re: My Series 1's Transformation and Modernisation
![]() by peterRST » Sun Aug 10, 2014 11:37 am
by peterRST » Sun Aug 10, 2014 11:37 am
Awesome 
PBS Engineering Ltd - Performance Engines and Motorsport Prep.
Zetec, ZVH and xflow engine building.
PEC Engine Components. KSport Braking Systems. BC Racing Suspension.
- peterRST
- Club Member

- Posts: 303
- Joined: Wed May 21, 2008 9:13 am
Re: My Series 1's Transformation and Modernisation
![]() by Stu/RS » Tue Aug 12, 2014 7:31 pm
by Stu/RS » Tue Aug 12, 2014 7:31 pm
A lot of "measure twice, cut once" with this thread mate 
Deffo doing a great job Derek.
Deffo doing a great job Derek.

"IF YOU WEREN'T THERE, YOU WONT UNDERSTAND"
- Stu/RS
- Group Official

- Posts: 999
- Joined: Mon Dec 31, 2007 3:16 pm
- Location: Motherwell
Re: My Series 1's Transformation and Modernisation
![]() by Dereksjoint » Sun Aug 17, 2014 1:51 pm
by Dereksjoint » Sun Aug 17, 2014 1:51 pm
Well I knew there was a reason I left this branch to last as it has turned out a bit of a monster in comparison to the other branches of the loom. I started as always at the furthest part of the branch which is over in the drivers footwell and added a few cables to make up the skeleton template of the loom.
Few more cables added and the branch starts to busy up and take shape
With the branch 80% complete I thought I'd give it a quick test fit just to make sure every thing is where it needs to be and there's enough length on each section of wiring.
Happy that every thing is where it needs to be I whipped the branch back out of the car and added the remaining wiring to complete the branch.
With all the central branch wiring complete it was time to get the main runs of braiding in place so that I could start to incorporate the 3 other sections of loom.
Finally 4 separate loom branches become 1
With the branches now joined together I thought it best to give it another quick test fit
I've got to admit I'm over the moon with the results so far well worth the effort and expense. That said this has been one of the hardest wiring jobs that I've ever undertaken just purely with the amount of wiring and connections within such a small area and they all need to be in the correct place. Believe it or not I have used over 500 metres of Automotive thin wall cable and almost 60 metres of braided sleeving so far.
Just need to sleeve all the little mini branches now then it's time to start fitting out all the dash connectors.

-

Dereksjoint - Administrator

- Posts: 428
- Joined: Mon Dec 31, 2007 6:35 pm
- Location: Kilmarnock
Re: My Series 1's Transformation and Modernisation
![]() by andy-mac » Sun Aug 17, 2014 7:08 pm
by andy-mac » Sun Aug 17, 2014 7:08 pm
doing a great job here derek, will be all worth it in the end 
-

andy-mac - Club Member
- Posts: 1052
- Joined: Mon Dec 31, 2007 5:36 pm
Re: My Series 1's Transformation and Modernisation
![]() by brads » Sun Aug 17, 2014 8:14 pm
by brads » Sun Aug 17, 2014 8:14 pm
Well done Derek hope you didn't have a smoke before doing that. Are you any good with loom band's
-

brads - Club Member
- Posts: 134
- Joined: Fri May 31, 2013 6:52 pm
- Location: motherwell
Re: My Series 1's Transformation and Modernisation
![]() by brads » Wed Aug 20, 2014 12:00 pm
by brads » Wed Aug 20, 2014 12:00 pm
As long as the lighter works you'll be ok, smoking! just me being daft cause your working on a loom all the kids are playing with loom bands jokes are never funny if you have to explain.
-
brads - Club Member
- Posts: 134
- Joined: Fri May 31, 2013 6:52 pm
- Location: motherwell
Re: My Series 1's Transformation and Modernisation
![]() by Ally FRP » Mon Oct 20, 2014 8:53 pm
by Ally FRP » Mon Oct 20, 2014 8:53 pm
This is awesome. I only believe in doing a job once. And I think you will be pleased to hear you won't need to do this loom again. Keeping note of the loom for reference is invaluable if there ever was a problem in the future. But I would seriously doubt it.......
In an ideal world and money no object the car taken to spl to get dipped would have been ideal.
All the best with your build. Will keep checking on your progress.
Cheers
Ally
In an ideal world and money no object the car taken to spl to get dipped would have been ideal.
All the best with your build. Will keep checking on your progress.
Cheers
Ally
- Ally FRP
- Posts: 12
- Joined: Tue Sep 16, 2014 5:04 pm
Re: My Series 1's Transformation and Modernisation
![]() by Dereksjoint » Tue Nov 04, 2014 12:49 am
by Dereksjoint » Tue Nov 04, 2014 12:49 am
It's been a while since my last update mainly due to me going back to my old job as an electrical shopfitter which usually has me working all over the country. I can't complain though as it also pays for all my toys so needs must lol
I've managed to make some more progress on the loom as I decided to take it away with me as it would keep me busy in my spare time while I was working away and didn't eat into my family time when I was home win win lol.
After unrolling the loom I found quite a lot of this
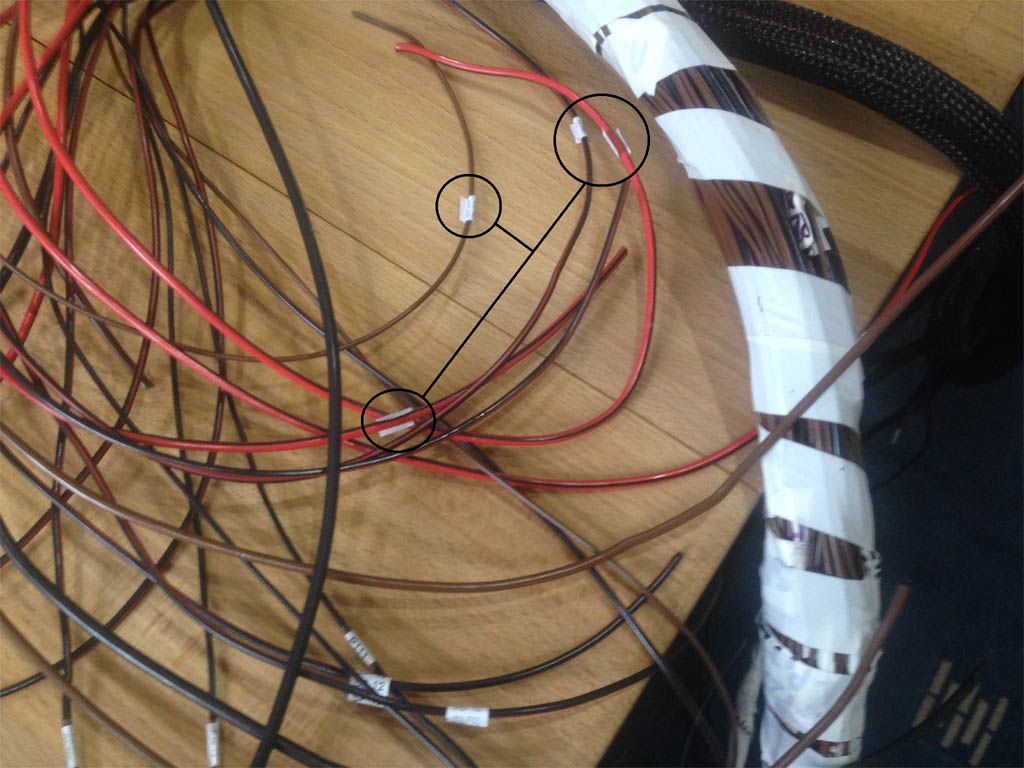
The Dymo labels had started to unpeel all over the loom and a few had fallen off completely ruining all my hard work. I got straight on the bay and managed to find some clear heat shirnk
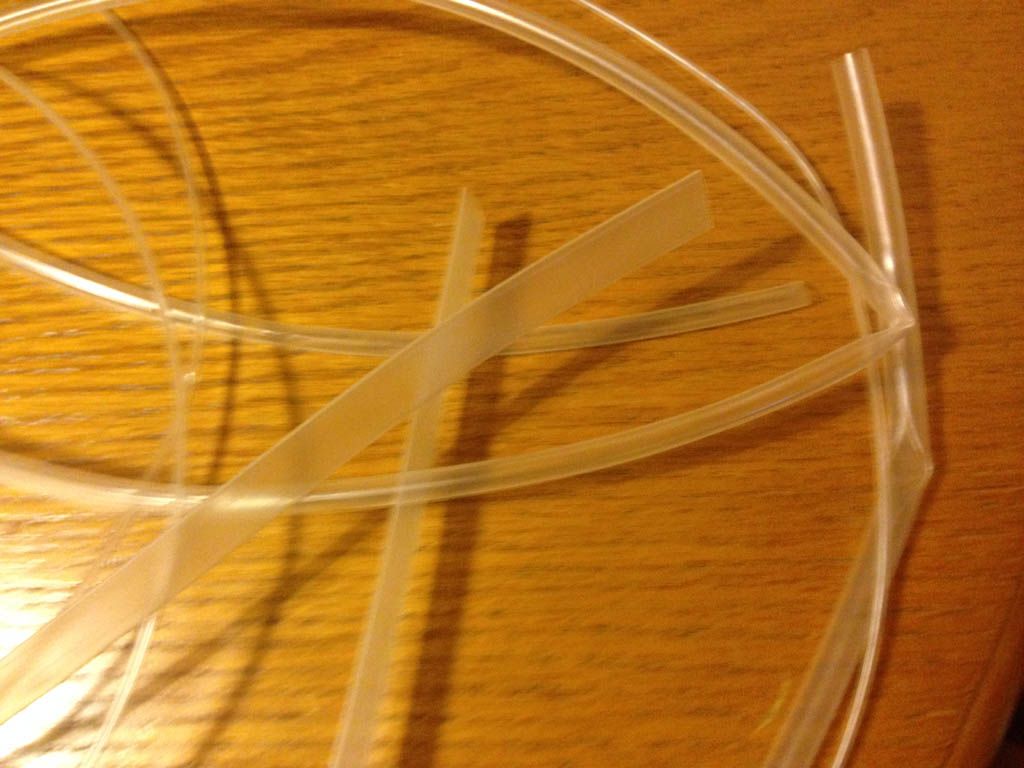
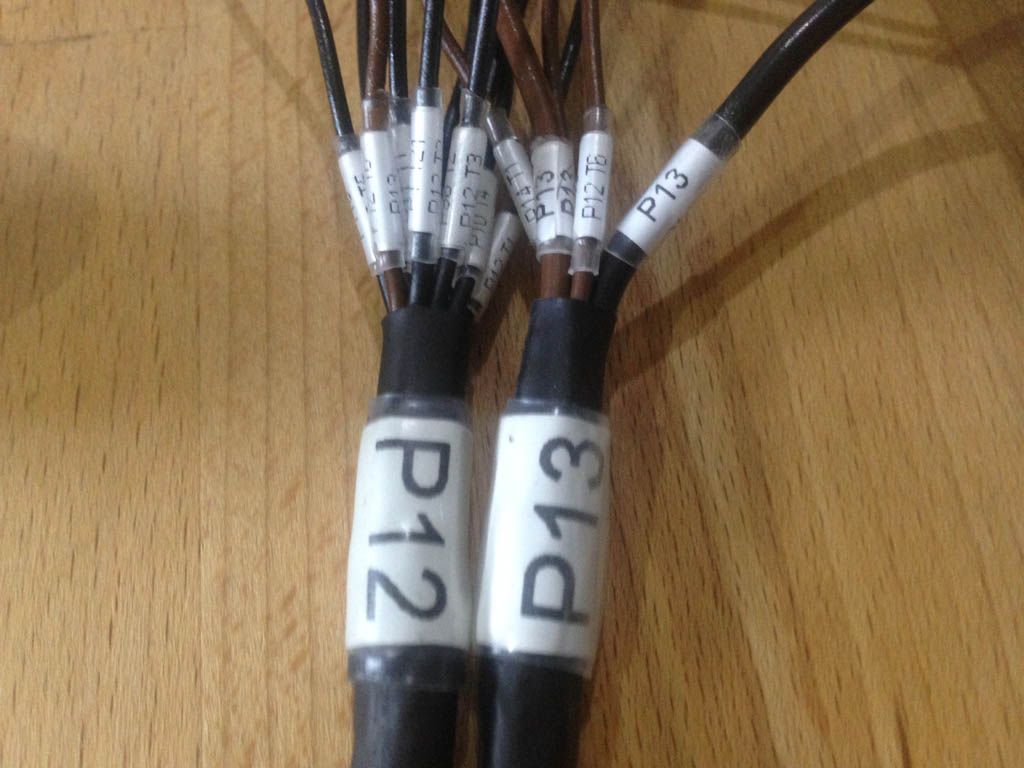
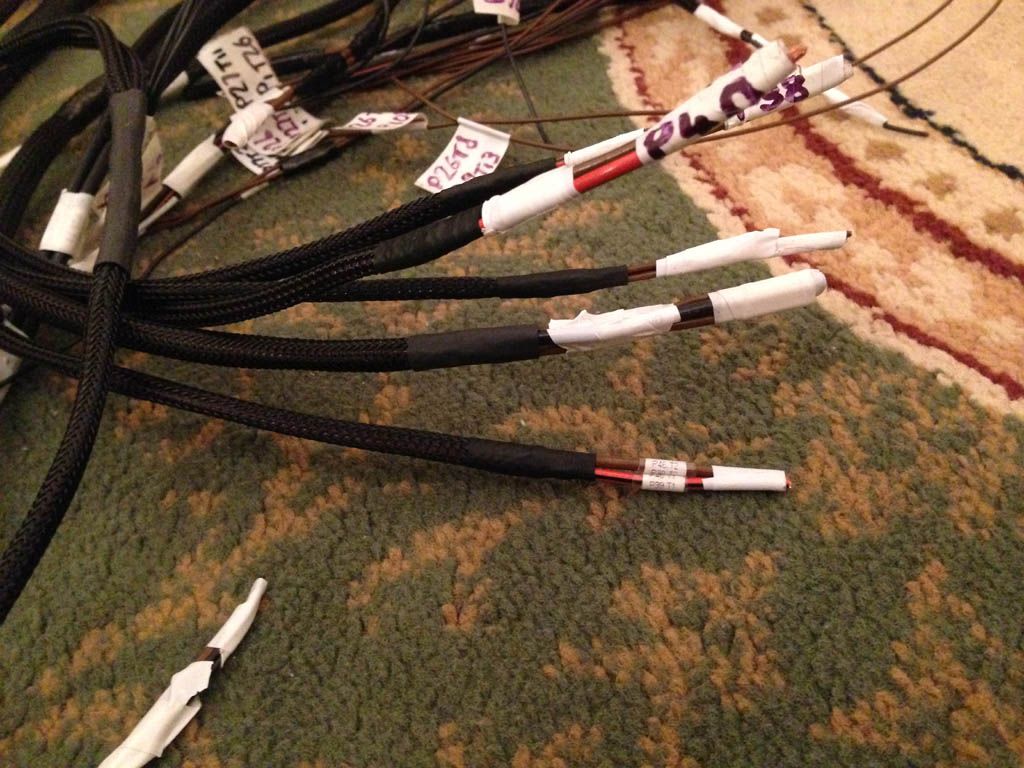
I ended up going right back to the start of the loom again and redone most of the Dymo labels then immediately cut a small piece of clear heat shrink and coated every cable marker. I also got some Dymo Black on White heat shrink printable tubing and put the allocated P numbers on each of the connector ends for quick reference and to make installing and identifying each connector that bit easier. These also got coated in clear heat shrink just so they never get damaged or become unreadable.
While I was redoing the labeling where I had started the loom I noticed some of my early sleeving works were either too tight or too saggy and the black heat shrink joints didn't look too clever either given how the rest of the loom now looked. I decided to cut a lot of it open again and fixed it to the same level of finish as my more recent braided sleeves which I'm getting pretty good at now. While I was cutting it open I also decided that it would be a good idea to add in a couple of courtesy boot light via a door/boot switch, I split the fuel pump and sender branch into 2 to allow some relocation of the wiring. I also added in passenger and drivers side footwell lights not exactly a standard feature lol but it's one thing in modern cars that I do like when getting into the car at night.
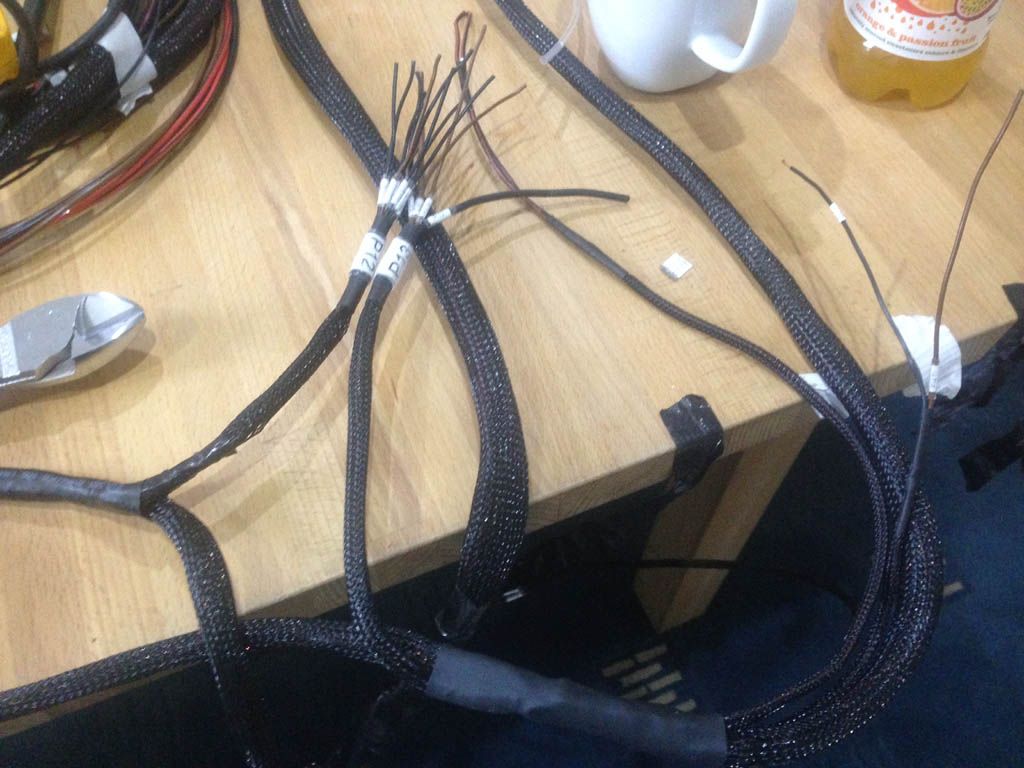
Once I'd finished making all the modifications, labeling alterations and cosmetic fixes I continued fitting the rest of the braided sleeving that I had ordered previously which was a bit of a mission.
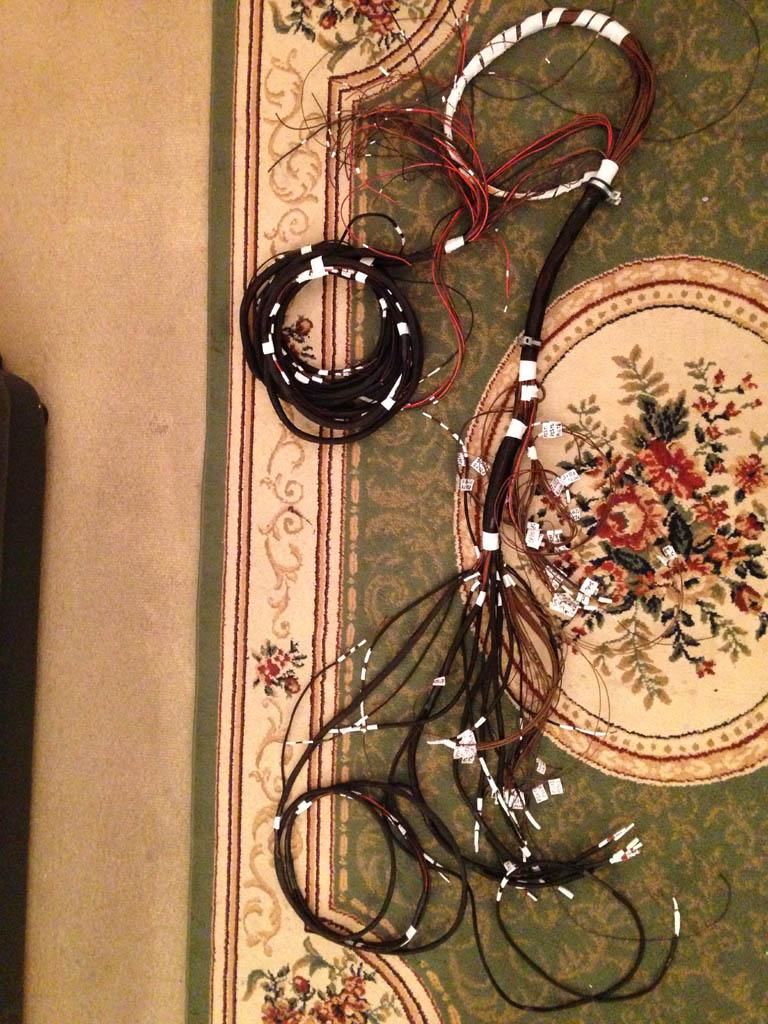
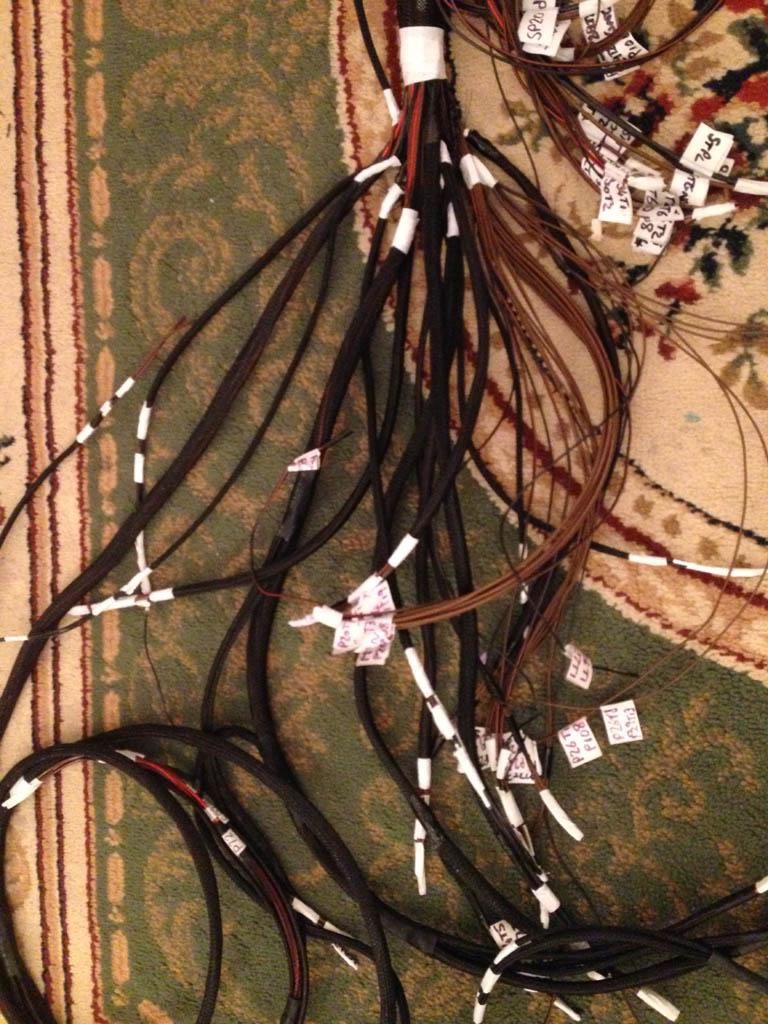
As you can see there are a lot branches on is section of loom and all of them were marked with insulating tape as I had ran out of Dymo labels when I built this section. The problem is the braided sleeving will not go on with the insulating tape markers as they significantly increase the branch size when wrapped up so every cable had to be redone with Dymo labels prior to fitting the sleeving.
It's been annoying to think that if I had started the loom the way I'm building it now then it would have been finished a month or 2 ago as I've had to go back over the same areas a few times now redoing the same thing only better. Almost there now I think I've got about another 7 branches to label and braid up before heat shrinking the large branch joints.
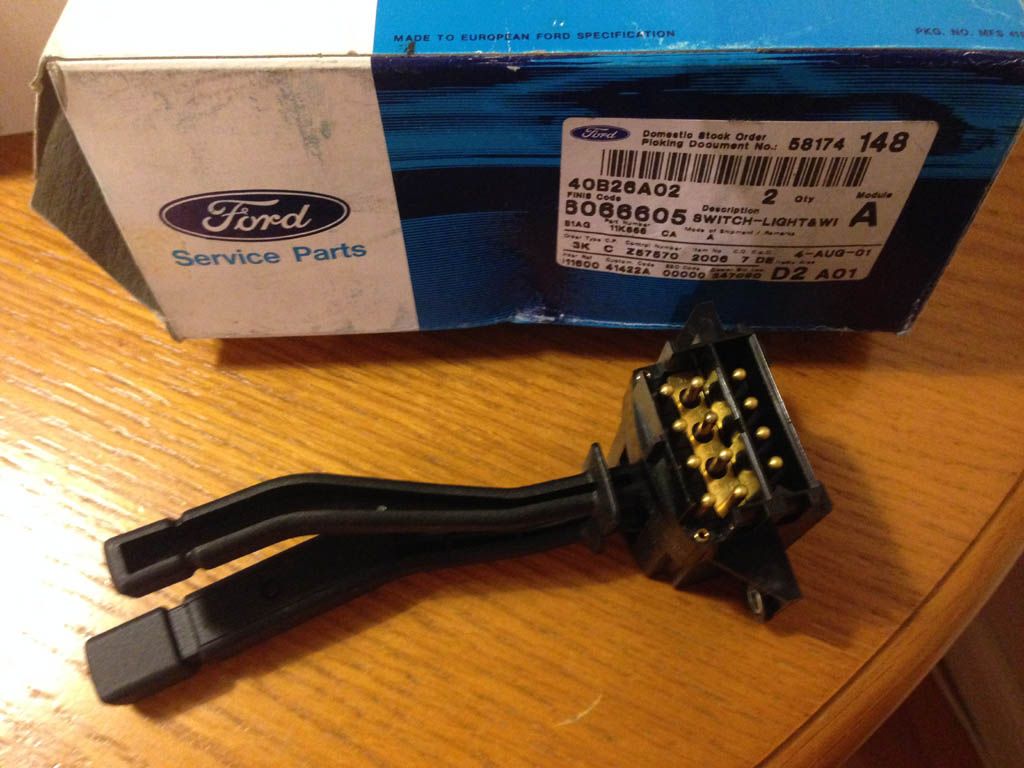
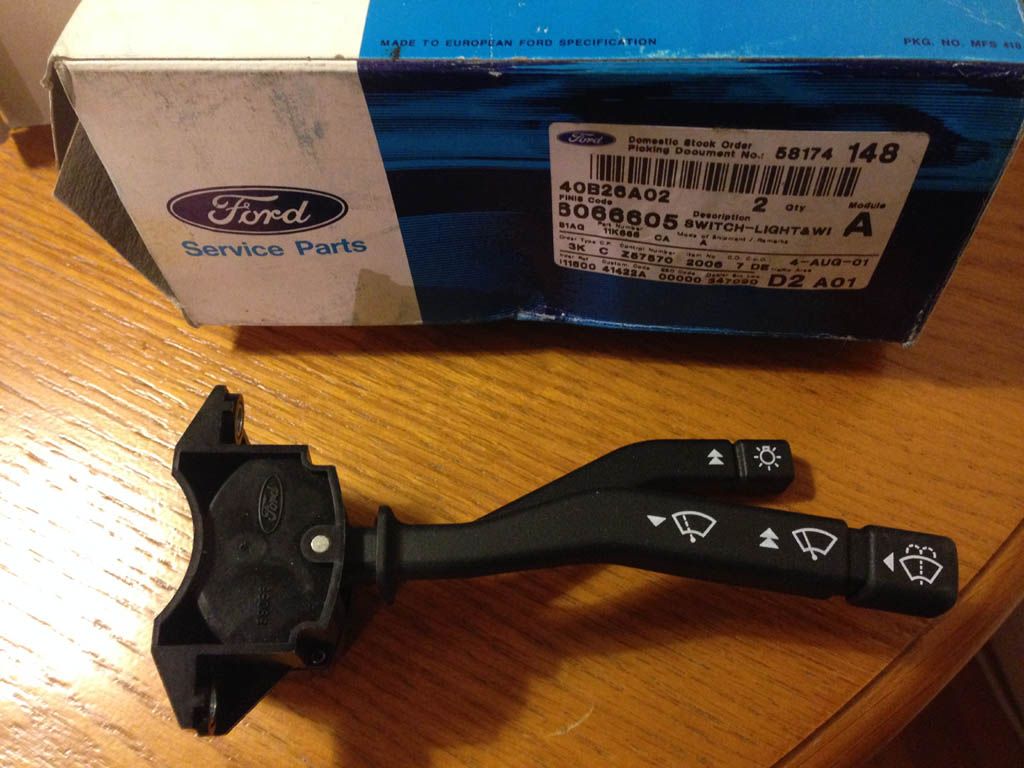
I've purchased quite a few New Ford connectors and terminals along with some dash switches and 1 NOS Stalk. Keeping with that New car theme with as many aspects of the car as humanly possible although some of the old connectors will need to be reused although hopefully all with new terminals.
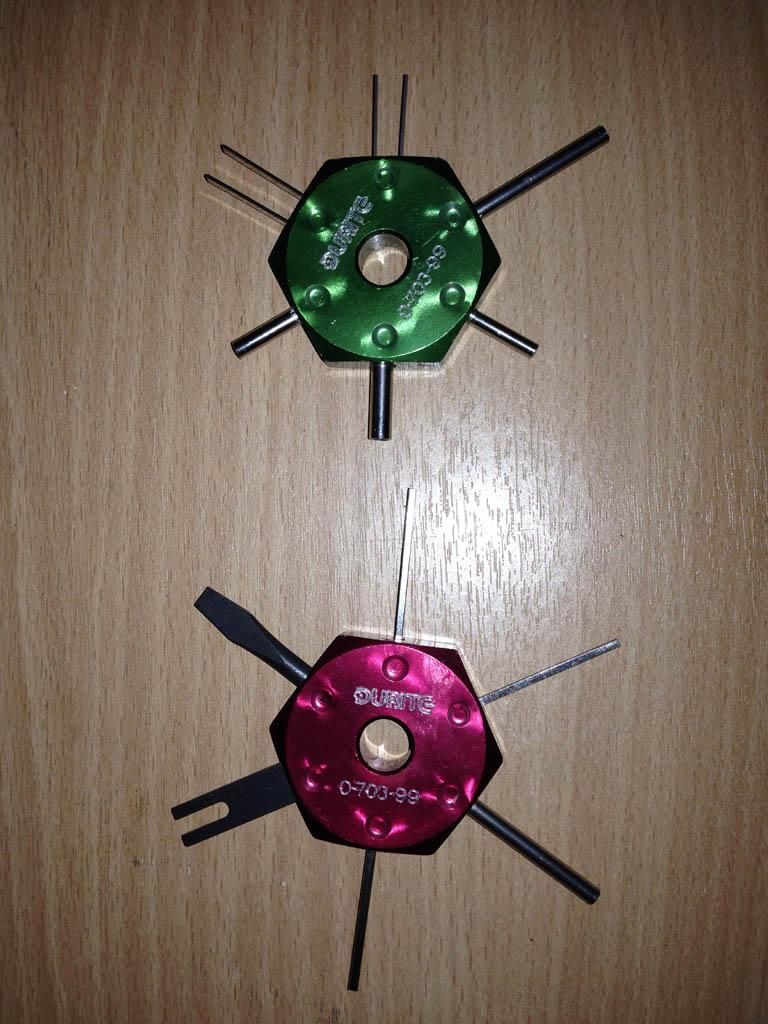
I also got myself some auto electric terminal removal tools so I can start stripping down the old connectors that I am planning on reusing. I can start getting all of the dash connectors terminated and fitted as this section of loom can be installed directly into the car as it does not pass through any holes or panels.
I've now been in touch with SPL and I'm hoping to get the car down for it's first Acid dip before Christmas woohoo
I've managed to make some more progress on the loom as I decided to take it away with me as it would keep me busy in my spare time while I was working away and didn't eat into my family time when I was home win win lol.
After unrolling the loom I found quite a lot of this
The Dymo labels had started to unpeel all over the loom and a few had fallen off completely ruining all my hard work. I got straight on the bay and managed to find some clear heat shirnk
I ended up going right back to the start of the loom again and redone most of the Dymo labels then immediately cut a small piece of clear heat shrink and coated every cable marker. I also got some Dymo Black on White heat shrink printable tubing and put the allocated P numbers on each of the connector ends for quick reference and to make installing and identifying each connector that bit easier. These also got coated in clear heat shrink just so they never get damaged or become unreadable.
While I was redoing the labeling where I had started the loom I noticed some of my early sleeving works were either too tight or too saggy and the black heat shrink joints didn't look too clever either given how the rest of the loom now looked. I decided to cut a lot of it open again and fixed it to the same level of finish as my more recent braided sleeves which I'm getting pretty good at now. While I was cutting it open I also decided that it would be a good idea to add in a couple of courtesy boot light via a door/boot switch, I split the fuel pump and sender branch into 2 to allow some relocation of the wiring. I also added in passenger and drivers side footwell lights not exactly a standard feature lol but it's one thing in modern cars that I do like when getting into the car at night.
Once I'd finished making all the modifications, labeling alterations and cosmetic fixes I continued fitting the rest of the braided sleeving that I had ordered previously which was a bit of a mission.
As you can see there are a lot branches on is section of loom and all of them were marked with insulating tape as I had ran out of Dymo labels when I built this section. The problem is the braided sleeving will not go on with the insulating tape markers as they significantly increase the branch size when wrapped up so every cable had to be redone with Dymo labels prior to fitting the sleeving.
It's been annoying to think that if I had started the loom the way I'm building it now then it would have been finished a month or 2 ago as I've had to go back over the same areas a few times now redoing the same thing only better. Almost there now I think I've got about another 7 branches to label and braid up before heat shrinking the large branch joints.
I've purchased quite a few New Ford connectors and terminals along with some dash switches and 1 NOS Stalk. Keeping with that New car theme with as many aspects of the car as humanly possible although some of the old connectors will need to be reused although hopefully all with new terminals.
I also got myself some auto electric terminal removal tools so I can start stripping down the old connectors that I am planning on reusing. I can start getting all of the dash connectors terminated and fitted as this section of loom can be installed directly into the car as it does not pass through any holes or panels.
I've now been in touch with SPL and I'm hoping to get the car down for it's first Acid dip before Christmas woohoo
-
Dereksjoint - Administrator
- Posts: 428
- Joined: Mon Dec 31, 2007 6:35 pm
- Location: Kilmarnock
Re: My Series 1's Transformation and Modernisation
![]() by Stu/RS » Mon Nov 10, 2014 1:33 am
by Stu/RS » Mon Nov 10, 2014 1:33 am
Great work Derek.
You must be demented doing that loom, lol.
You must be demented doing that loom, lol.
"IF YOU WEREN'T THERE, YOU WONT UNDERSTAND"
- Stu/RS
- Group Official
- Posts: 999
- Joined: Mon Dec 31, 2007 3:16 pm
- Location: Motherwell
Re: My Series 1's Transformation and Modernisation
![]() by Dereksjoint » Sun Nov 30, 2014 10:07 am
by Dereksjoint » Sun Nov 30, 2014 10:07 am
OK troops the project has finally started rolling forward again and there should be quite a lot of updates over the next few months as the car goes through many different procedures.
Firstly it has moved for the 1st time in almost 3 years
My wee Fiesta now looks all lonely on my driveway
Here it is at it's new temp home of MJ Racing who will be doing the fabrication works for my engine and gearbox conversion as well as the striping, repainting and rebuilding in between trips to SPL.
As well as getting the shell work started this week I also managed to finish the braiding and heat shrink works to my new loom.
Doesn't look to big when it's all coiled up
looks a lot bigger when it's opened up though
-
Dereksjoint - Administrator
- Posts: 428
- Joined: Mon Dec 31, 2007 6:35 pm
- Location: Kilmarnock
Re: My Series 1's Transformation and Modernisation
![]() by peterRST » Sun Nov 30, 2014 10:34 am
by peterRST » Sun Nov 30, 2014 10:34 am
That wiring loom looks epic Derek - great job
PBS Engineering Ltd - Performance Engines and Motorsport Prep.
Zetec, ZVH and xflow engine building.
PEC Engine Components. KSport Braking Systems. BC Racing Suspension.
- peterRST
- Club Member
- Posts: 303
- Joined: Wed May 21, 2008 9:13 am
Re: My Series 1's Transformation and Modernisation
![]() by Dereksjoint » Tue Dec 02, 2014 9:57 pm
by Dereksjoint » Tue Dec 02, 2014 9:57 pm
Popped back into MJ Racing today to pick up the panels and parts that they have removed from the car and I got a bit of a surprise
The boys are doing a great job on the car but they don't want to weld the engine mounts in place until my Focus RS engine is in place as there doesn't look like there will be too much room for error. I'll hopefully get my engine back for this weekend and my new tubular manifold is in the post so fingers crossed it'll be fabricated up next week
The boys are doing a great job on the car but they don't want to weld the engine mounts in place until my Focus RS engine is in place as there doesn't look like there will be too much room for error. I'll hopefully get my engine back for this weekend and my new tubular manifold is in the post so fingers crossed it'll be fabricated up next week
-
Dereksjoint - Administrator
- Posts: 428
- Joined: Mon Dec 31, 2007 6:35 pm
- Location: Kilmarnock
Re: My Series 1's Transformation and Modernisation
![]() by andy-mac » Fri Dec 05, 2014 7:00 pm
by andy-mac » Fri Dec 05, 2014 7:00 pm
looks like MJ Racing boys are doing a great job
-
andy-mac - Club Member
- Posts: 1052
- Joined: Mon Dec 31, 2007 5:36 pm
Re: My Series 1's Transformation and Modernisation
![]() by JPA » Sat Dec 06, 2014 10:35 am
by JPA » Sat Dec 06, 2014 10:35 am
Looking good Derek , although I thought you were dipping the shell ?
Also servo looks like it will be tight to go back in original position with gear linkage in the way
Good luck with it all anyway
Cheers
John
Also servo looks like it will be tight to go back in original position with gear linkage in the way
Good luck with it all anyway
Cheers
John

- JPA
- Club Member
- Posts: 43
- Joined: Sun Oct 27, 2013 8:49 pm
88 posts
• Page 3 of 5 • 1, 2, 3, 4, 5
Return to Restorations & Rebuilds
Who is online
Users browsing this forum: No registered users and 1 guest